How to paint space marines

  • The masquerade of murder returns! A new game of Vampires Amongst Us has begun. Unmask the killers, trust no one, and try to survive the night. Find out more and sign up now!
Today is a crimson fist tutorial so I can get the motivation to finish said army.

Starting off I would normally primer them black so it is easier to start a dark blue theme.

Next I basecoat them Kantor blue.

20130615-164747.webp


20130615-164755.webp


Next is a drybrush of ultramarine blue or altdorf blue as it is now known.

20130615-170117.webp


Next is a wash of drakenhof nightshade

20130615-175749.webp


Onto the red hands which is a fun subject. Veterans have two red hands the battle brothers have one. Paint the hand Mephiston red

20130615-183153.webp


Up next is Cold steel metallic accents like the Aquila and skulls

20130615-183506.webp


Next I do the Abbandon black on the armor joints hoses and weapon casings.

20130615-185457.webp


Now to the silver on the weapons again cold steel of course bolt gun works too. Then a wash of black.

20130615-193044.webp


Sword hilt is done p3 blighted gold

20130615-193237.webp


Now for the eyes I use ruby red a reaper paint. One could also use the screaming bell gw color. I also added the shoulder iconography which was all that was left.

20130615-203256.webp
 
’ve been asked to do a lightning tutorial. Lightning is easy to do and stunning when finished.


I’ll be using a sword blade, but lightning can be done on anything.


Start by painting the area you want the lightning black.


20130620-203741.webp


Paint thick jagged lines in regal blue, now known as kantor blue.


20130620-210018.webp


When painting lightning it helps to keep the form of actual lightning in mind. I like to have a reference picture to refer to.


20130620-210115.webp


Follow the regal blue lines with a thinner line of shadow grey, now known as the Fang.


20130620-212443.webp


Next, follow the lines of shadow grey with finer lines of space wolves grey, also called fenrisian grey.


20130620-214602.webp


One more thing to make the lightning more realistic. In some joints, use the space wolves grey to draw thin connecting lines. See the picture for what I mean.


20130620-215330.webp


There you have it. Believable realistic looking lightning.

icon_smile.gif
 
Thanks for the tutorials! Having a picture of real lightning like that for reference is a great idea, and if I ever start Crimson Fists (and you never know, I think they're a great chapter so it's possible), I know where to come!

How would you deal with rust effects on tank-tracks and the like if you also want to have mud? I've ended up just having orangey-looking mud smeared all over it.
 
Alright here Is how I do my blood angel space marine armor.

First using dragon red primer from army painter we base coat it.

20131111-222912.webp


Next is a drybrush of Squig orange

20131111-223209.webp


Next we wash it Carroburg crimson

L

20131112-000503.webp


This is fallows by another drybrush of Khador red base

20131112-192435.webp


After this the trim and details. Hope this helps those who asked about it.
 
Great tutorial here buddy! I think the biggest thing about space marines is brush control. They have a lot of drastic changes in color and quite a few flat areas on the models themselves (Knees, Sholder pads, shins) and brush control is what will make the model look awesome. I mean having this great red base for the armor can easily give you headaches when you go to do some nice bright gold accents to the armor if you don't have your brush under control and it goes crazy! no one likes a brush that longs to murder and wear skin masks and eat people and stuff.
 
Space wolves try outs

Base oat of Russ grey

20140123-220701.webp


Base coat of codex grey

20140123-220729.webp


I bet a few are asking why two separate colors well that’s easy preheresy baby

20140127-090900.webp


Easy to achieve we added a earth shade wash. This is how his armor looked.

20140127-093734.webp


Now for the modern space wolf

Our goal

20140127-093800.webp


Then a drybrush of etherium blue

20140127-093824.webp


Then a light dusting or light dry brush of Russ grey again

20140127-094206.webp
 
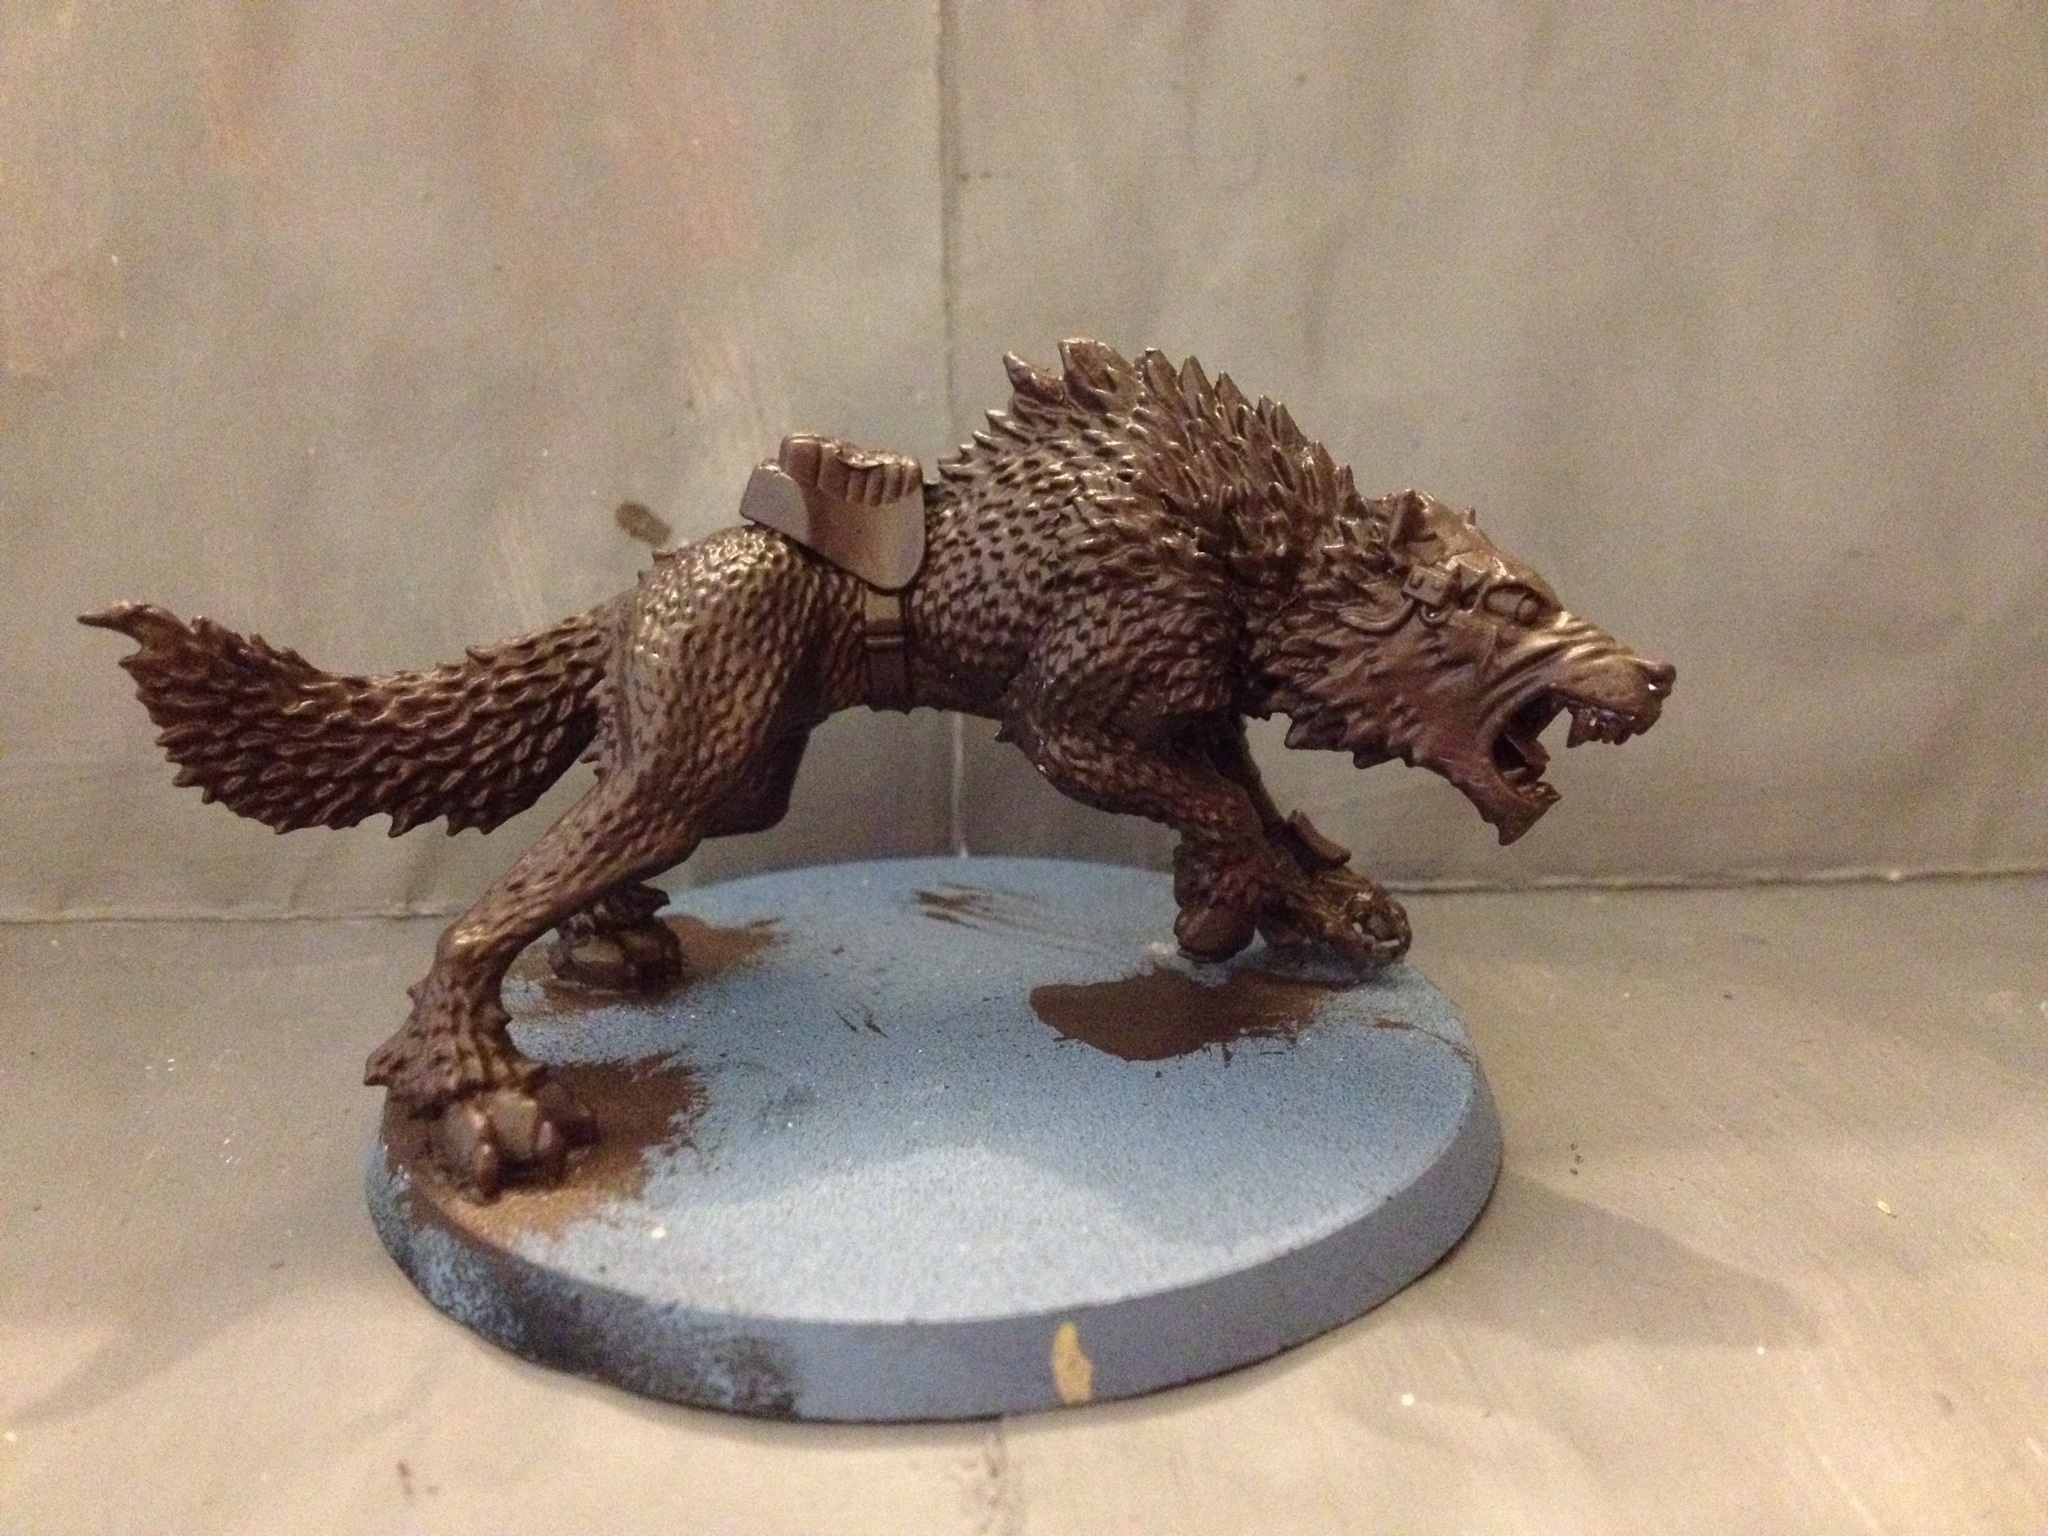
Basecoat the wolf dryad bark

img_3317.webp Paint from the muzzle to the tail with zandri dust

img_3320.webp Drybrush Rakarth flesh over the zandri dust

img_3321.webp Add a streak of black down the back

img_3323.webp Add a wash of agrax earthshade

img_3324.webp After that you just do individual markings and finish up the details like this all these three were started like above.

img_3330.webp

img_3331.webp

img_3332.webp

img_3333.webp Group shot

img_3334.webp
 
Basecoat the ice ax with ice blue (the irony)

img_3345.webp Layer the ax with blue horror edge paint

img_3349.webp The heart of ice is a dark color so to simulate that I used a glaze of blue on the center, on either side of the handle

img_3350.webp Layer the edges where an ax would be sharp with ceramite white, leaving the blue showing in the recesses

img_3351.webp Finally give the ice a layer of 'ardcoat.

img_3352.webp
 

About us

  • Our community has been around for many years and pride ourselves on offering unbiased, critical discussion among people of all different backgrounds. We are working every day to make sure our community is one of the best.

Quick Navigation

User Menu