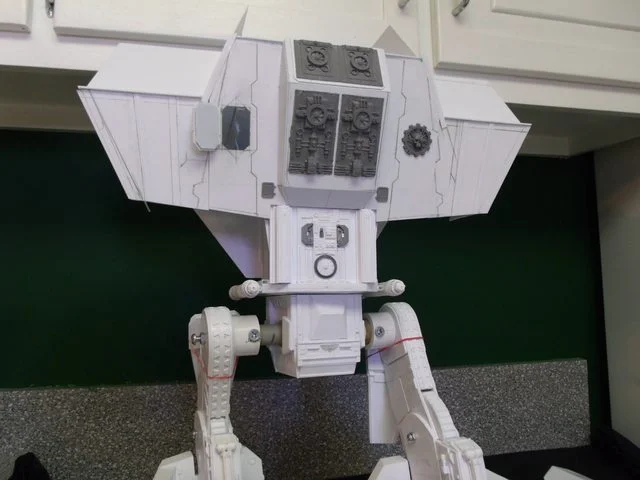
Blackadders WIP Warlord Titan

  • The masquerade of murder returns! A new game of Vampires Amongst Us has begun. Unmask the killers, trust no one, and try to survive the night. Find out more and sign up now!
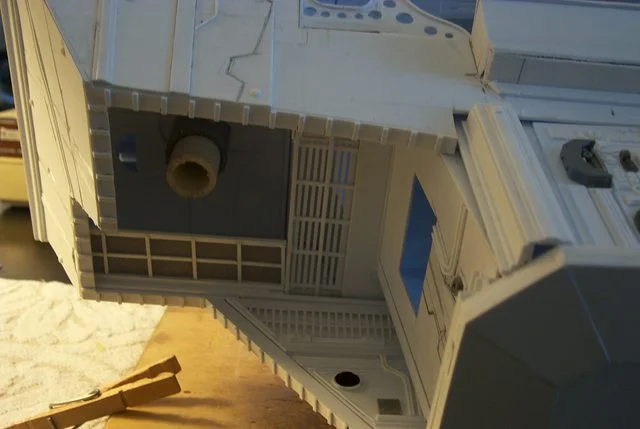
The catwalk without railing installed is hooked in place and reveals it is too wide and will have to be cut down width-wise about 5mm before the railing is installed.
http://i.imgur.com/ccft6Ig.jpg
ai.imgur.com_ccft6Igl.webp
 
This is a thing of pure epicness! Much better than ones i have seen for sale on ebay. total cost to make and time spent i am very curious to be honest i didn't read the whole blog. Just checked all pics while i am at work lol! Amazing! 10/10.
 
Yeah I saw the one on Ebay that just sold for about 450 bucks. A fine effort and the price was right I believe. Now to sell mine considering the work/time I have invested we're talking an order of magnitude higher and at that I would be working for less than minimum wage. The rational is I am working for myself and my own entertainment.

were I have the temerity to buck the GW/FW lawyers and produce a Warlord Titan it would be prohibitive in price and not be pose-able and not a viable enterprise as FW has also acknowledged and even they will not be producing a Warlord according to all I have read.

Plus they would have me hauled off into a gray cloud never to see the light of day again or hey, maybe they would offer me a job.............
 
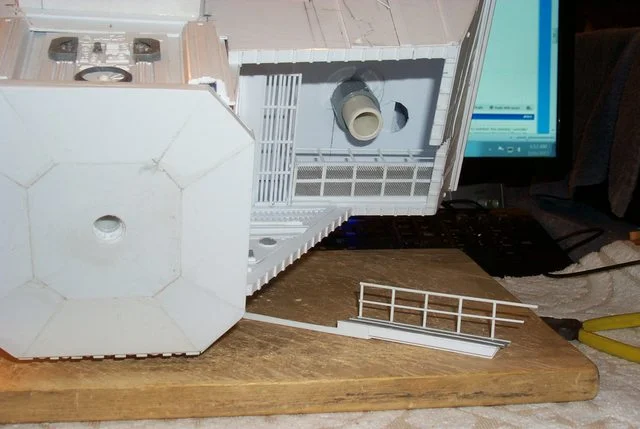
Cat walks railing installed and the left side catwalk on cutting board showing the hook channel that holds it to the inner carapace frame and yet be removable because they are just too delicate to withstand the 'Dogs of War'.

http://i.imgur.com/hzz9QY9.jpg
ai.imgur.com_hzz9QY9l.webp


Note how far I had to move the gun stanchion inboard from its original proposed position. I have to put some sort of hatch there to cover the hole.
 
I have been thinking about how I am going to make a sensible engineering department out of the two story area beneath the command deck and fit a viable fusion reactor deck in the cramped space above the command deck when suddenly this morning an epiphany!!!!!

The lower space will be the reactor room and the upper space will be engineering.

Egad! How simple and it totally makes sense that the extremely heavy reactor would be in the lowest level of the torso and the mechanic dedicated area where the high maintenance equipment is. Access to the armament and legs through the carapace, easy access to the critical Void shield generators and the huge cooling fans and vents at the rear of the reactor room exhausting outboard behind the lower deck..................

http://i.imgur.com/ShkeR.jpg
ai.imgur.com_ShkeRl.webp


Simple right? so why did it take me a year to realize it?
 
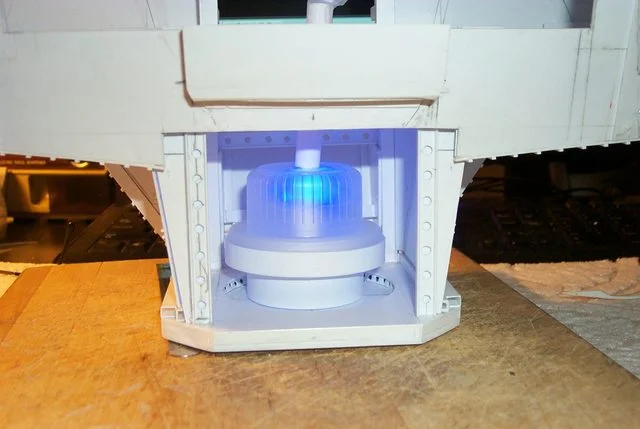
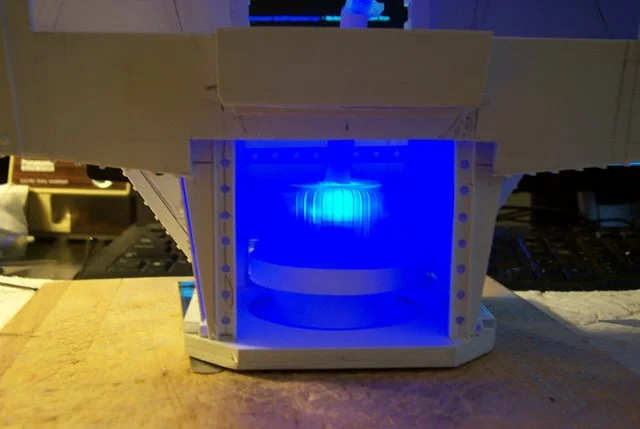
Reactor on line.................
http://i.imgur.com/uSycaBz.jpg
ai.imgur.com_uSycaBzl.webp


There's my Cherenkov radiation.............
http://i.imgur.com/tkbVAJH.jpg
ai.imgur.com_tkbVAJHl.webp
 
The reactor level is coming along quickly. I should have realized this sooner instead of butting my head against an nonviable engineering room design. Well at least I didn't have to tear anything out

The diagonal reinforcement knees and the room header in the background seems to belong in this setting.
http://i.imgur.com/s6LkwPM.jpg
ai.imgur.com_s6LkwPMl.webp


Note how much of the room walls can be removed,
http://i.imgur.com/ddswF02.jpg
ai.imgur.com_ddswF02l.webp


There is plenty of free space for painting and lighting installation.
 
This is turning out to be insanely detailed o . O I hope someone at GW will chuck somekind of a reward your way for this xD
 
As long as they don't serve a cease and desist notice I'll be content..........

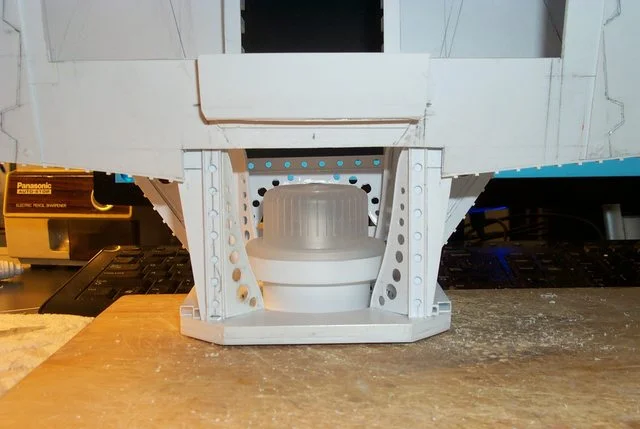
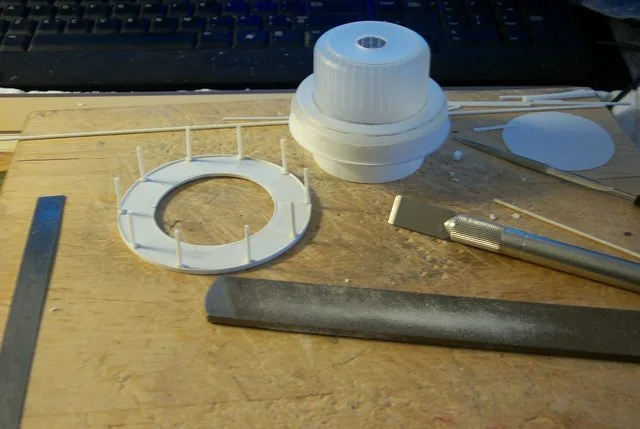
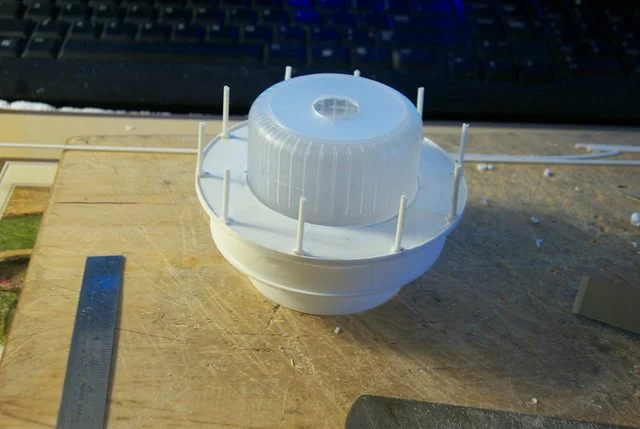
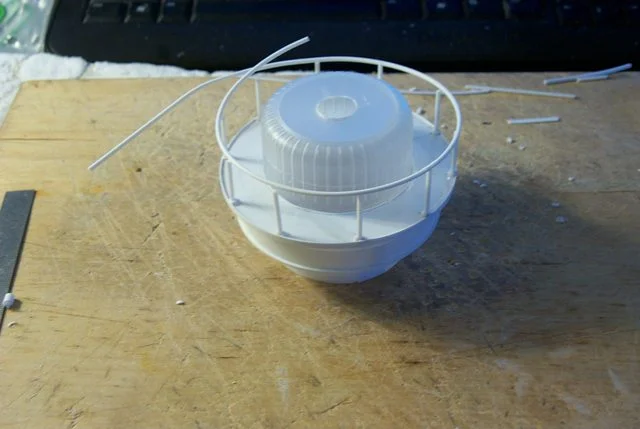
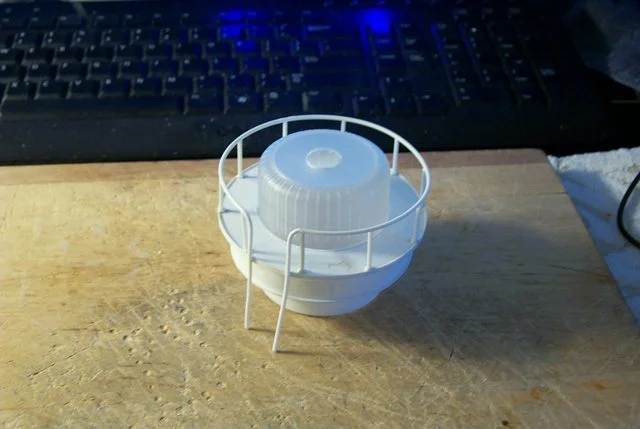
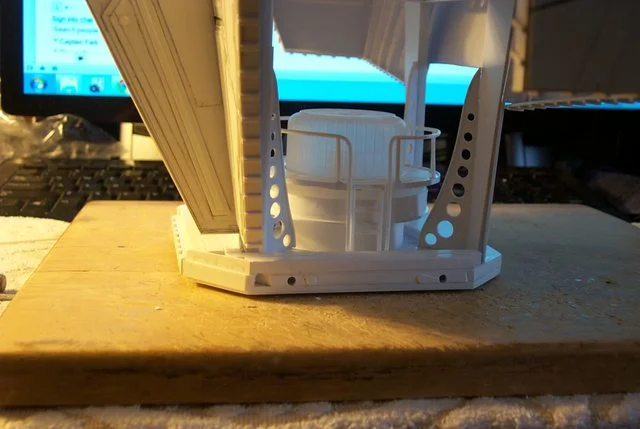
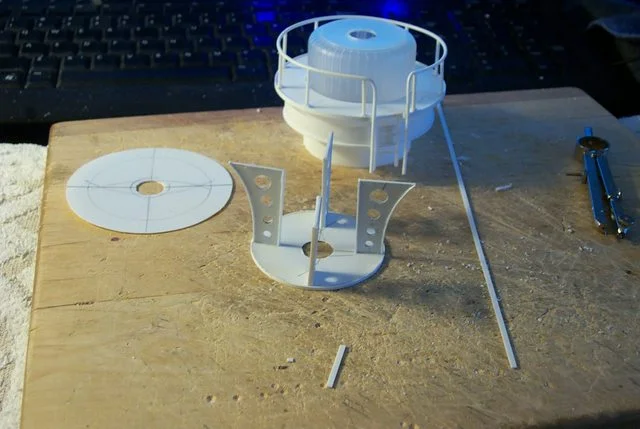
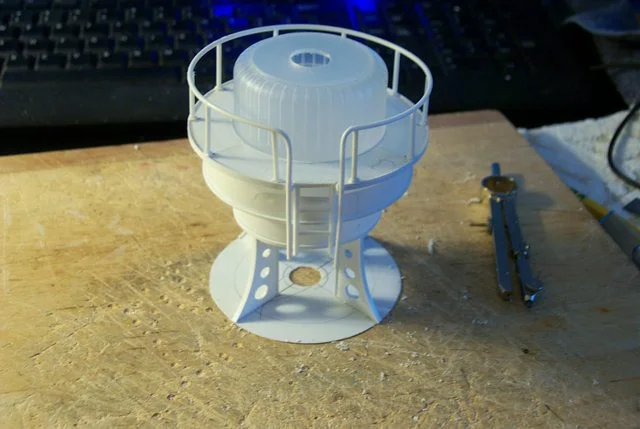
I was on such a roll last evening I forgot to take pictures until this morning. I felt the reactor needed a walkway and possibly a handrail ladder to the top so this might or mightn't work but what the hell I indulged myself. The walkway around the reactor will have a break in it for a ladder to descend to the reactor room floor and another ladder to the summit of the dome. For whatever purpose I cannot as yet fathom but it would be fun to have...............

The stanchions with out the rail in installed:
http://i.imgur.com/CASGBJ7.jpg
ai.imgur.com_CASGBJ7l.webp


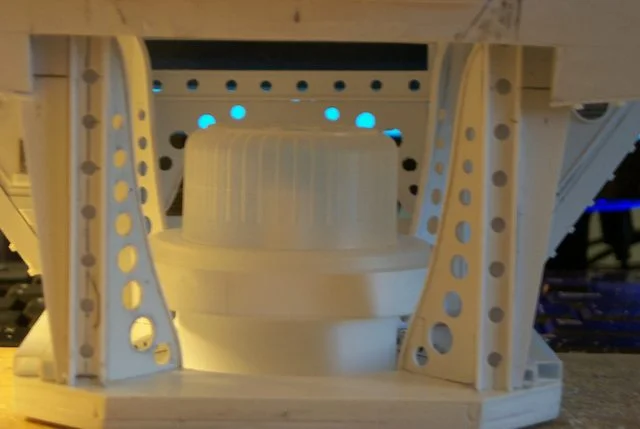
And the walkway in place:
http://i.imgur.com/4X5lbyB.jpg
ai.imgur.com_4X5lbyBl.webp
 
Atomic powered spacecraft have the problem of cooling the primary source. I suspect that a 'Fast Reactor' would be necessary because of it's efficiency in nuclear fuel and the compactness of a vehicle borne unit. Liquid Sodium as a coolant has a much higher temperature that water but it is extremely corrosive. I would say that running the return sodium external to the vessel would not drop the temperature of the coolant significantly, a vacuum being an excellent insulator. The heat exchanger would do more to transfer heat to the secondary fluid source. I suspect the large cooling fans on the rear of the titan back pack are used to cool both these fluids and I shall have to simulate ducting to that pack.

Meanwhile:

http://i.imgur.com/df5TR7e.jpg
ai.imgur.com_df5TR7el.webp
 
The speed in which this is taking shape is very gratifying. It is too bad I didn't realize the error of not putting the reactor on the right level.

http://i.imgur.com/gSftxbX.jpg
ai.imgur.com_gSftxbXl.webp
 
It strikes me that I am not utilizing the two story reactor deck to it's full advantage. Heres the reactor stuck at the bottom of this huge area like a duck in a bag so I'm going to put it up on a platform with legs under it plus there will be room for all sorts of nifty piping and whatnot............

and I get to make more perforated steel beams.

Holy holey metal Batman!

http://i.imgur.com/0WaTXoL.jpg
ai.imgur.com_0WaTXoLl.webp
 
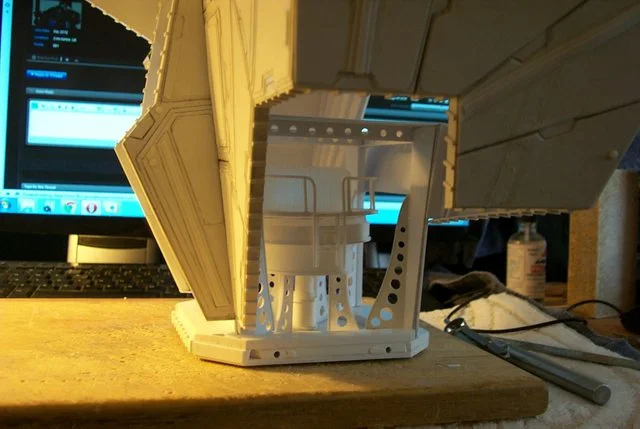
Oh yes, a smile crosses the Blackadder's countenance, this is how it should look. I have to admit I was nonplussed at what to do with the interior for a while but it all seems to be going together rather well.

I had a cunning plan. if I may say so myself.....

http://i.imgur.com/3oYqVzS.jpg
ai.imgur.com_3oYqVzSl.webp


http://i.imgur.com/sXMZx8W.jpg
ai.imgur.com_sXMZx8Wl.webp


Now I just have to extend the ladder.
 
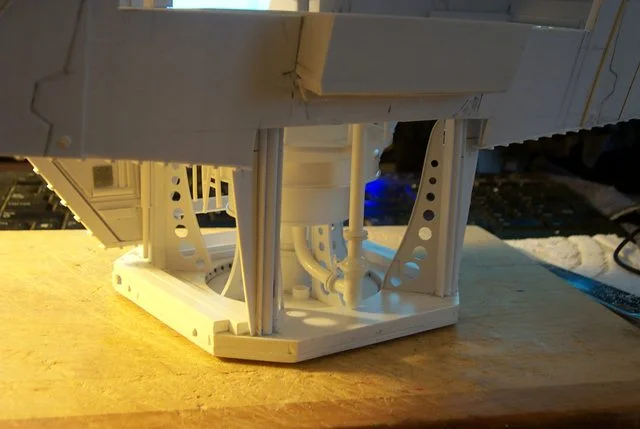
I spent a lot of time in the past few days preparing to build the huge steam turbines for the new Engineering Deck. In the meantime I began the piping to and from the reactor. I believe the best approach is to run the piping up the back of the reactor room to the back pack and from there to the steam turbines on the top level. Not the most optimum design but you can imagine the primary to secondary circulating system heat-exchanger in the back pack from there to the turbine then to the condensor and back to the reactor.

The only thing worthy of note here is the spherical 'shutoff valve' and 'hand wheel':
http://i.imgur.com/Y8KavaO.jpg
ai.imgur.com_Y8KavaOl.webp


Note the coupling flanges:
http://i.imgur.com/pvQk7JP.jpg
ai.imgur.com_pvQk7JPl.webp
 
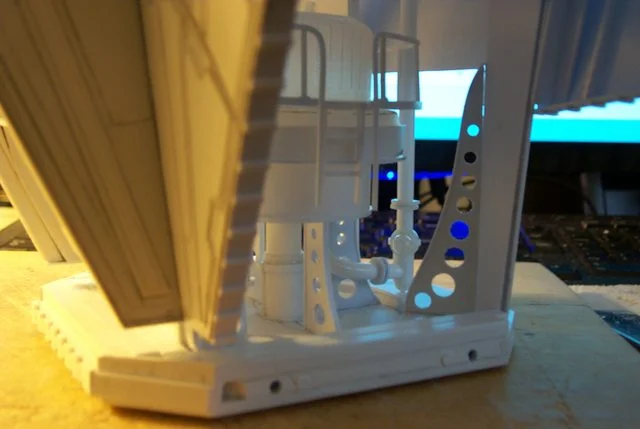
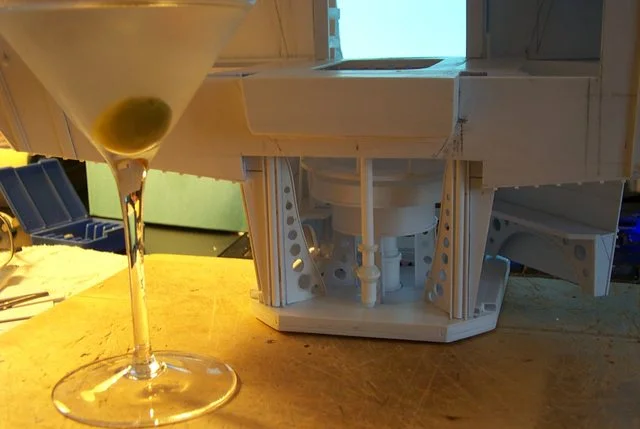
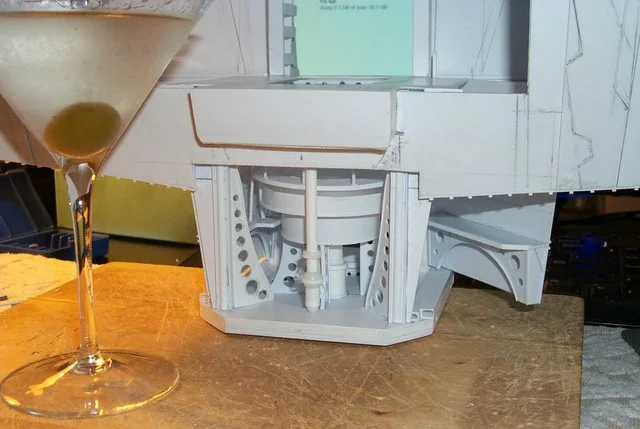
I'm luv'n it............. This room keeps getting more and more cluttered. Thanks to suggestion I have made more support girders and walkways (I was gonna do that anyway but I appreciate the support. Considering I haven't even added the 'bitz' and personnel the Reactor room is sufficiently cluttered 'n don't forget I still have to add the electrical conduit, more ducting, piping and lighting.

Note the side panels open for ease of viewing.
http://i.imgur.com/Y7DnF9I.jpg
ai.imgur.com_Y7DnF9Il.webp


And the flash reveals the left side walkway leading to the core inspection access.

http://i.imgur.com/spgknQn.jpg
ai.imgur.com_spgknQnl.webp


Ah the well deserved Martini; Life is good..........

The hedonistic Blackadder
 
Tread Design

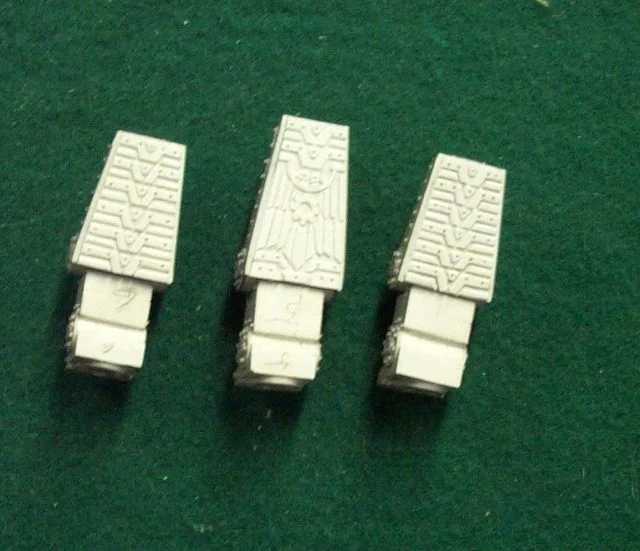
Finished detailing the feet and toes this morning except for three 19mm x 4mm aquila I have yet to scrounge from my son's seemingly bottomless bitz hoard.

I hope he has a few still stashed away.

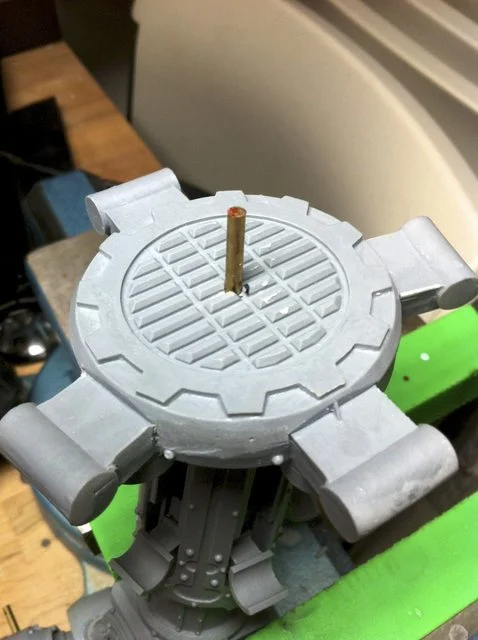
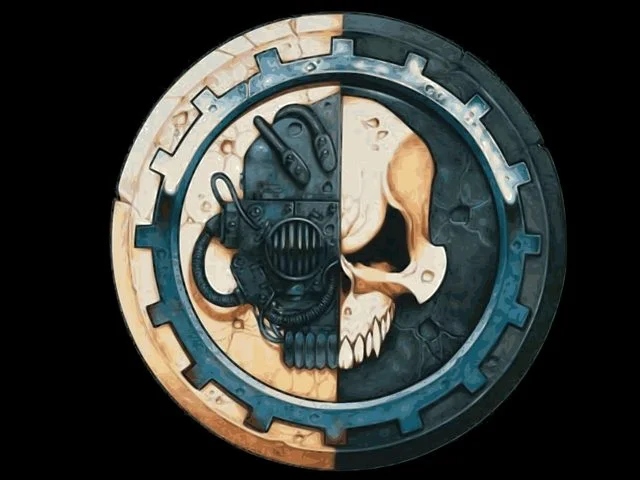
I started on the tread and decided to use a bas relief Adeptus Mechanicus emblem on the center of the foot pad similar to the Reaver cog and gear pattern below

http://i.imgur.com/LpFxBeN.jpg
ai.imgur.com_LpFxBeNl.webp


but mine will have the 'Borg' style skull and accouterments. I was thinking of Aquila with folded wings for the toes as I did for the Warhound distal phalanges

http://i.imgur.com/xBRDkWy.jpg
ai.imgur.com_xBRDkWyl.webp


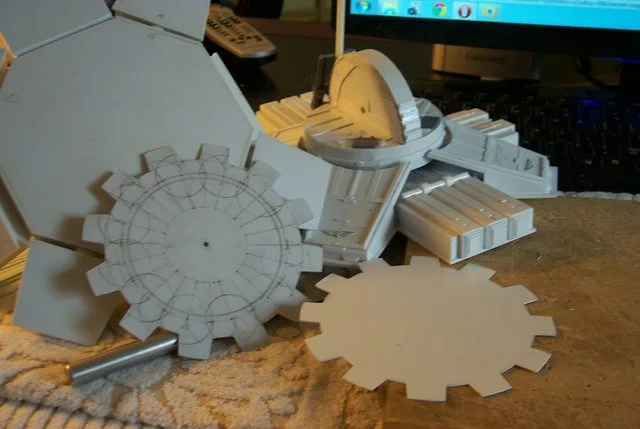
Getting the proper spacing for the gear cogs was a pain having to resort to the formula to divide a circle into 24 segments to make the gear. Still looks rather crude as my compass is wearing out.


http://i.imgur.com/ySXHSl4.jpg
ai.imgur.com_ySXHSl4l.webp


I sometimes find being an obsessive compulsive debilitating.............
 
Tread Adeptus Mechanicus Emblem

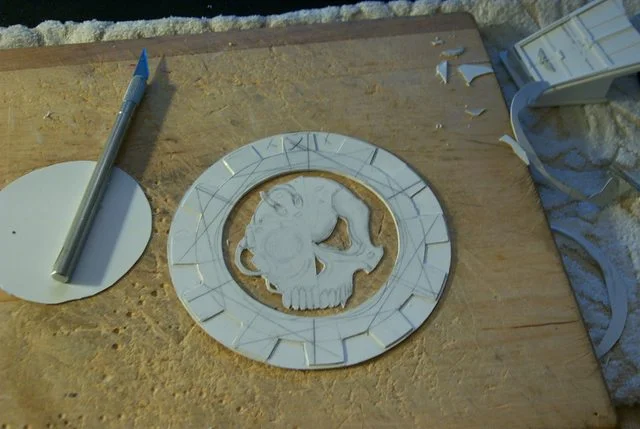
It's going to take some doing to translate this into a tread design :?:

http://i.imgur.com/L1J0yw4.jpg
ai.imgur.com_L1J0yw4l.webp


http://i.imgur.com/S1DGBM6.jpg
ai.imgur.com_S1DGBM6l.webp
 
I am almost sure, if you had the money, you would be constructing a real Titan..

:Vampire1:
 
Shareya said:
Who would not? :tongue:

It's not as much the question of who wouldn't, but rather who would be able.

And if you had the money, you'd probably have to hire Adder :zombie:
 
I don't know how I get pigeonholed into these side projects, it seems a lot of trouble to go to for something that will be rarely seen but I had fixated that I would do a A.M. emblem on the sole of the feet along with all the other tread designs so I lose a few days what of it.

http://i.imgur.com/xuPkyt4.jpg
ai.imgur.com_xuPkyt4l.webp


Anyway it's a good project for a stepped presentation and someone may benefit from my particular form of obsessiveness.
 
Totenkopf Monocle

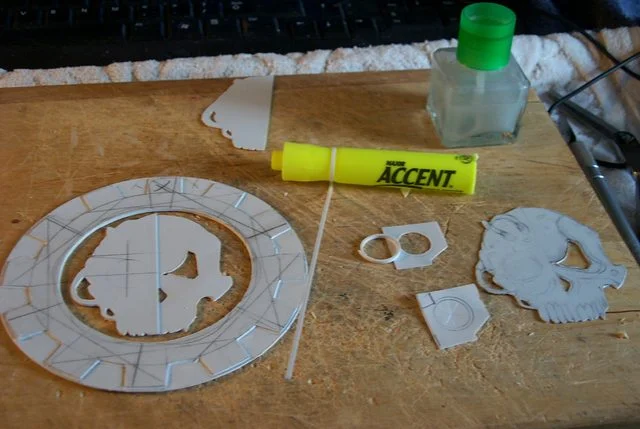
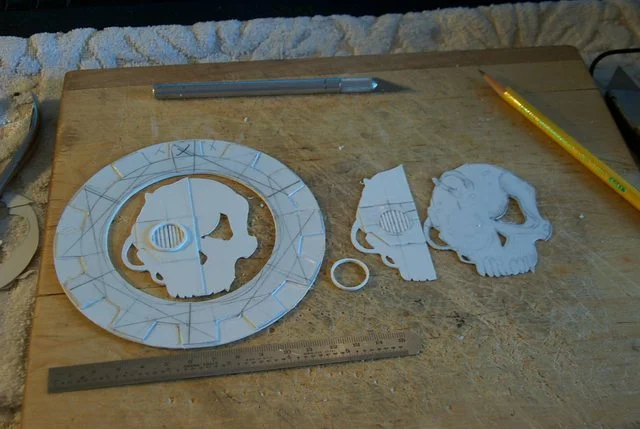
Since my supply of tubes only go up to 12.75 MM (1/2 inch) I needed to fabricate a 14.0 MM ring to duplicate the monocle on the A.M. right side. Searching through my scrap bin I found a discarded marker that would serve as a plug. Begin by drawing the strip plastic between your thumbnail and index finger while applying pressure. This will impart a curve to the strip and make it easier to wrap around the plug. Taper the end and hold it while wrapping one full turn. Put a drop of thin set plastic cement on the overlap and draw the ring tight for the first wrap. Be sure your wrap is aligned properly. I needed two wraps for the monocle rim so while it is drying I typed this reply.

http://i.imgur.com/yqkksKk.jpg
ai.imgur.com_yqkksKkl.webp


You can see a finished ring and a armour right section in the above image. Finding the right diameter plug was the hardest part of this procedure.
 
Totenkopf Neufassung

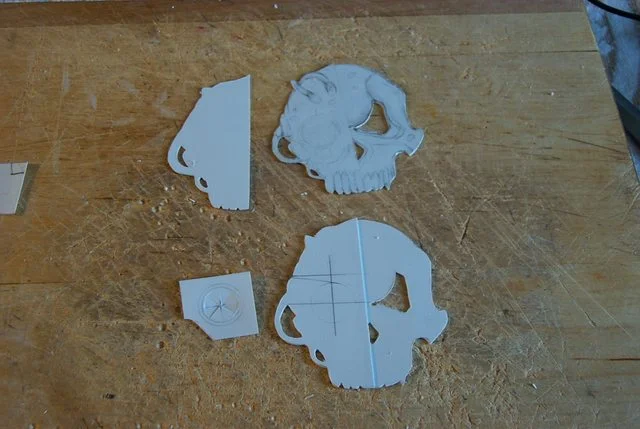
This is difficult to tutor as I cannot demonstrate that which is innate with me. but if you look closely at the objects in the images you may see a few co-ordinate lines that I use as reference points. These lines give me a ballpark position of where the various points of the (skull) in this case are in relation to edges, centerlines, peripheral borders.

http://i.imgur.com/r53ra7J.jpg
ai.imgur.com_r53ra7Jl.webp
 

About us

  • Our community has been around for many years and pride ourselves on offering unbiased, critical discussion among people of all different backgrounds. We are working every day to make sure our community is one of the best.

Quick Navigation

User Menu