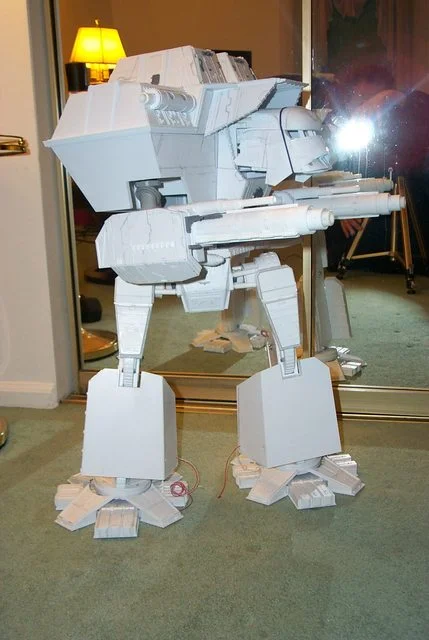
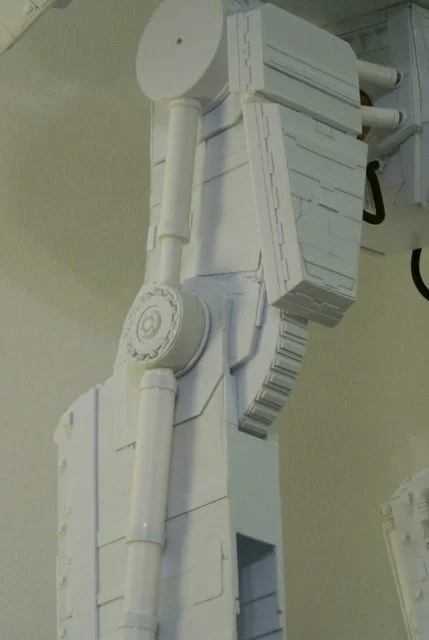
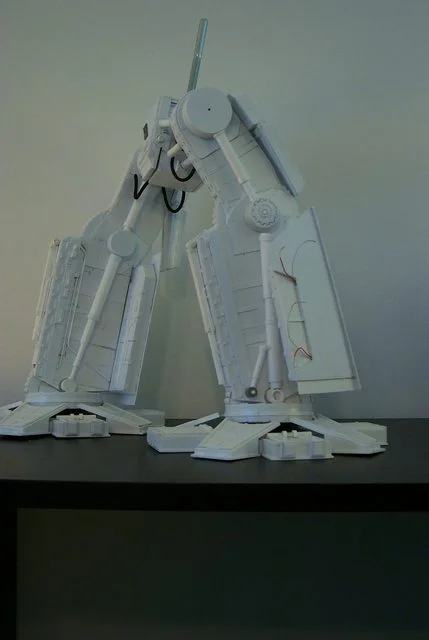
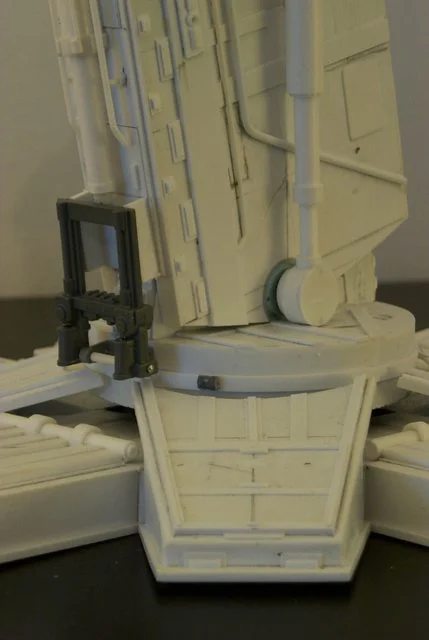
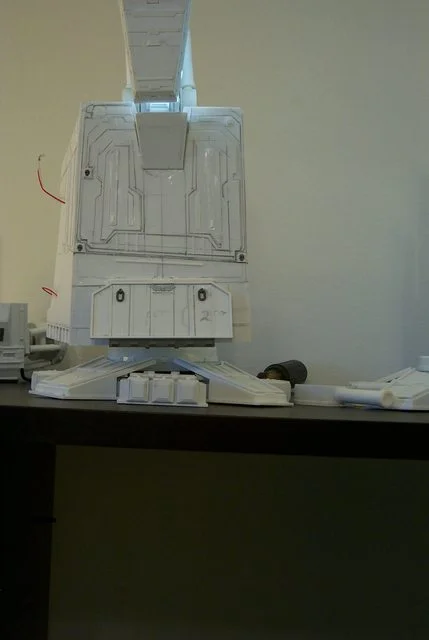
Blackadders WIP Warlord Titan

  • The masquerade of murder returns! A new game of Vampires Amongst Us has begun. Unmask the killers, trust no one, and try to survive the night. Find out more and sign up now!
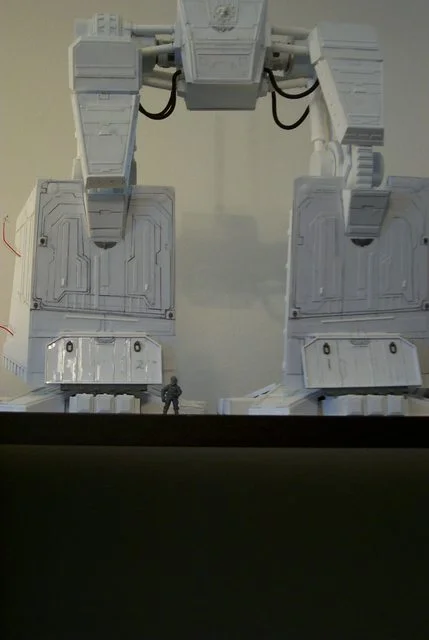
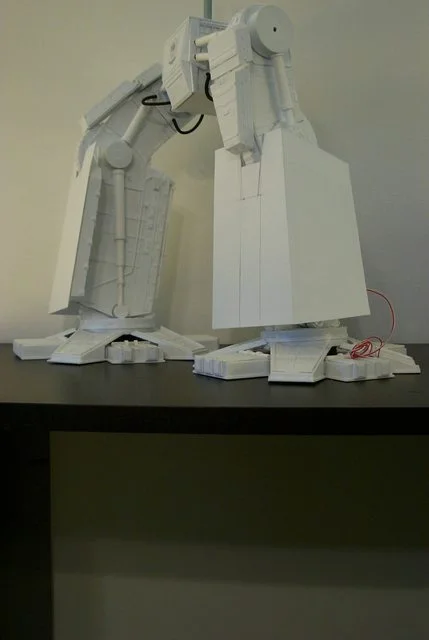
To demonstrate the frequent fallibility of the Blackadder yesterday evening I spent the better part of two hours making brackets to hold the steering cylinders for the hips (Multitasking for I was watching a movie as well) Not surprisingly I was not satisfied with the result so I slept on the problem.This morning in what I can only describe as a eureka moment the mechanism jelled in my mind and I made a quick sketch.

Now it is off to the craft shop for beads and fine threaded screws.


http://i.imgur.com/hNvRP.jpg
ai.imgur.com_hNvRPl.webp

Note to self; I have to be more careful as to what appears in the background.

The sketch:

http://i.imgur.com/uXJr7.jpg
ai.imgur.com_uXJr7l.webp


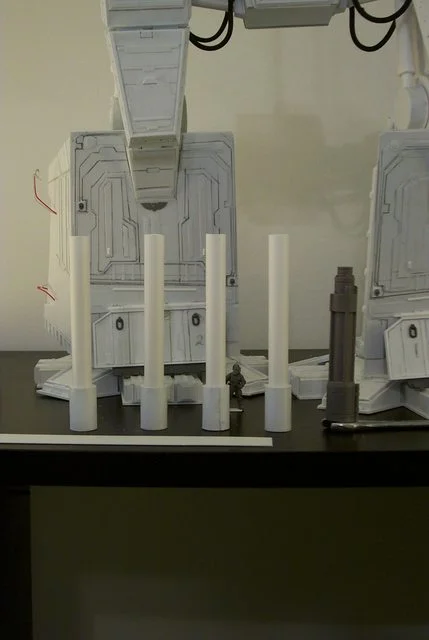
Note to budding scratch builders; the diameter of the tubing..........this may or may not be too small. I see in a lot of scratch models that hydraulic cylinders are fabricated of too small a diameter tubing giving a too delicate or flimsy appearance.

steering cylinders on a construct of this magnitude should be massive for not only do they have to move the apparatus but they must also be able to absorb the shock of the step. A cylinder too small will burst or at the very least blow it's seals with great frequency. Make the cylinders heavy to be believable in fantasy engineering where the cost is not a consideration.
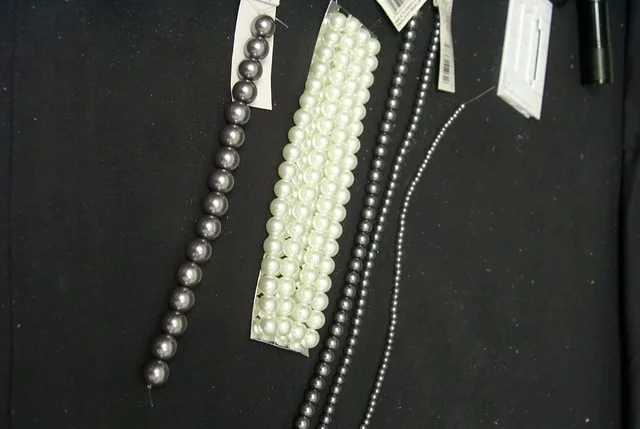
 
Returning from the craft store I found 'Michael's was running a sale on plastic beads in spherical bearing stainless steel colouring no less except for the 10 MM size, so now I have a goodly supply for some time to come for about 6 bucks............ sadly women use these only to decorate their necks, poor dears; you can't tell me they didn't come up the short end on creativity..........

http://i.imgur.com/rqLZb.jpg
ai.imgur.com_rqLZbl.webp
 
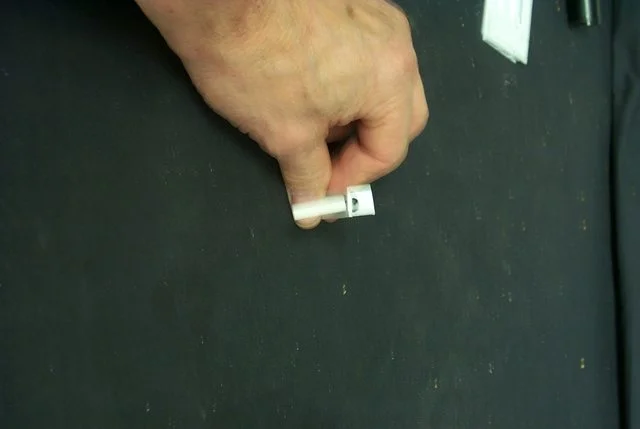
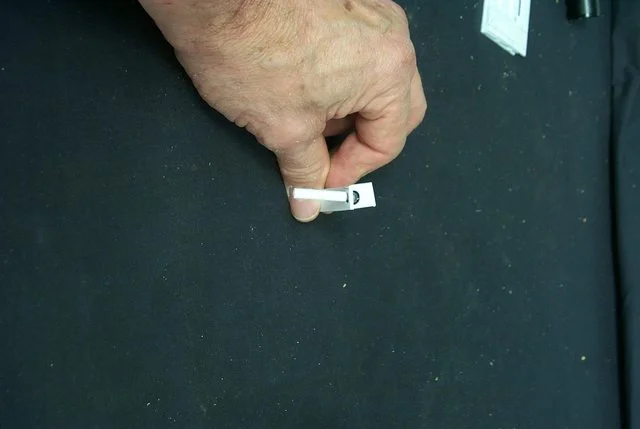
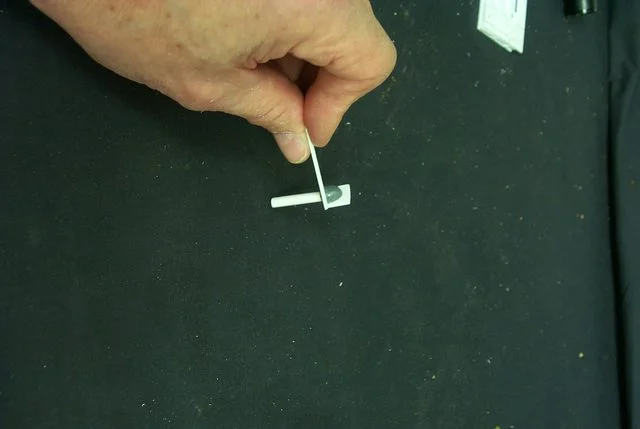
This is the first try to make a ball and rotator cup that will allow the hips to flex when the legs are moved.

You will note that the piston has free 360° rotation within the confines of the cup which should give me the range of motion I need. I have to make ten of these for each leg so by the time I am done this one will have to be replaced as I am hoping to refine the mechanism and apperance.

Yeah you're right that's a Space Marine shoulder armour bitz:

http://i.imgur.com/4zYpY.jpg
ai.imgur.com_4zYpYl.webp


http://i.imgur.com/SZ36e.jpg
ai.imgur.com_SZ36el.webp


http://i.imgur.com/YLwwS.jpg
ai.imgur.com_YLwwSl.webp
 
I continue to be amazed at your ability to make moving parts and then translate them onto the actual model. Now all you need to do is fit remote control motors to them and replace the weapons with actual ones and...
 
Here I departed from the prototype by adding steering hydraulics noticeably missing from the original. And the Epic model as well I might add........

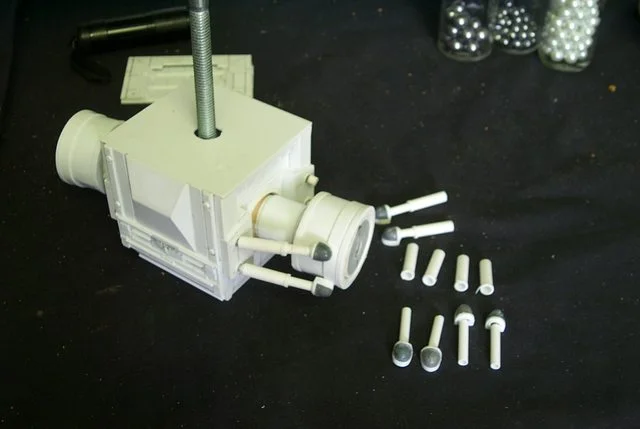
With a lot of effort I managed to approximate my sketch, the four images below depict the movement of the hip rotor showing it in the forward walking, rearward walking deflection, rearward splayed and forward splayed positions.

Shown mounted are the right rear steering cylinders, two of the eight hydraulic servos needed for steering showing the piston travel range.

http://i.imgur.com/ROAPY.jpg
ai.imgur.com_ROAPYl.webp


http://i.imgur.com/0WVNq.jpg
ai.imgur.com_0WVNql.webp


http://i.imgur.com/awzKW.jpg
ai.imgur.com_awzKWl.webp


http://i.imgur.com/wGXkW.jpg
ai.imgur.com_wGXkWl.webp


Now I'm not so sure that I like the SM shoulder armour rod ends and may remount them to a large disk..................

Or leave them off entirely...............

Madness!
 
I'm not at all pleased with the size or the mounting plus the employment of these devices will necessitate further modification of the original design (Shield Armour) as they provide prime targets that would immobilize the titan were they to be damaged. I am in the process of rethinking the whole steering apparatus which while essential to a "real world" construct must also be of a size and application commensurate with a construct of this proportion and vulnerability. I.E. they need to be shielded..............

Just more reenforcement that the Blackadder is a likely candidate for the disorient express. Were I to not over-think this project it might be finished by now..............

Whom I kidding I never would have been satisfied with less.......... Back up the cookie wagon.......
 
Blackadder here and I hope this is coherent enough as I am celebrating with my daily double Martini ''Dirty Harry'' AKA ''Luteus Vexant'' is standing on his own and sporting his new steering cylinders, almost double the size (diameter) of my initial effort. I know a lot of subscribers were pleased with the SM shoulder armour but it just didn't look strong enough to steer an 50 meter tall biped (actually 45M). My new version ties the actuators into the hip with a 1.5 meter (scale) thick mount disc that not only provide a more robust attachment point but also provides a thicker hip base which is a personal criticism of mine and other subscribers. An added benefit is that the whole hip is tied together with 1/4/ 20 bolts (sorry no metric equivalent, blame my provincial education). I love the new mount system as it allows "Luteus'' to stand on his own without adult supervision.

We're on the home stretch now with this construct as everything is holding together swimmingly. I need only to add the chest and greave armour, build the interior and design a viable LED light system to get him ready for painting........................

Hey!!!!!!!!!!!!!!! that's a lot of work still left to do!

http://i.imgur.com/bZGcXb4.jpg
ai.imgur.com_bZGcXb4l.webp


http://i.imgur.com/rM4A00Z.jpg
ai.imgur.com_rM4A00Zl.webp


http://i.imgur.com/rOYutEl.jpg
ai.imgur.com_rOYutEll.webp


http://i.imgur.com/9yzzyKi.jpg
ai.imgur.com_9yzzyKil.webp


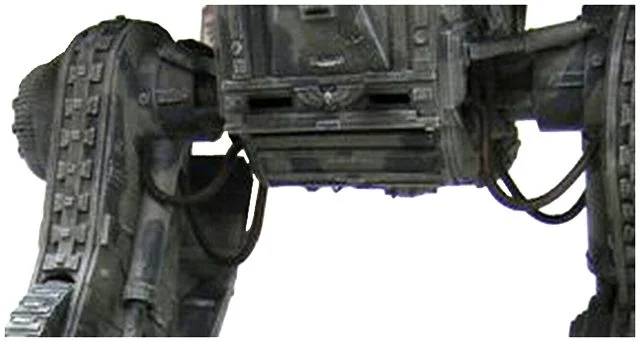
BTW there are a few interesting details on the main armament shielding. I picked this up on close examination of the few images I have of the original and is a testament to the artistic beauty of Dave Smith's creation. If you look at the side armour on the cannon you see at the aft end a rather home made addition to the aft end of the shield. This is obviously an ''in the field'' (so to speak) addition that protected an area not foreseen by the engineers. This harkens back to my own personal experience where we added protection in areas that were not provide by the original designers. Kudos to Mr Smith.
 
Okay here's the deal; as the steering cylinders are designed they scale about 0.5 meters piston diameter. If you are an average sized male, thats about the diameter of your waist. That's a huge hydraulic actuator! Whether this is adequate for legs 23 meters long is subject to conjecture but anything bigger will just look clumsy so they will just have to suffice. Below is the breakdown of the construction of the steering cylinders and I still have to install the leg splaying cylinders.

I hope these images clear up the workings of the assembly. If not ask for clarification...........

http://i.imgur.com/6ow9pMw.jpg
ai.imgur.com_6ow9pMwl.webp


http://i.imgur.com/INvQuBS.jpg
ai.imgur.com_INvQuBSl.webp


http://i.imgur.com/wrbESAY.jpg
ai.imgur.com_wrbESAYl.webp


http://i.imgur.com/UEDyOnM.jpg
ai.imgur.com_UEDyOnMl.webp


http://i.imgur.com/euKrU7i.jpg
ai.imgur.com_euKrU7il.webp


Click in the link above the image for a larger photo..........

Sorry about the gross boo boo image I tend to ignore such insignificant dermal penetrations............
 
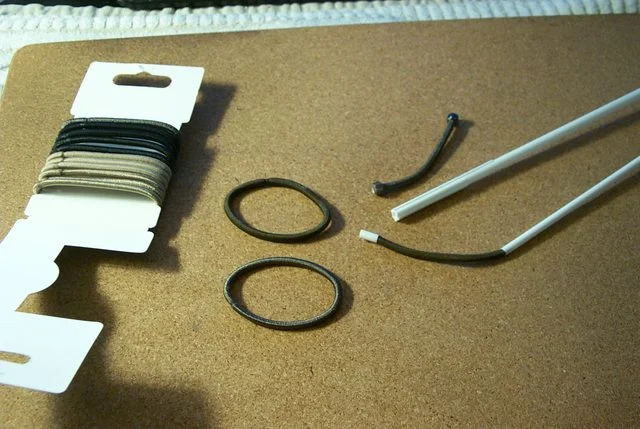
I found these in the cosmetic aisle in my local food market (No I don't use these product (In the conventional sense at least) but there are some exciting patrons in that area.) any-who I found these and thought they might make flexible conduits for my titan so I bought a pack and brought them home to experiment............

http://i.imgur.com/dxTjWYi.jpg
ai.imgur.com_dxTjWYil.webp


Hair elastic bungees go figure...............

http://i.imgur.com/5wZhSDH.jpg
ai.imgur.com_5wZhSDHl.webp


WIP

http://i.imgur.com/6GFiqEZ.jpg
ai.imgur.com_6GFiqEZl.webp


Here is where the conduit will be situated

Bottom line they make great conduit and look for them on my Warlord...............
 
It's surprising the amount of skepticism I am encountering on other forum. Concern about the paint cracking, the fabric not accepting the paint, too stiff. It should be known by now that I test my suggestions before I recommend them; I don't want to mislead any of my readers.

BTW the can of flat black spray paint is a bargain, a buck a can at Wallmart for the basic white, gray, and black primer flats with the good 'old style spray' nozzle and extremely fast drying. I used to use Krylon primer but they switched to a terrible nozzle that applies too much paint and everywhere but where its needed. Fine of you are painting a barn door but awful for a hobbyist.

Its a pity because it was the best primer paint on the market............. But this Walmart stuff is just as good.

awww.dakkadakka.com_s_i_at_at2_2013_1_27_b1c21afcb53d1172fe51cc97e14c0852_6825.webp
 
Maybe I am deluding myself in thinking these hair bands came out d-mned good and make as good a flexible conduit as I've seen.

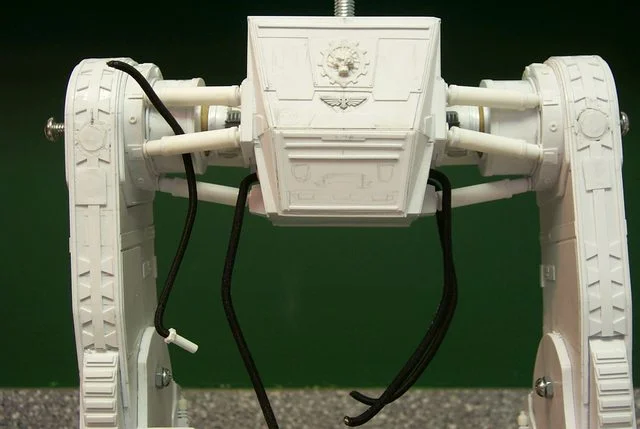
The one hanging from the cylinder is left disconnected for clarity of how the plug in mounting is made. There is a straight pin inserted through the center of the hair band to hold the 90° bend (After the pin is threaded through the band I cut the point off for safety.) and the end of the hair band is glued into the 5/32 white tube with Testors thick plastic cement.

http://i.imgur.com/VbSll8C.jpg
ai.imgur.com_VbSll8Cl.webp
 
One thing this project has taught me is that designing your work before executing the hard copy is essential. Fortunately there were very few rebuild modifications necessary but it could easily gone the other way necessitating grievous overhaul of major components.

as it is I miscalculated on the lack of hydraulic actuators required to operate the legs so once they were installed; five per leg is how I see it for a reasonable set of actuators............ I had to revamp the eye-candy shock-absorbers to make them fit and still retain a modicum of the original configuration. I still have to resolve the inner thigh snubbers but I think I have a solution for those.
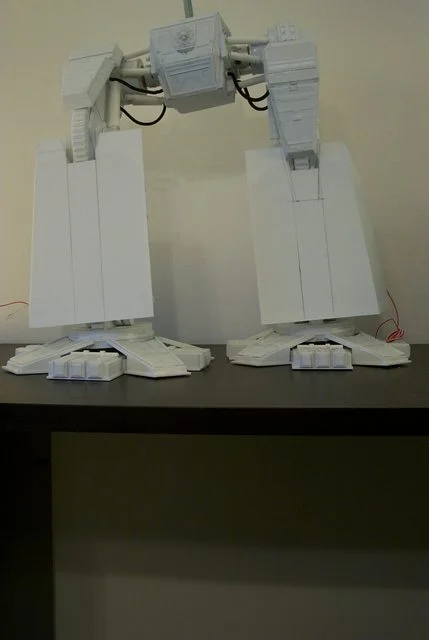
When last we viewed Chrysagon he had received his conduits to the upper thigh area and was awaiting the sprawled legged actuators so necessary for that "Waddaya want d-mn you?" stance so cool in the Reaver milieu.

Now I have the hydraulic shock absorbers in place and the inner thigh area is coming out sufficiently cluttered to give the impression of massive mechanizations. and take away from the fact that the actual upper legs are thinner than they appear. A source of critique for the last few pages.

We'll see how this work is received once everyone has recovered from the Super-bowl fever.

http://i.imgur.com/AAkTVvh.jpg
ai.imgur.com_AAkTVvhl.webp


http://i.imgur.com/a39XjVe.jpg
ai.imgur.com_a39XjVel.webp

It will be interesting how my departure from the original is received regarding the actuators but I honestly cannot conceive how I could have used less and still had this titan ambulatory........

http://i.imgur.com/0uB0bbE.jpg
ai.imgur.com_0uB0bbEl.webp

These cylinders cannot be anything other than shock absorbers the way they are fastened. The ones on the inner shank dwindle down to a ridiculous diameter but that can be rectified at a later date.

http://i.imgur.com/K08EaUr.jpg
ai.imgur.com_K08EaUrl.webp

The overall look sans greaves is striking and to cover all that work is painful but fortunately the greaves are removable so the work can be viewed.
 
All the joint caps are magnetized for ease of access to the joint screws to change the pose. The upper thigh armour is affixed with magnets as well
The inner greave is held in place with the battery compartment drawer but I may add magnets to this area as well when I finish the greave detail in point of fact I had planned on doing that today..............

http://i.imgur.com/m3b5IlT.jpg
ai.imgur.com_m3b5IlTl.webp

Theres still a lot of detailing to add................ yeeeeshhhhh!

http://i.imgur.com/FyPjtuW.jpg
ai.imgur.com_FyPjtuWl.webp

Note the ankle cap suspended from the wrench..........

http://i.imgur.com/e7JAT39.jpg
ai.imgur.com_e7JAT39l.webp

Note the battery compartment on the rear of the greave..........
 
Well it appears my greaves are a tad taller and narrower than I intended. I always had two reservations about M. Smith's noble effort, one that the head was just a trifle too big and two, that the greaves were too square looking. I am satisfied with the head but I won't know about the greaves until they are finished. Right now they look too tall and narrow.

http://i.imgur.com/gaPHbVl.jpg
ai.imgur.com_gaPHbVll.webp


Why does this pose remind me of ''Saturday Night Fever?''
http://i.imgur.com/klPGeJD.jpg
ai.imgur.com_klPGeJDl.webp
 
I really shouldn't go off on these creative tangents and stick with the original design. The DS greaves were too wide in my perception but damn if they didn't look better than my narrower version.

So in one of my frequent all nighters I repaired the greaves to a compromise width and shortened the surface armour 11.0 mm top and bottom each to shorten the greave I also squared up the outer edge to bring it more into conformation with the prototype............ Sorry to have doubted your artistic genius Mr. Smith,

One day I will learn.

http://i.imgur.com/QOGIpXo.jpg
ai.imgur.com_QOGIpXol.webp


We'll have to see if these modifications are extreme enough.........

http://i.imgur.com/FuxLYWm.jpg
ai.imgur.com_FuxLYWml.webp


Note the wiring for the parallel circuit to the Leman Russ search lights

http://i.imgur.com/0gtSefa.jpg
ai.imgur.com_0gtSefal.webp


Note on the top inner surface of the flying greave the gusset that obscures the faux pas. fortunately it only adds more detail and character to the design.
 
Built the hinged greave extensions to protect the ankle mechanism yesterday. There is a lot more detail on the greaves than is perceived in a casual glance. layers upon layers of truncated armour which is seriously depleting my 0.25 mm sheet stock.

http://i.imgur.com/odQZedS.jpg
ai.imgur.com_odQZedSl.webp

Note the tow rings that for whatever purpose are included in the original. Without wheels or dollies under the feet, I fail to see of what use they could be.?

http://i.imgur.com/qBWjY7m.jpg
ai.imgur.com_qBWjY7ml.webp
 
The following is meant to be humorous......................... I'm too shallow to be pessimistic.

Okay, I've reached a point in my life that I don't expect the Universe to work period.

There is no Santa Claus, Sorry kiddies it's true............

The SS system will collapse the day before I get on it..........

There'll be immortality discovered the day I am just too old to have it work..........

"The Big Rip" will commence as soon as I win the Lottery...........

Thats just how things happen and I accept it............ :D

So when things like this happen I start looking over my shoulder for that asteroid.

I have no plan for this titan, everything is pretty much 'off the cuff.' I haven't given a minute's thought to the leg, ankle, step mechanism, 'what have you' since about June of last year.

So I gathers some bitz crap together and start making the heel actuator and hell! Everything is falling into place, I can't do anything wrong.......... The bracket is just the right width, there are two channels 2.0 mm wide running up the back of the bracket, there is sufficient clearance for the quadrant sprocket and there is a bitz that can act as the lower attach point! And it all works!

http://i.imgur.com/RVshtBE.jpg
ai.imgur.com_RVshtBEl.webp


http://i.imgur.com/b8PJ3Oc.jpg
ai.imgur.com_b8PJ3Ocl.webp


http://i.imgur.com/Ff0eB8j.jpg
ai.imgur.com_Ff0eB8jl.webp


http://i.imgur.com/ZgQx2j9.jpg
ai.imgur.com_ZgQx2j9l.webp


What the frack gives?

and has that under water landslide just happened in the Canaries!

awww.interestingeverything.com_wp_content_uploads_2011_12_tsunami.webp
 
Don't blame the messenger..........

I post on about twenty forum and since I posted what I thought was a ironic reply about doomsday alarmists I have received damned few replies on any of the forums. Granted I reply to not too many worthwhile threads mostly because of a lack of time and I think that it's a good thing to recognize that there are forces of nature that are beyond the complacent control of burgeoning humanity secure in their ivory towers thinking there is nothing Nature can devise that cannot be over come by Pollyanna humanist thinking.

I'll have to stifle my misgivings!


And so back to business. The greaves are a massive undertaking, much more than I gave thought to.

The layer armour is time and material consuming far beyond what I thought would be the case and I am still struggling with an acceptable solution. I have already resigned myself that I shall have to rebuild the thigh armour............

http://i.imgur.com/oMSevhM.jpg
ai.imgur.com_oMSevhMl.webp


http://i.imgur.com/luFR9LY.jpg
ai.imgur.com_luFR9LYl.webp
 
I hope this looks better when it's painted. Heres a new use for camouflage; it hides discrepancies :D

http://i.imgur.com/WSHLbyj.jpg
ai.imgur.com_WSHLbyjl.webp


I spent a lot of time finishing up the greave detail and lengthening and widening the thigh armour.

BTW

I've gotta stop surfing the web I just found another project that really piqued my interest. Not that I'll be starting this anytime in the near or distant future but how awesome would a Chaos Decimator Warlord titan be!

Any3NqiCEAE4BOA.jpg


Although of a comparable size to the current Warlord. I didn't build this just upstage it with a larger opponent.
 
Today I started on the last major component of the exterior, the Turbo Laser secondary armament.

I made these an 1.25 inch (= 29 MM) longer than the FW standard lasers for the Warhound but the same diameter which seems like a pretty good estimate.

I started with evergreen 0.5 inch (= 12.6 MM) tube and wrapped 0.020 inch (= 0.25 MM) sheet styrene (foreground) around the tube feathering the initial start lip smooth and gluing as I wrapped and clamped the outer edge. This is the best way I have found to increase the diameter of styrene tubing within reason of course. You wouldn't do this to say, double the radius but that method will be left for another demonstration.
Once I have the wrap dry (I called it a late night after I glued these last evening) and woke this morning to the seams completely dried (beginning to sound like a tweet!) I sanded the outer end to feather the edge which gave me the 4 barrels shown below.

http://i.imgur.com/1VfDCf2.jpg
ai.imgur.com_1VfDCf2l.webp
 

About us

  • Our community has been around for many years and pride ourselves on offering unbiased, critical discussion among people of all different backgrounds. We are working every day to make sure our community is one of the best.

Quick Navigation

User Menu