Blackadders WIP Warlord Titan

  • The masquerade of murder returns! A new game of Vampires Amongst Us has begun. Unmask the killers, trust no one, and try to survive the night. Find out more and sign up now!
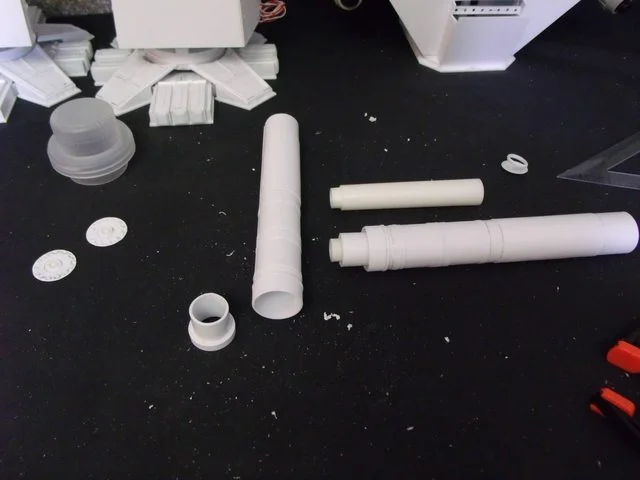
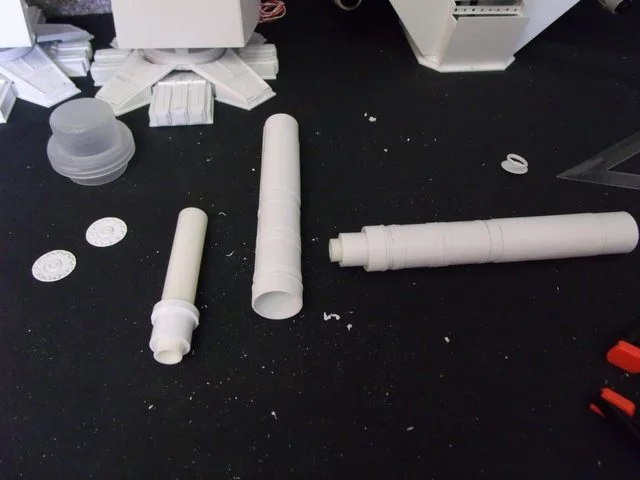
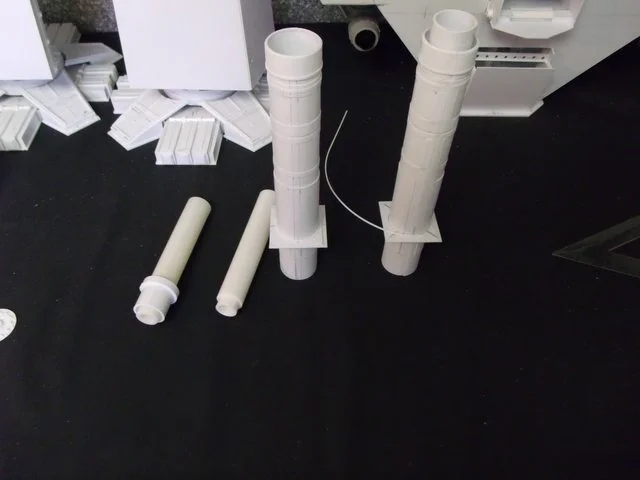
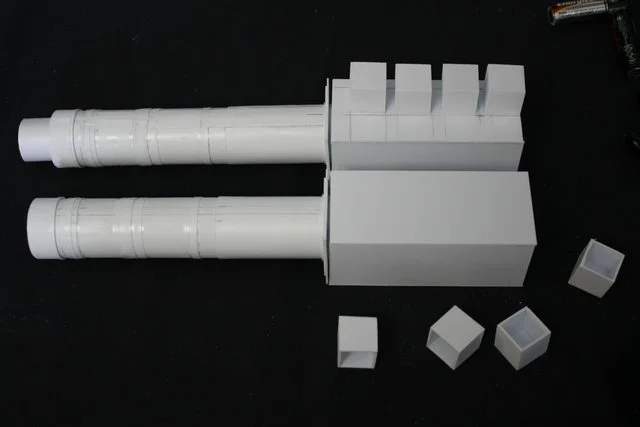
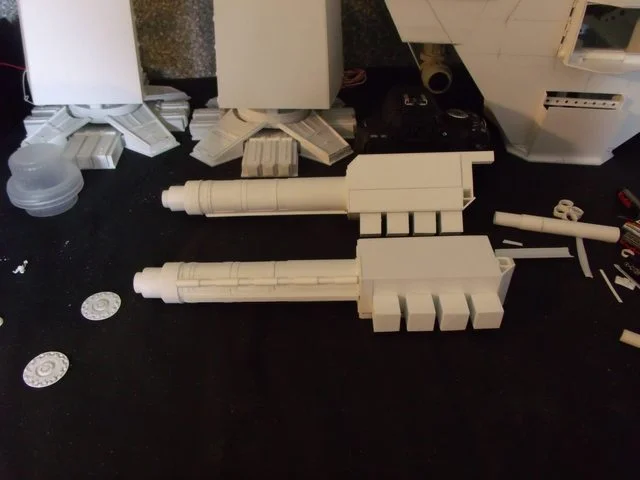
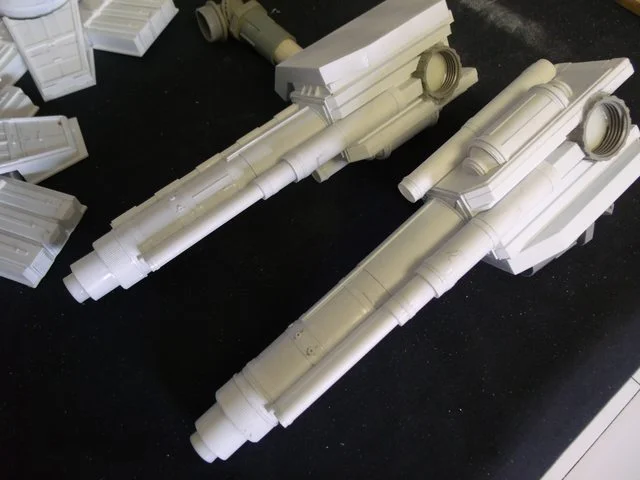
The gun barrels are basically done except for the detail. There was a lot of wrapping of layers of styrene.

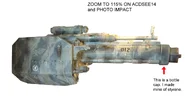
The biggest problem was duplicating the bottle caps used in the original.

http://i.imgur.com/Iu2B4.jpg
ai.imgur.com_Iu2B4l.webp


http://i.imgur.com/5dJIG.jpg
ai.imgur.com_5dJIGl.webp


But the finished result is very gratifying especially since they weigh only 29 grams/one ounce each.
 
29 grams actually.

On the DS model Mr Smith used a lot of bitz and bottlecaps for shortcuts detailing his model. As mine is a strict styrene construction I fabricate the caps instead. Just a little quirkiness on my part. I will use bitz when necessary as they are styrene as well.
 

Attachments

  • PLASMA CANNON ACTUAL SIZEbottlecap.webp
    PLASMA CANNON ACTUAL SIZEbottlecap.webp
    42.9 KB · Views: 64
Not much going on today. I made the mount plate for the cannons and installed the keel reinforcements as these guns can't be solid or even wound barrels as would be for say battleships. They would have to be some kind of containment devices such as would be found in linear accelerators. Powerful yet light weight magnets would contain the plasma and focus it out the barrel to the target. Recoil would be out of the question for anything but the lightest projectiles and even these may probably have their own fuel supply such as with a solid fuel rocket.

http://i.imgur.com/LYLlV.jpg
ai.imgur.com_LYLlVl.webp


An interesting note and something I was not aware of is that some battleship built before 1920 the main guns the 14 16 and 18 inchers are actually made of wound wire over a solid tube; Over 200 miles (325 km) of 0.25 x 0.06 in (0.635 x 1.52 cm) of high-tensile steel wire was used in the 18.0 inch Mark 1 . I did not know that. I had always assumed they were cast or at least solid steel.

Anyway note the thin strip of plastic collar at the gun base. The one on the left is affixed but the one on the right is just being started. Note that the starting end overlaps the centerline. This is because it's harder to make the end lie flat to the contour when gluing but if you leave a sacrifice tailing in the beginning you will have a smoother seam when you complete the collar. It's not really necessary on such a thin strip but on heavier strips it will save you a lot of grief getting your rings to stay put.
 
You would think that by now I would be inured to the tedious aspect of scratch building but no. I am basically a lazy fellow and repetition takes a great toll on my abilities which is why I never took up knitting. So many times when I was building Lucie I thought F-----t why am I wasting time on these damned toes when I could be out sha-----g. Anyway the barrels are supposed to be mounted in box like housings and attached to the box like housings are more tinier boxes all the same size. Well it was a job to make all these tiny boxes and the two big ones weren't any picnic either as they all have to be as light as possible but while the rest of you slept I managed to get them made and now I am going to take a nap.

http://i.imgur.com/GwpEh.jpg
ai.imgur.com_GwpEhl.webp
 
The arm mounted weapons are basically done and I have to make the stanchions to mount them. My previously failed attempt at stantions was a waste of time and material as they didn't look right but I did find in my electrical goodybox a couple of variable degree connectors that look like they belong on a titan. I don't usually use prefab components but these have been kicking around for years since I refurbished a very intricate electronic control panel on would you believe a bakery production line.

http://i.imgur.com/NiJxm.jpg
ai.imgur.com_NiJxml.webp


http://i.imgur.com/y4G68.jpg
ai.imgur.com_y4G68l.webp
 
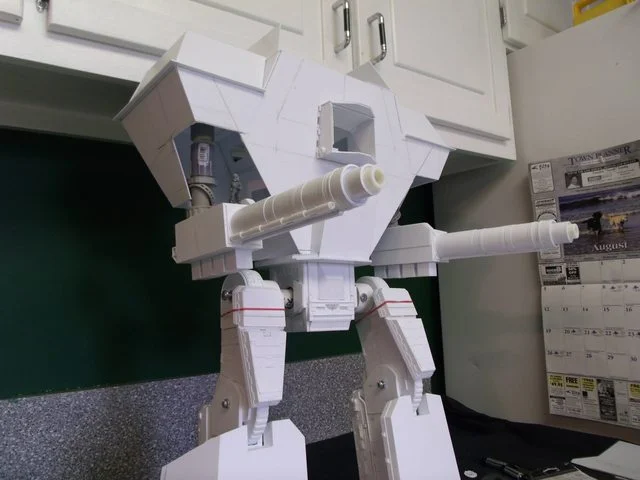
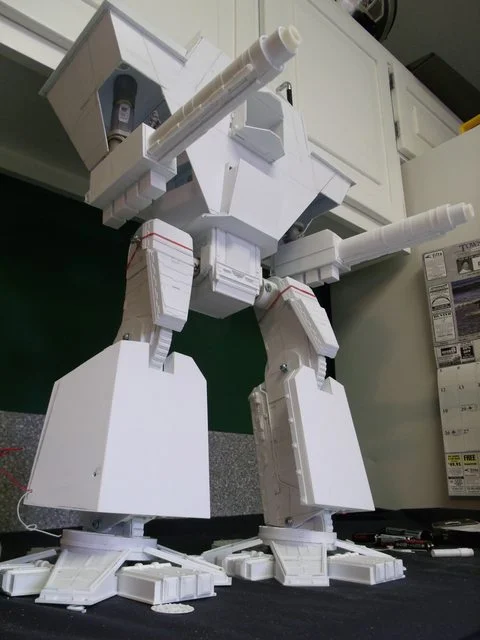
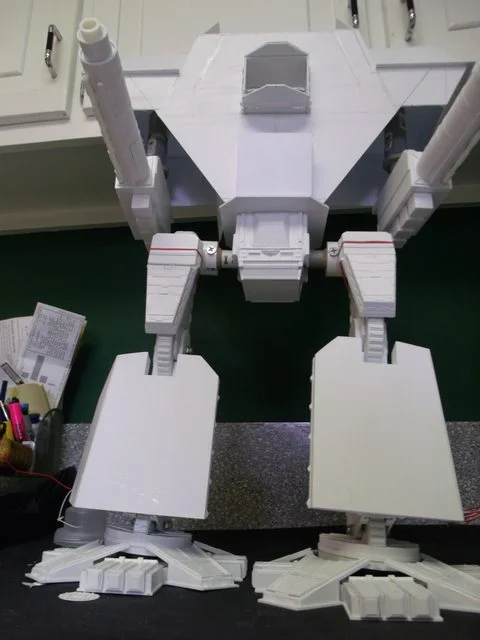
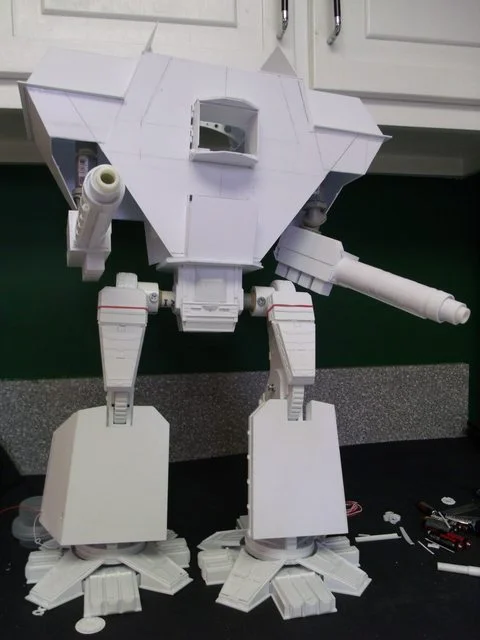
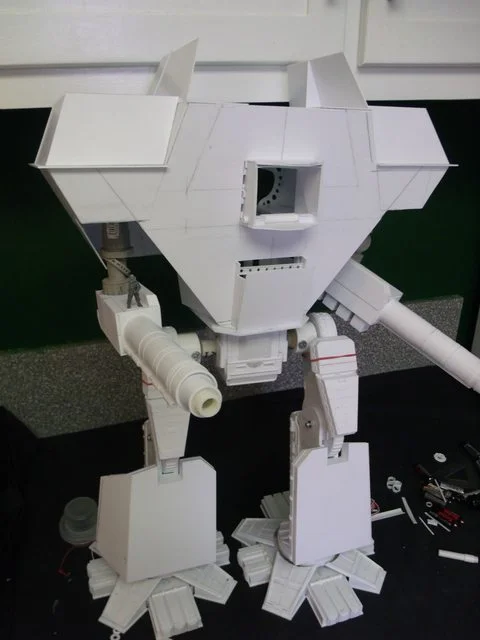
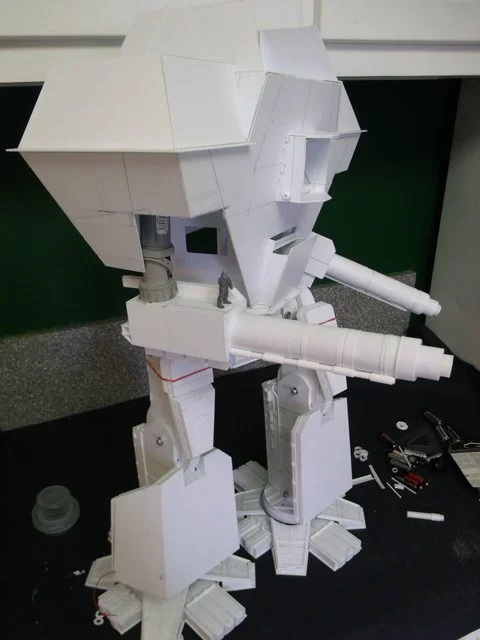
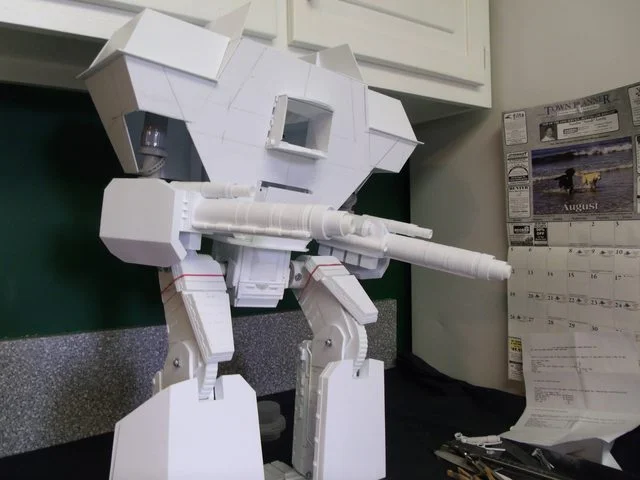
First test drive of the new Volcano Cannons seems to be satisfactory. The apparent size is acceptable and while they aren't bulked out yet they appear to be massive enough as well. The balance is spot on even without securing the hardware I dare say that when the rear components are installed this model will have no trouble maintaining balance even when bending forward. The items of criticism are: the carapace skirt needs to be trimmed upward, the stanchion mounts are extremely pose-able/aim-able but need to be shortened, the stanchion mounts need to be cluttered up with a lot of high tech paraphernalia likewise the guns themselves but overall it's an acceptable start.

http://i.imgur.com/kgycd.jpg
ai.imgur.com_kgycdl.webp


http://i.imgur.com/cvEIW.jpg
ai.imgur.com_cvEIWl.webp


http://i.imgur.com/hslOR.jpg
ai.imgur.com_hslORl.webp


http://i.imgur.com/FoQup.jpg
ai.imgur.com_FoQupl.webp


http://i.imgur.com/pWj79.jpg
ai.imgur.com_pWj79l.webp


http://i.imgur.com/rr1Vf.jpg
ai.imgur.com_rr1Vfl.webp
 
I'd say it's a damn sight more than acceptable, those things would be 'acceptable' as final pieces, as bare skeletons of the final guns they're fantabulous
 
To keep the thread up to date a picture of the guns before I install the outer sleeve forearm shields. Sorry for the mis-nomenclature according to the information on the 'net these shields are called 'vambraces'

northern_pike_vambrace_78610039.jpg
:perv:

Apparently something Lara Croft might wear as well?

http://i.imgur.com/l4BG6.jpg
ai.imgur.com_l4BG6l.webp
 
The first pic makes me wonder why she's wearing those vambraces but didn't even bother pulling up the zipper of her pants…

The second pic make me wonder why my scratch-builds are not close to half as good…

So overall a great post :thumbsup:
 
Cthulhu said:
The first pic makes me wonder why she's wearing those vambraces but didn't even bother pulling up the zipper of her pants…

I thought the exact same thing xD

And nice work on the Titan Blackladder. I've been following this, lurking in the shadows, from the star and must say that it is very impressive, the detailing is incredible. Looking forward to seeing it progress further.
 
HA! got ya smartass! It not too often the Blackadder has to admit mistakes but theres a bigg'un in this post. I applied the 'vambraces' to the guns and lo' they are not long front to back as they should be. I could take the easy way out and say they were foreshortened in the image or the wide angle lens distorted the image but the flat out truth is I miscalculated and the photos revealed the discrepancy. Now I hope I have a viable solution with out having to rebuild this labor intense component "Spaced armour" might save me from a marathon overnight rebuild...............

Note, Had I not lengthened the barrels they would have been okay..................Just sayin'.

http://i.imgur.com/Fdfgv.jpg
ai_imgur_com_Fdfgvl_jpg__.webp


http://i.imgur.com/lAnrk.jpg
ai.imgur.com_lAnrkl.webp
 
I don't know mebbe a couple of centimeters?

There's an incredible amount of superfluous detail on the main guns/cannon/weapons to apply calling for a moratorium on the overall build but I have to see how much space will be required before I can continue so................... here is where it stands as of today.

http://i.imgur.com/CtJE3.jpg
ai.imgur.com_CtJE3l.webp


Note both these guns are the same size within a tenth of a millimeter, I don't know why they look so different in size in the photo!
 
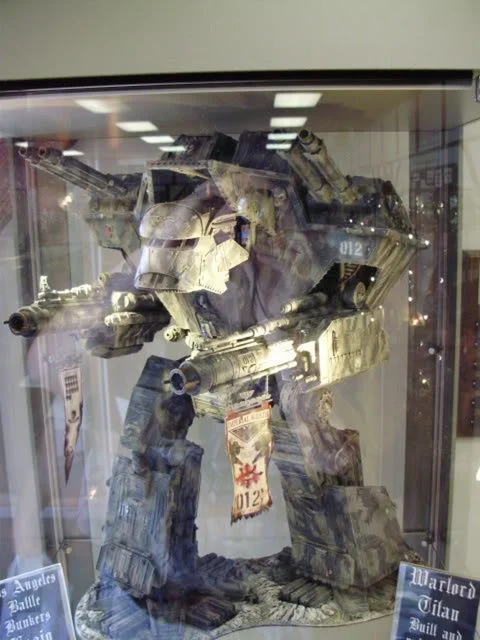
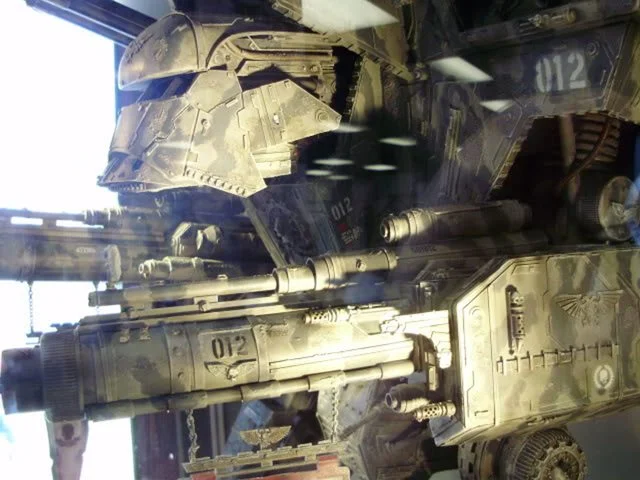
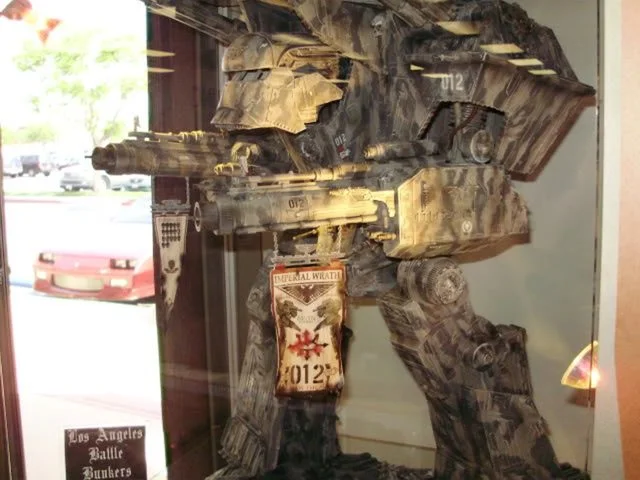
So there are a few (read very few) new images of the DS titan on the 'net. Considering that it costs virtually nothing to take hundreds of pictures anymore why only three of this monumental artistic effort but I appreciate all that I can find.

Geez can't someone take a decent picture of the back of this thing and try not to get a reflection in the image in the glass! Cripes how hard is that? Do I have to purchase a ticket to LA and take 'em myself??????????????

Anyway these are revealing pictures and expose new aspects of the work heretofore unseen and I am grateful for them in spite of my childish tantrum..................

http://i.imgur.com/EGfZ7.jpg
ai.imgur.com_EGfZ7l.webp


http://i.imgur.com/7PPrH.jpg
ai.imgur.com_7PPrHl.webp


http://i.imgur.com/nBzGi.jpg
ai.imgur.com_nBzGil.webp
 
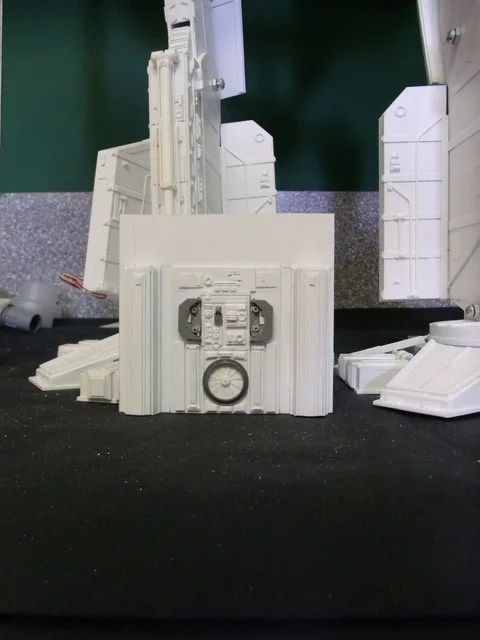
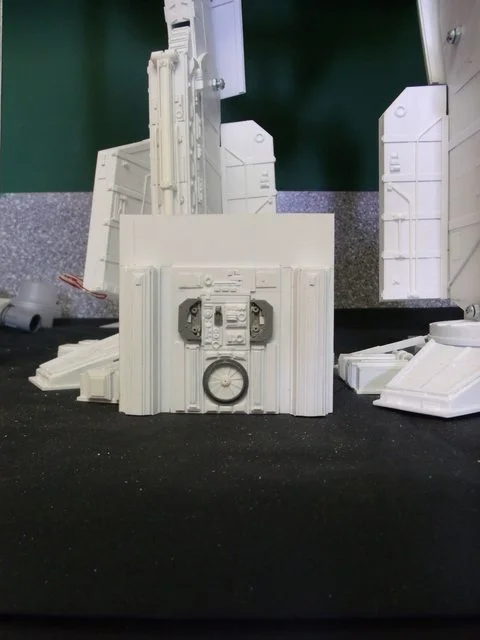
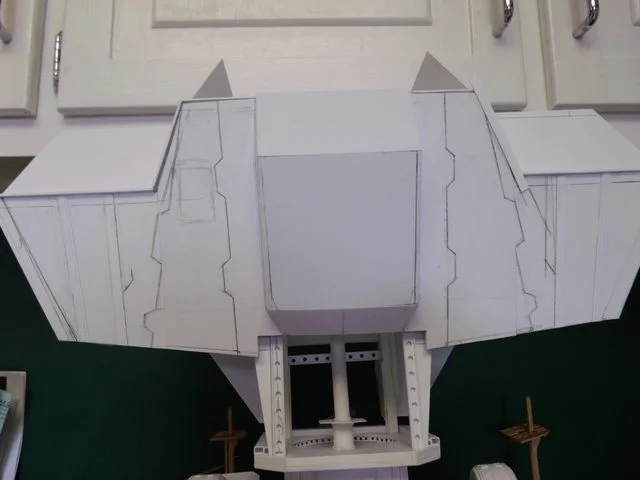
Due to yet another stint in the hospital I needed to take a sabbatical in building this my attempted recreation but back again with new ideas and a firmer grasp on what is required I managed to reproduce that which is not actually documented in the spurious images posted of this beautiful titan. My main concern in not posting is I was afraid that the back panel of the engineering department looked too much like a "Police Call Box" from a 'Dr. Who' episode. Therefor I opted not to post until I had most of the complete back panel components in place. Bear in mind that these exterior components will be removable so that the interior components can be revealed and lock into place by friction and interlocking panels.

http://i.imgur.com/xHAsW.jpg
ai.imgur.com_xHAsWl.webp


http://i.imgur.com/DVijC.jpg
ai.imgur.com_DVijCl.webp


http://i.imgur.com/sPs3w.jpg
ai.imgur.com_sPs3wl.webp
 
Its amazing what the camera reveals as opposed to visual perception. The following image is not up to my usual standards and shall have to be reworked before the final painting. Not having seen this until I took the picture today I was not aware of the lopsided work I believe once I get back into my groove again I can offer better work..............

http://i.imgur.com/xHAsW.jpg
ai.imgur.com_xHAsWl.webp
 
Thats because you aren't mentally disturbed.............

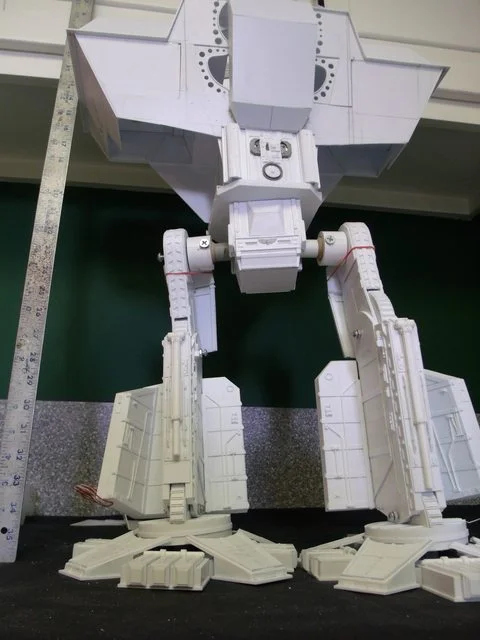
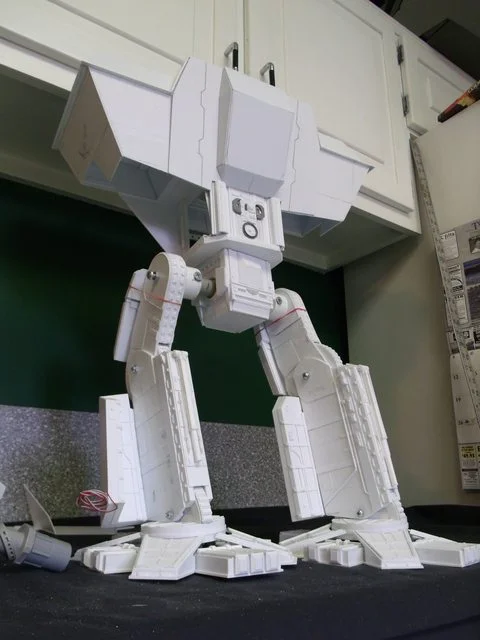
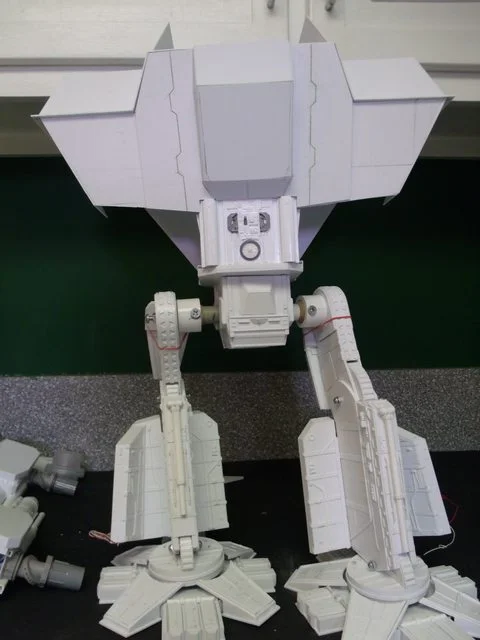
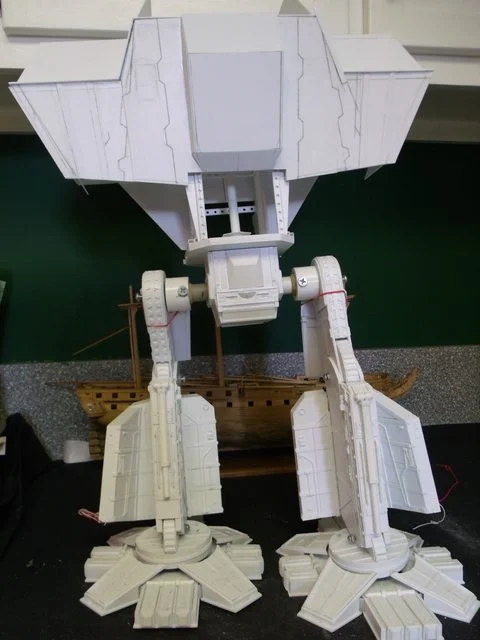
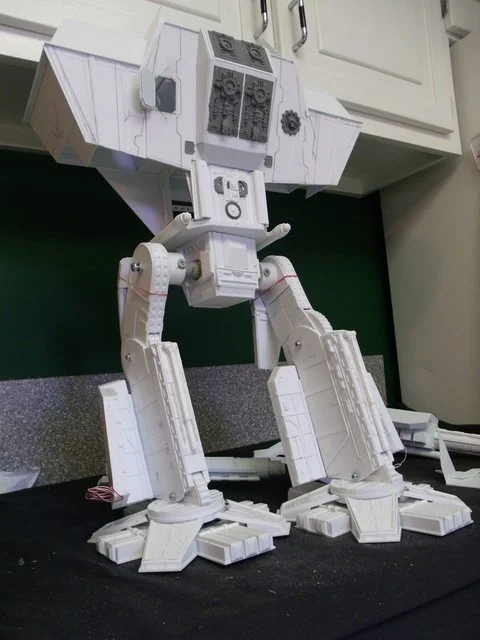
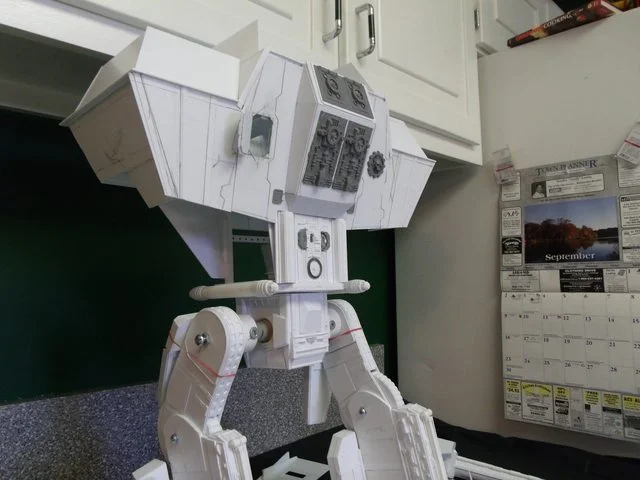
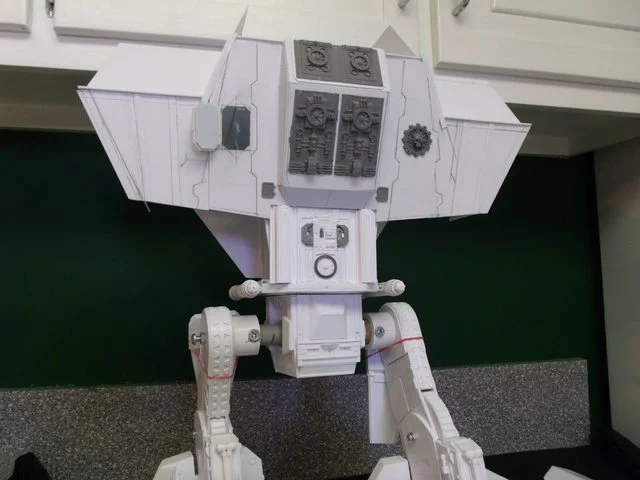
I tried a different stance for these images to see how the joints would bear the weight. The upper torso weighs in at 880 grams/31 ounces/1.94 pounds without the guns now and the legs are bearing the weight with no problem. I may not need the friction devices I had planned for holding the position. OF course the upper torso may be closer to eight pounds before I am finished.

http://i.imgur.com/oda1V.jpg
ai.imgur.com_oda1Vl.webp


http://i.imgur.com/fqDf3.jpg
ai.imgur.com_fqDf3l.webp


Applied secondary armour plating to the back removable panel today. I made some subtle changes in the back pack area to make it more aesthetically appealing bumping out the side panel layers about 2.5 mm.

The whole back panel including the 'Dr Who police call box panel' interlock together and are as yet held in place by only friction but when completed will have rare earth magnets to keep them tight to the frame.
 
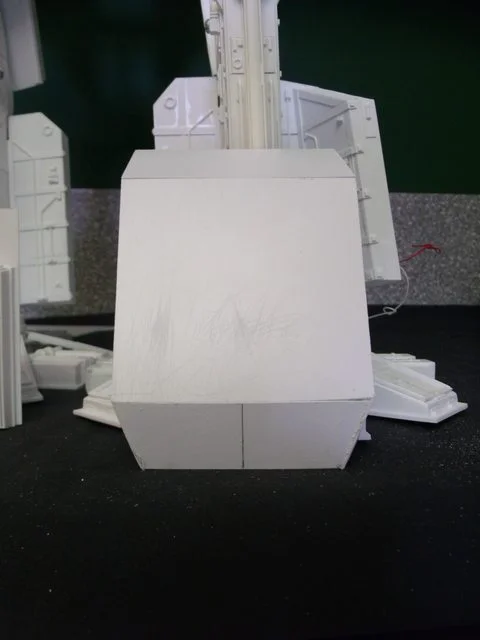
Here's a lesson boys and girls; don't be afraid to rebuild that which is unsatisfactory. without a guide other than rather spurious images and incomplete documentation I have decided that the current iteration is less than satisfactory and am employing efforts to rectify said anomalies. Therefore I have amended slight indiscretions for the great good of the overall project.........

Case in point; the discrepancy in the overall back panels of the current work with that of the original. Due to a failure on my part to discern perspective errors I made definite and grievous mistakes.

Fortunately the errors can be corrected without redefining the internal structure of the said project but at the expense of a few square centimeters of styrene I can ameliorate the current structure into a more reasonable facsimile.

http://i.imgur.com/tuzaW.jpg
ai.imgur.com_tuzaWl.webp

Note in the upper right the replacement seam on the center back as opposed to the mirror site on the left. A quarter inch seems to make all the diference.

http://i.imgur.com/kdQ8U.jpg
ai.imgur.com_kdQ8Ul.webp


http://i.imgur.com/oY4lD.jpg
ai.imgur.com_oY4lDl.webp
 
After taking a week off to refresh myself I woke yesterday morning with a solution to a problem that has vexed me since I started this project. Namely the door and the ladder to nowhere. I have always thought the door was a personnel portal when the titan was docked in the hangar for maintenance and maybe it served a secondary function as an escape hatch in battle but the ladder always looked ridiculous and wasn't needed. Scratch one ladder.

The other big problem was the placement of the door on the epic and DS model which seems too high for convenient exit. I felt that the logical place to have it was for the command deck people. The waist block has a hatch at the bottom and engineering exits through the catwalks under the carapace. That leaves the command deck and the reactor/void generator decks to vacate. Naturally descending on a ladder is too slow so in the vestibular immediate proximity of the door will be descent bungees for rapid evacuation.

One can assume when the titan is docked the door provides egress for the crew much as the gantry catwalk for the lamented Space Shuttle missions.

I did an major revamping of the command deck to accommodate this door and passage and there was sufficient room under the carapace for the vestibule.

http://i.imgur.com/qu5bn.jpg
ai.imgur.com_qu5bnl.webp


http://i.imgur.com/Aytdi.jpg
ai.imgur.com_Aytdil.webp


Problem solved and in a logical (TMM) manner; Whew!

http://i.imgur.com/ShkeR.jpg
ai.imgur.com_ShkeRl.webp

Regarding the cooling modules on the stern panel they are just tacked in place so I can get a feel for how they will look. They're not permanently mounted.

Naturally there will be a lot of piping and mysterious components galore to 'tech up' the exterior.

 

About us

  • Our community has been around for many years and pride ourselves on offering unbiased, critical discussion among people of all different backgrounds. We are working every day to make sure our community is one of the best.

Quick Navigation

User Menu