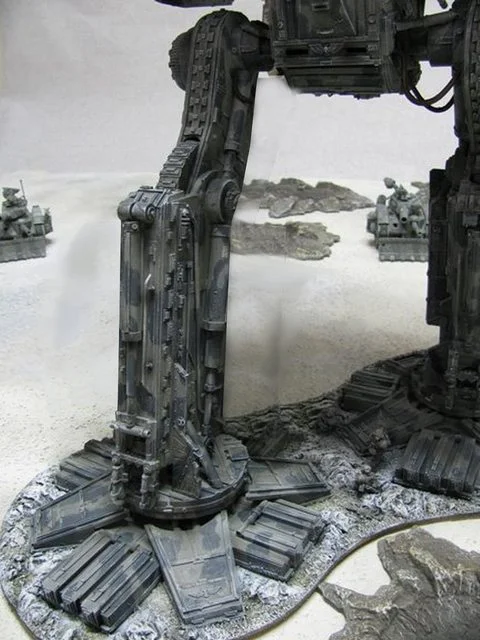
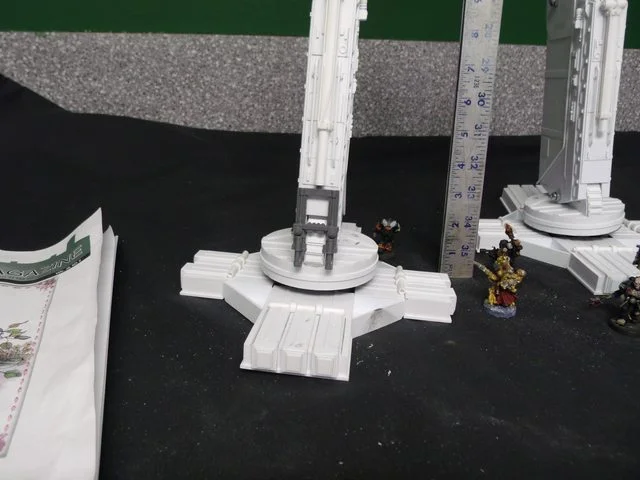
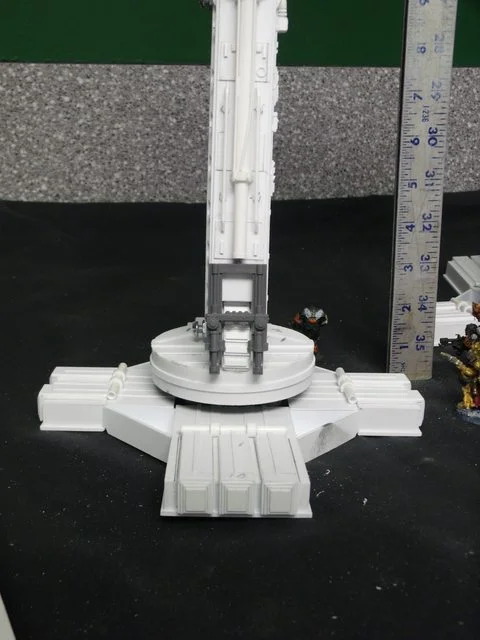
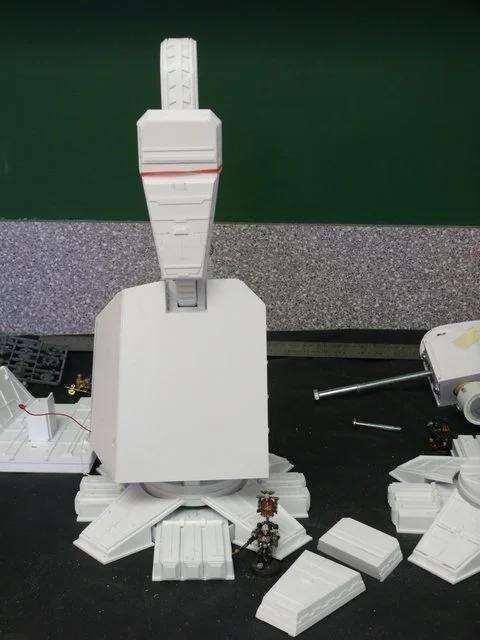
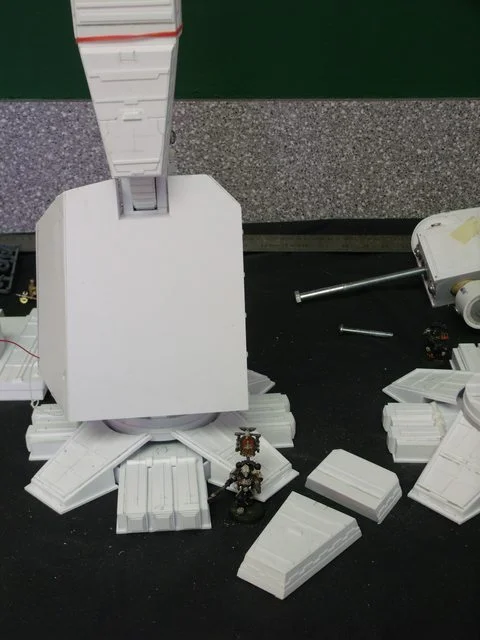
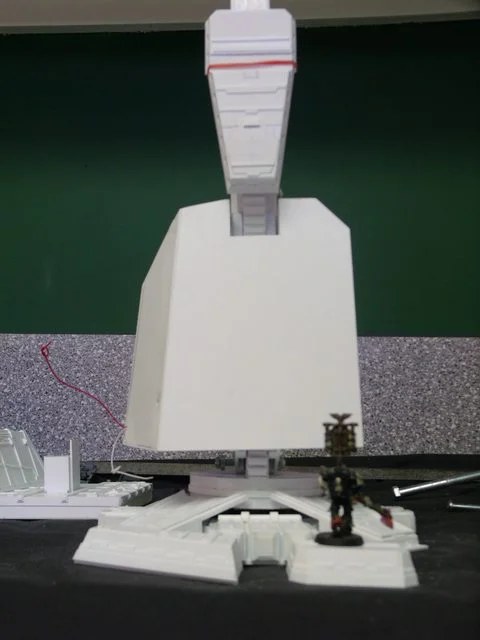
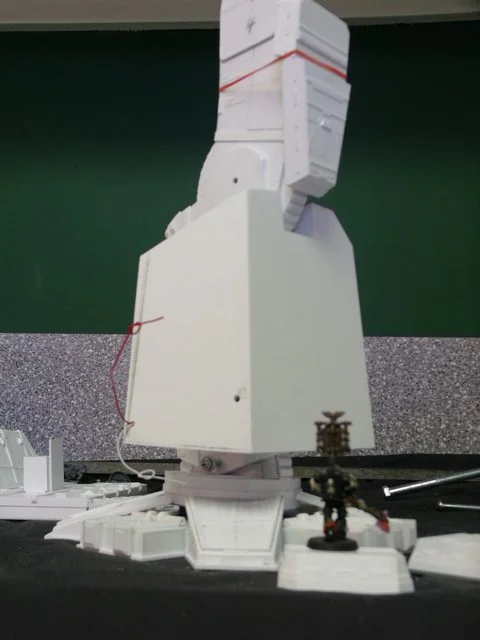
Blackadders WIP Warlord Titan

  • The masquerade of murder returns! A new game of Vampires Amongst Us has begun. Unmask the killers, trust no one, and try to survive the night. Find out more and sign up now!
As you may know I post on a lot of fora and the question/criticism I get most often is that the legs look too thin. When I was building Lucie that was the most frequent observation and I appreciated the kind intent to warn me of impending mistakes. It turns out that I kept increasing the cross section of Lucie's legs until I realized a reference namely the banners on the knee segment.

It turns out that Lucie's appendages are much more robust than the FW model and the latter looks anorexic vis-à-vis Lucie.

Now the same concern is being voiced regarding this model and I do appreciate the critique; I'm also a bit anxious about it so I 'shopped the DS leg from the back removing all the front armour and if anything the legs actually look thinner than my titan's. I couldn't remove the hydraulics.

http://i.imgur.com/Kgq0Z.jpg
ai.imgur.com_Kgq0Zl.webp


There are a few inconsistencies as my ankle discs is thicker than his but I needed that to make the ankle flex. and I have one more dart in the zipper-like design running over the front and back of the upper leg but thats just a matter of artistic interpretation as there are only five or six on the epic model.

So to paraphrase the line of 'The Black Adder' in the Infanta's Beard episode, "So Percy, what you are telling me is something you've never seen is slightly less thick than something else you've never seen."

I appreciate the candor,

The incorrigible Blackadder
 
I think that while the legs do appear to be thin, when the titan is completed they should look fine. Do you have a basic schematic of sorts you can look at? If you draw up the legs and the rest of the body together in an orphographic style with accurate measurements you should be able to compare the proportion of the legs to the rest of it.
 
This just in:

New information regarding the size of the legs:

The fine line of madness seems to be serving me in good stead. My son on return from college apprises me that there is a perfect Leman Russ component that will verify or refute the scale and width of the leg components.

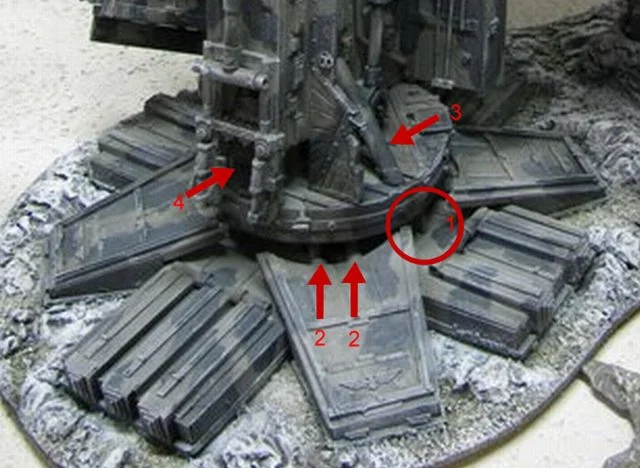
He recognized right off that the ankle disc leveling device on the DS Warlord is actually the dozer blade actuator of the Leman Russ item 4 on the image below and that all I need do is apply it to the rear of the lower leg to determine if my eye was off or on regarding the width of the DS model.

http://i.imgur.com/dP8Gd.jpg
ai.imgur.com_dP8Gdl.webp


The images below vindicate my perception at least regarding the lower leg width as it appears that I cannot be off by more than the tiniest fraction of a millimeter,. whew!

http://i.imgur.com/bATIm.jpg
ai.imgur.com_bATIml.webp


http://i.imgur.com/sfSNd.jpg
ai.imgur.com_sfSNdl.webp
 
Actually I appreciate candid critiques. I'd rather hear a criticism than go blindly in the wrong direction............

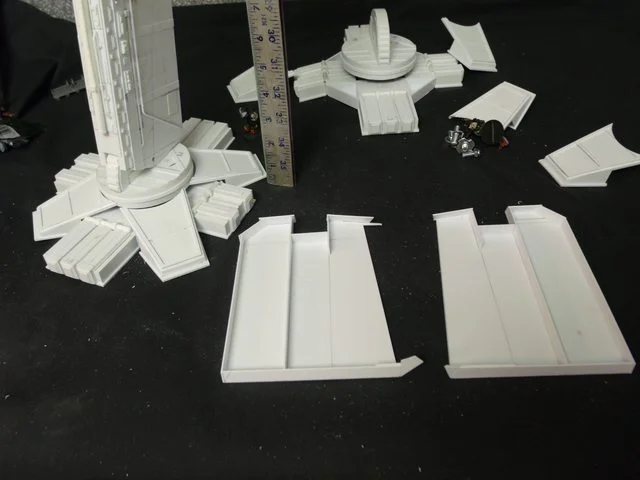
Started on the greaves yesterday, it's interesting that such a simple looking panel is so difficult to get right. There are so many compound angles on these that I had to invent new ways to make them. I settled on a twelve mm thickness for the basic structure, most of the Warlords I see have armour way too thick to be practical. 12 mm translates to 2.57142857 feet which I believe is quite thick enough considering that the Iowa class battleships (the heaviest armoured ships ever built) have a belt thickness of only 19 inches. Given that in the far off bellicose future there is ceramic and/or depleted uranium armour; 30 inches seems to me to be more than sufficient.

http://i.imgur.com/0wuVH.jpg
ai.imgur.com_0wuVHl.webp


Unless it don't look right!
 
Well, you do have to remember that this armour needs to protect against shots fired by other titans, including those fire by imperator titans (whose guns are really, really big and powerful). So it needs to be very thick, and probably has spall liners and the like inside the plating.
 
Back to more basic structures I should learn to accept Monsieur DS's plan and not make a fool of myself (at least not in print). I had to thicken the greaves armour another 3 millimeters as mine looked too thin. But I did manage to clean up the slope of the 'flying' greave segment so all the facets have a clean line. I should have the basic greaves done this evening. Then all that needs be accomplished is the detail which will make this rather plain structure more impressive.

http://i.imgur.com/mEx0q.jpg
ai.imgur.com_mEx0ql.webp


http://i.imgur.com/hLEpn.jpg
ai.imgur.com_hLEpnl.webp
 
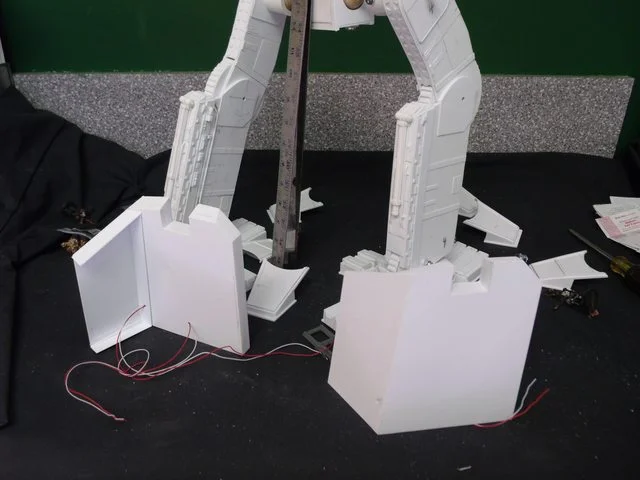
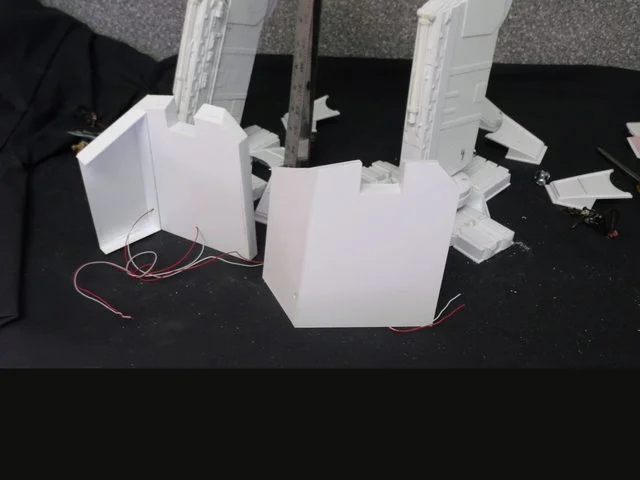
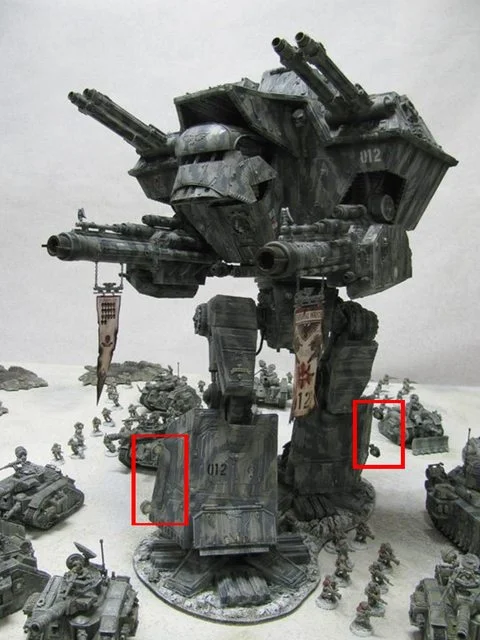
Each greave has two large search lights on the flying portion both on the DS model and the Invictus rendering. I thought it would be nice to have them light up. I plan to do a lot of wiring on this model because I feel it will be worth it.

http://i.imgur.com/wuHfF.jpg
View attachment ai.imgur.com_wuHfFl.jpg

http://i.imgur.com/zuKHc.jpg
ai.imgur.com_zuKHcl.webp
 
Hmmm, have not posted for a week this will never do.

I got caught up in building the greaves and rather than post a half a--ed response I waited until I actually had something to show.

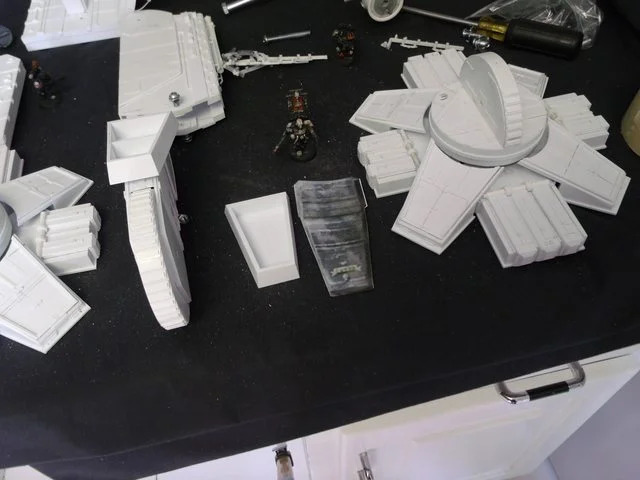
First the diagonal toes, I was wondering how I would mount them that they could be movable. They needed to twist when the front and back toes were flexed so they could maintain contact with the ground as the foot lifts during the step.

I woke up Wednesday with an epiphany* the solution was simplicity in itself; no wonder I couldn't think of it (I never do anything the easy way.) Anyway drilling 7/16 holes in the diagonal toe mounts and drilling 3/8 holes in the toes themselves, gluing in the respective tubes and letting the dry overnight I trimmed and sanded them today and walla the toes are mounted. Now for the kick in the a-- from the great equalizer in the sky, they can only twist a couple of degrees! HA!

Oh well it's the exercise that counts.

*Is that what they're calling it nowadays?

http://i.imgur.com/1XR3O.jpg
ai.imgur.com_1XR3Ol.webp


On to the greaves:

As they were when last presented they were too boxy looking IMHO and I thought the DS model looked a bit overly large and clumsy with those wide straight sided panels. I still will make the panels but slightly smaller and the flying portion is at a tighter angle to the leg.

http://i.imgur.com/knCRu.jpg
ai.imgur.com_knCRul.webp


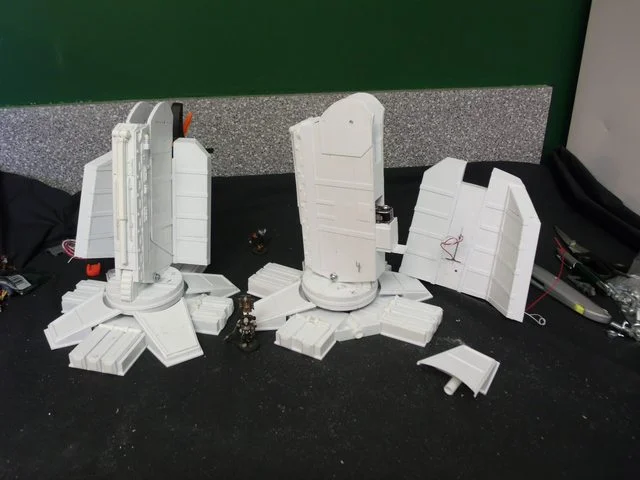
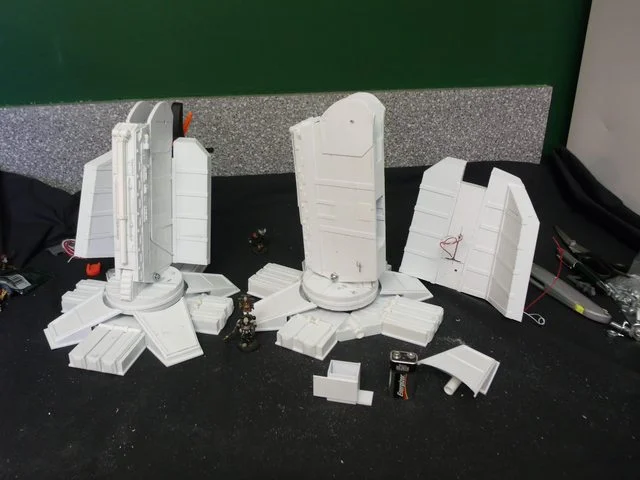
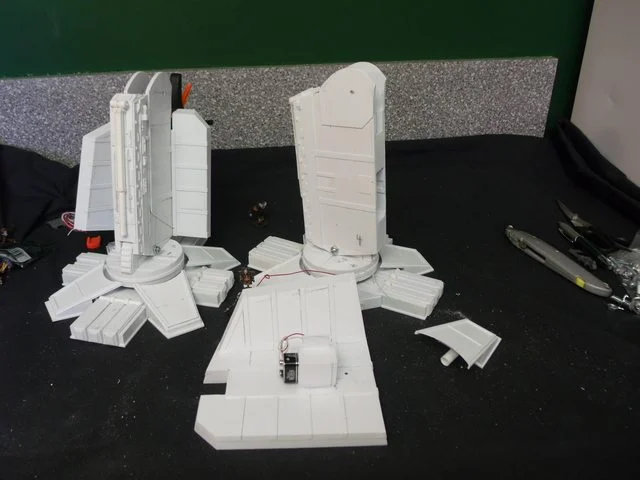
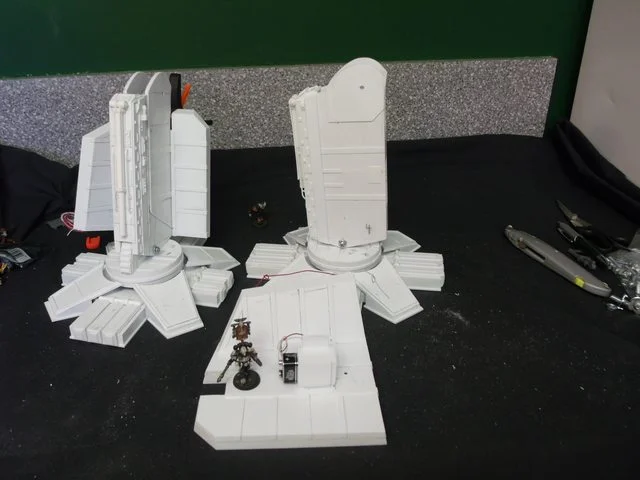
The greave base section is what is pictured today and I built battery boxes into them for 9 volt batteries. I'm not sure a switch will be necessary as the whole greave is easily removable and uncapping the battery requires but a few seconds. I can still install a switch if I find one small enough.

http://i.imgur.com/CJKTy.jpg
ai.imgur.com_CJKTyl.webp


http://i.imgur.com/ylmzp.jpg
ai.imgur.com_ylmzpl.webp


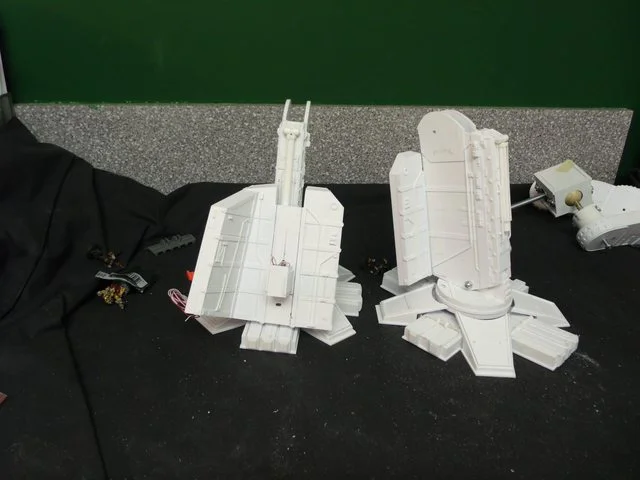
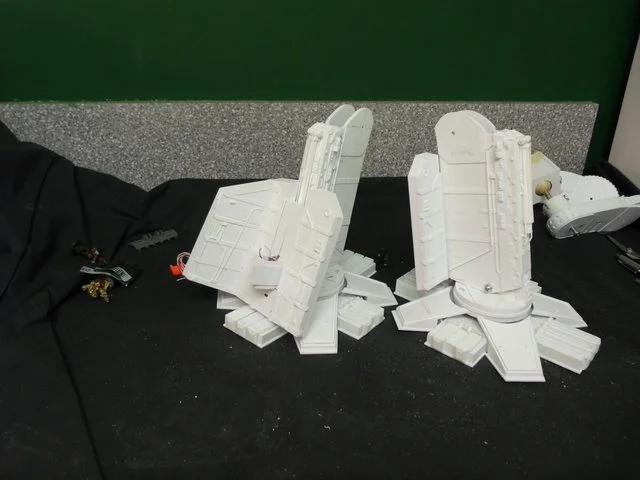
The greave on the left is clamped because the battery compartment is glued in place and drying. Once assembled the box will slide on rails into the compartment and help center the leg to the greave along with rare earth magnets to hold the greave in place.
 
That looks ... Simply brilliant! I don't even find time to paint, let alone something this complex :o And this is gonna be huge; I applaud you, sir! :thumbsup:

Waiting for more updates :tongue:
 
Thanks,

Ah summer when young men's thoughts turn to something other than tiny anthropomorphic figurines...................

meanwhile the Blackadder blunders on. This has been a very productive weekend having come close to completing the detail on the inner surface of the greaves replicating as closely as I could (because I changed the shape of the greaves a bit to suit my aesthetic sensibilities) the DS model.

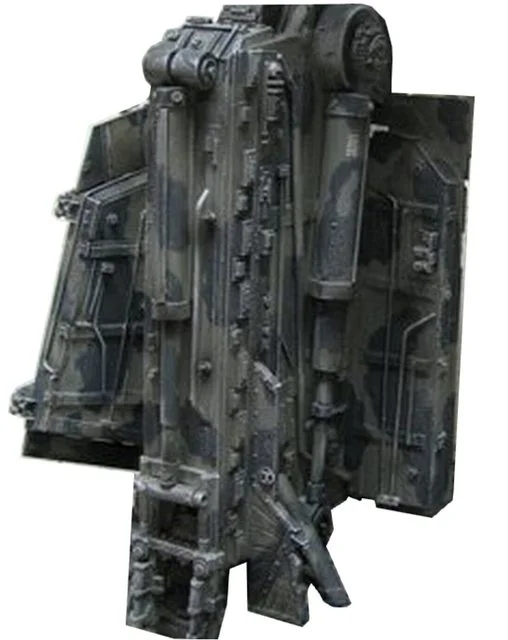
First the DS model for reference:

http://i.imgur.com/lZOma.jpg
ai.imgur.com_lZOmal.webp


http://i.imgur.com/ARboG.jpg
ai.imgur.com_ARboGl.webp


http://i.imgur.com/6Rawd.jpg
ai.imgur.com_6Rawdl.webp


I have a feeling I won't be seeing any more critiques on the legs being too thin; quite the reverse in fact considering that the hydraulics haven't been installed yet.

I don't have any idea why so much electric conduit is needed for such basic structures; there must be a lot more than just armour plating going on in these greaves. Considering that these titans are millennia old I guess a lot of additional retrofitting has taken place as technology changes. Finding space for wiring and the like inside the structure isn't always practicable so running it outside may be the expedient way to go.

Anyway the detail on the toes is next because if I don't do it now I may not after the superstructure is completed.
 
Well, the Titans have Void Shields (Energy Shields that shunt incoming damage into the Warp). I assume the energy for the void shielding would need to be transmitted to various emitters and the like throughout the titan.

edit: Note that Void Shields tend to make an audible whining noise while active, and fizzle against each other when touching or overlapping. So a Warlord Titan in battle would generally have a large energy bubble around it, probably green or blue (in Final Liberation Void Shields were invisible until they got hit by something however). The void shields make their own noise in addition to the whirring and clanking and stomping of the titan.
 
You do realise remote control bipedal movement is extremely difficult to do, and that is usually achieved by just making the robot in question shuffle along instead of lifting its feet?

Then again, if anyone could do it, its Blackadder.
 
Adding a remote control doesn't have to mean it's able to walk. You could control other stuff with it; like control the lights or make the torso spin a little or move the arms.
 
The bloom is off the Tudor rose it would appear. The Blackadder has lost a lot of momentum judging by a cursory glance at the last few days effort but a closer examination will reveal a plethora of tiny detail on the toes all of which is time consuming.

On the basic structure front I began the upper leg armour and was very surprised how small the actual size was. Granted they represent armour on the order of more than a meter thick and twelve th fifteen feet long but they do look small even to me. I was use to looking at the top image on my screen which made the part look huge. I was actually concerned I had enough plastic to construct them. As it turned out I constructed them out of the scrap box.

http://i.imgur.com/ejWUT.jpg
View attachment ai.imgur.com_ejWUTl.jpg

http://i.imgur.com/fo1TS.jpg
ai.imgur.com_fo1TSl.webp
 
Once again the devil is in the details. I spent this weekend producing what amounts to about twelve square inches of armour for a model that will have I figure about 500 to 600 square inches of highly detailed surface. And thats not counting the framework or interior detail plus the lighting and the fiber optics.

It is highly satisfying to work on a model in this manner though. Were I to complete the basic structure and then attempt the intricate work I might be tempted to skimp on the finishing up; this way if I get lazy toward the end the huge blank surfaces will be readily apparent and that will never do so I shall be committed to keeping up the intensity of the intricacies.

Perhaps "committed" applies in more ways than one.

Anyway the thigh armour is more or less complete except for the bitz and the moss-like fuzzy that abounds on the DS model. I cannot figure out what that material is.

http://i.imgur.com/kF0R7.jpg
View attachment ai.imgur.com_kF0R7l.jpg

I it has a nurgle like quality to it that conveys great age and decay; could it be dryer lint? I must remember to save the lint the next time I do my underwear.

http://i.imgur.com/GocUY.jp
ai.imgur.com_GocUYl.webp


http://i.imgur.com/fryYx.jpg
ai.imgur.com_fryYxl.webp


http://i.imgur.com/PVNmV.jpg
ai.imgur.com_PVNmVl.webp


http://i.imgur.com/NPpvn.jpg
ai.imgur.com_NPpvnl.webp


This is my favorite picture so far, It really conveys the scale of this thing.

"Aye lads there's majesty for you." Ahab to his boat crew in pursuit of the white whale.
 

About us

  • Our community has been around for many years and pride ourselves on offering unbiased, critical discussion among people of all different backgrounds. We are working every day to make sure our community is one of the best.

Quick Navigation

User Menu