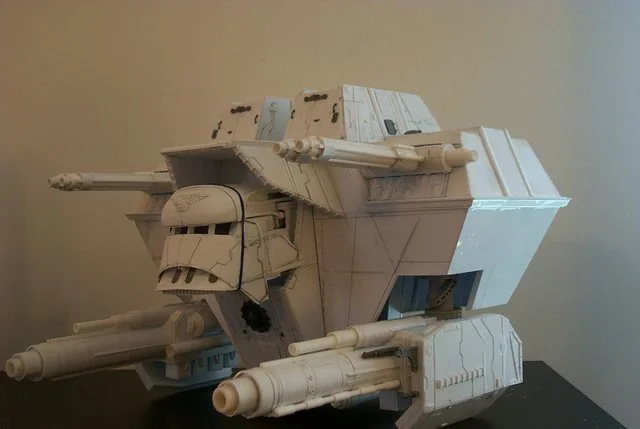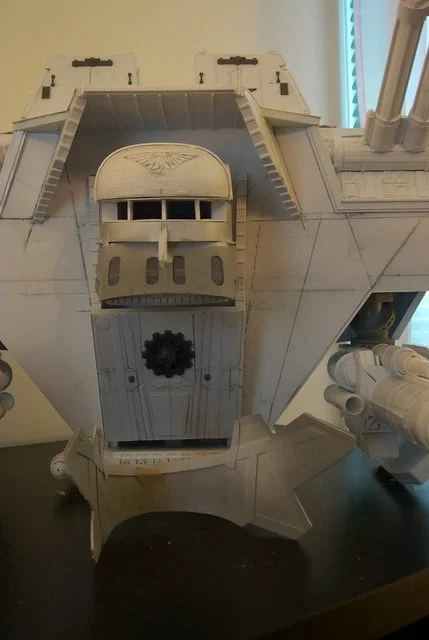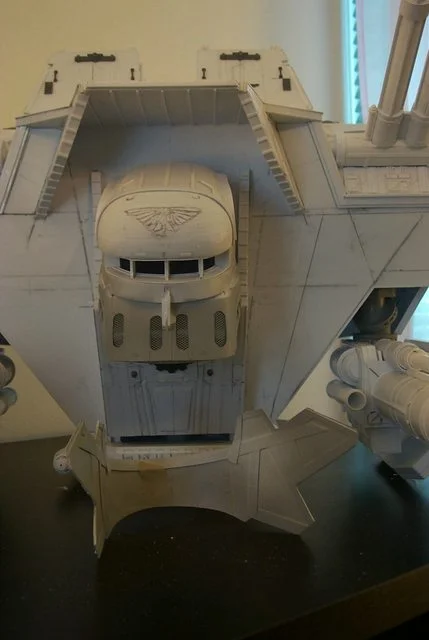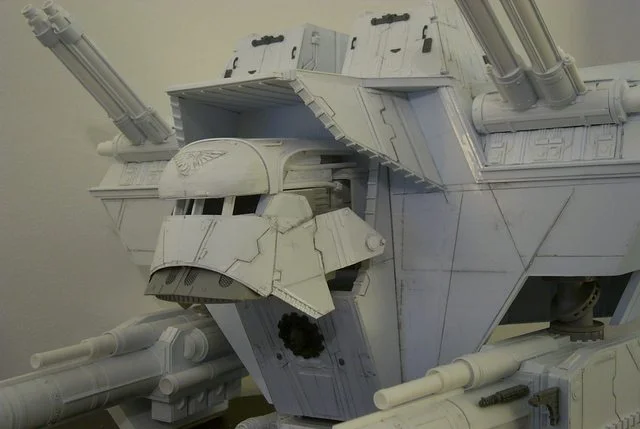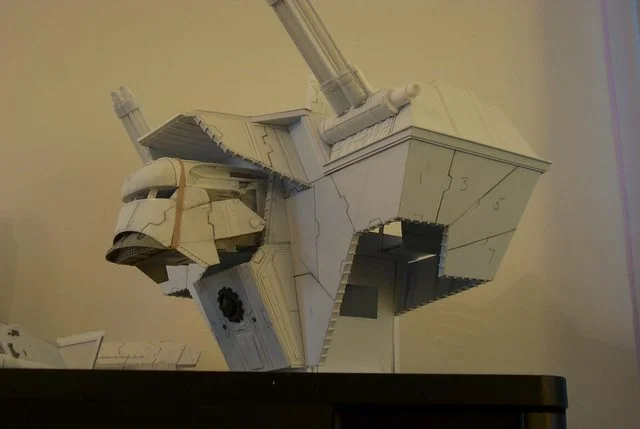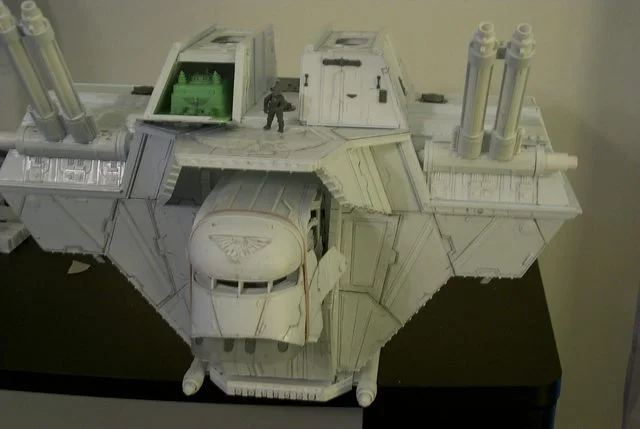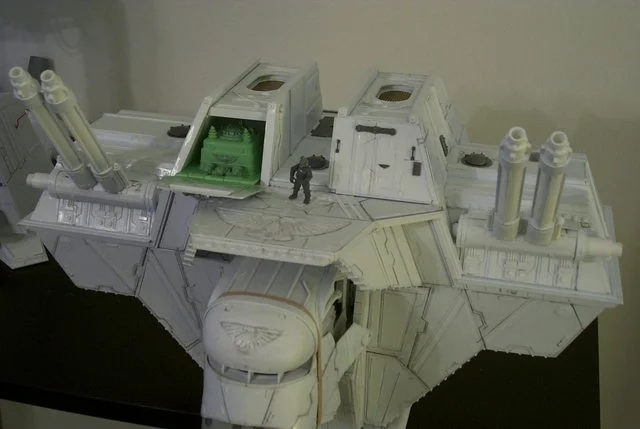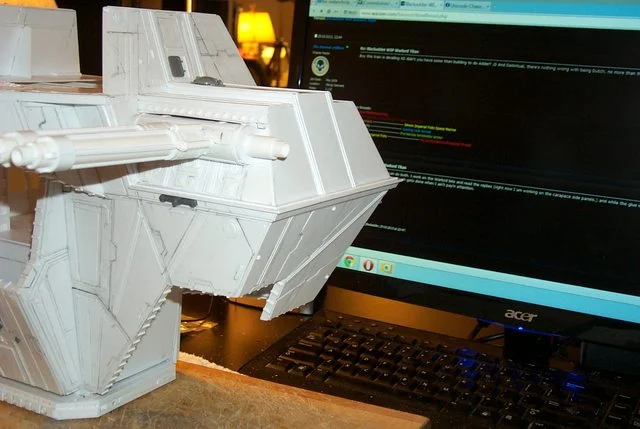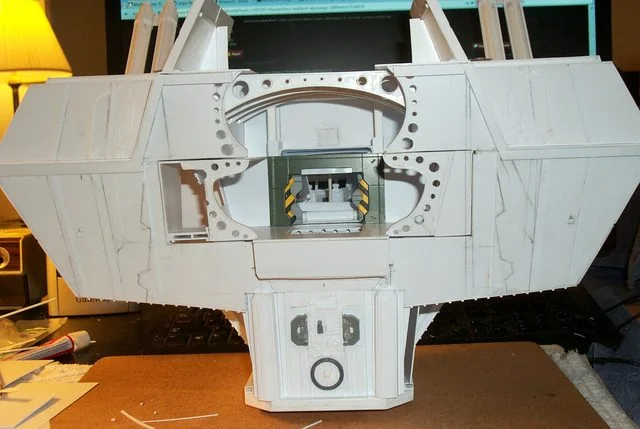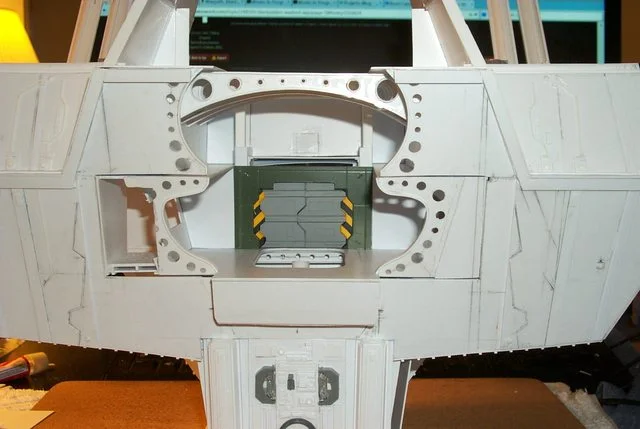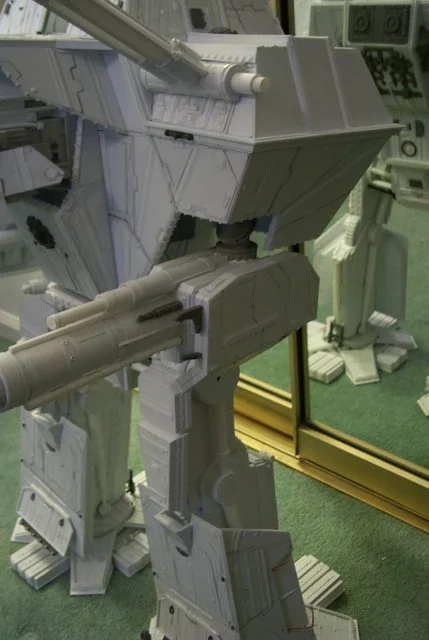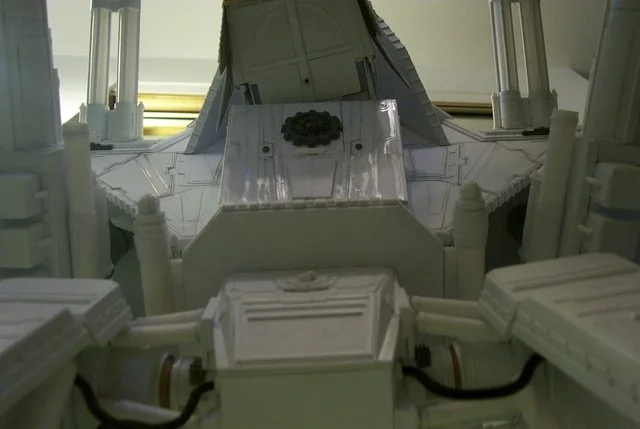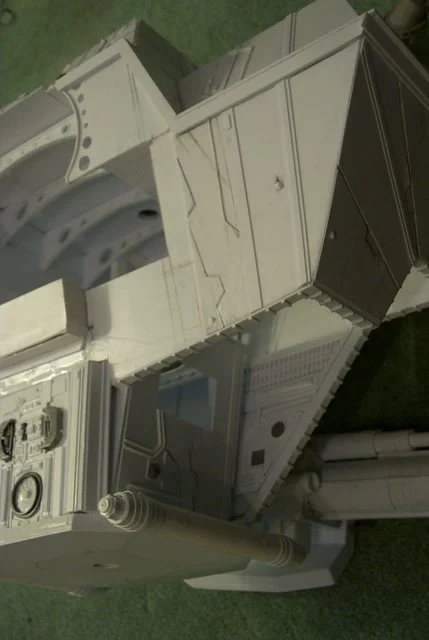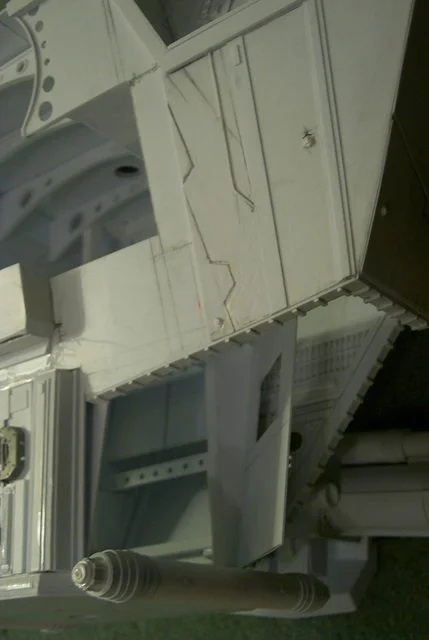
Blackadders WIP Warlord Titan

  • The masquerade of murder returns! A new game of Vampires Amongst Us has begun. Unmask the killers, trust no one, and try to survive the night. Find out more and sign up now!
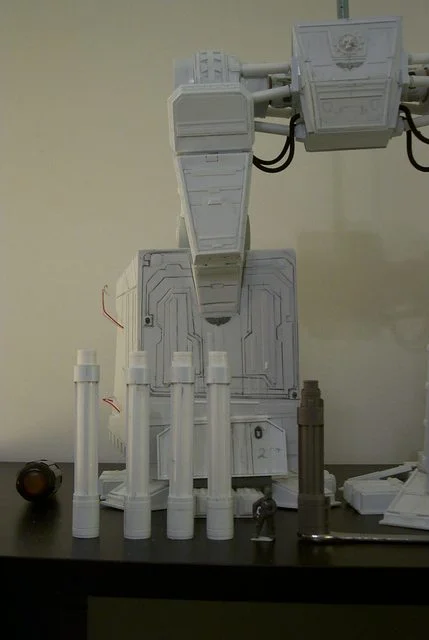
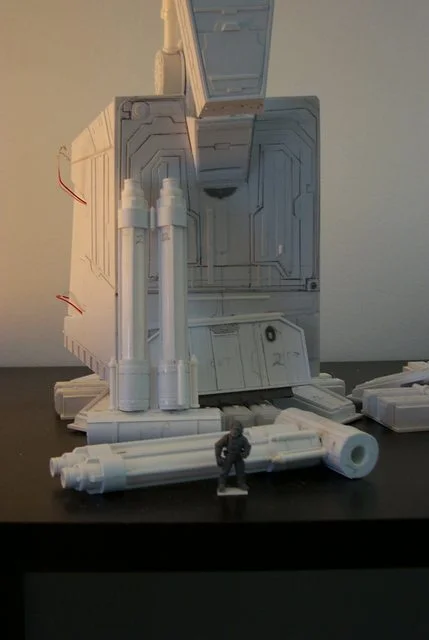
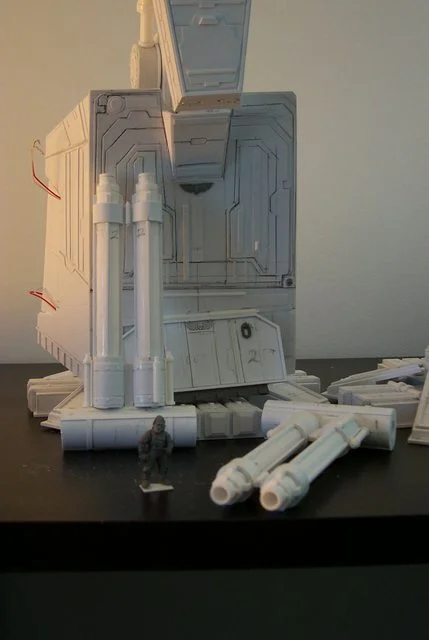
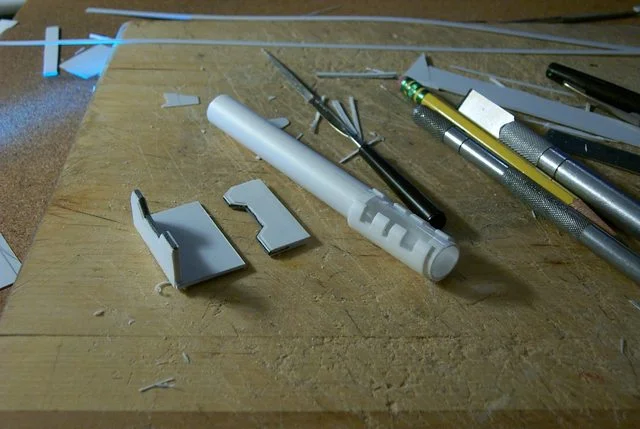
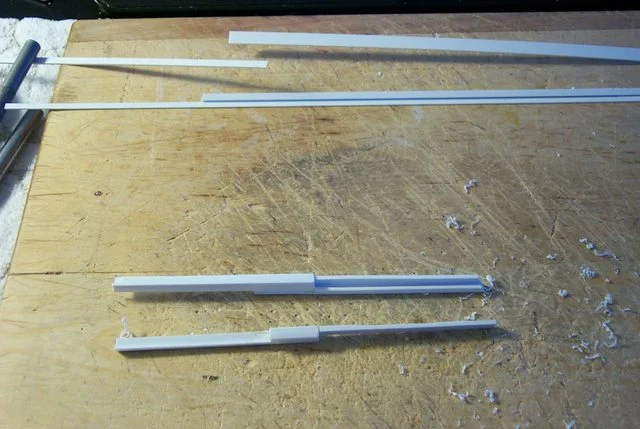
These gun barrels are relatively easy compared to the mega bolter and plasma cannon. I suspect the flame thrower would also be simple to build. I wrapped another strip around the front end of the barrel sanded the seam to a feathered edge, matched the barrels because there is a millimeter discrepancy in length, too little to be concerned with as the guns pairs will be a foot apart.

http://i.imgur.com/j3NsX11.jpg
ai.imgur.com_j3NsX11l.webp


The seams won't show because the connection joints between the barrels will hide them.

Applied the barrel quartering strips and the end detail to the secondary muzzle and the barrel base.

Next comes the final detailing............

 
To quote the Far Side; God making snakes, "That was easy!"

afarm3.staticflickr.com_2734_4120785430_37be851774.webp


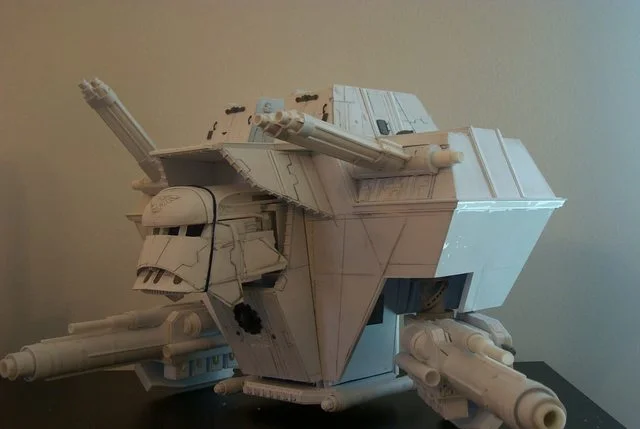
Once the basic measurements were established and the barrels bulked up bases and collars were installed the small detail went on quickly. I started gluing on the linear strips last night and finished the various gun sights this morning. About an hour ago I secured the Lasers to the drum turrets and they are drying so I figured it was time for a picture or two.

http://i.imgur.com/ZBXlOhQ.jpg
ai.imgur.com_ZBXlOhQl.webp


http://i.imgur.com/lzPGpyI.jpg
ai.imgur.com_lzPGpyIl.webp


In all I guess the twin lasers took about 6 hours over the weekend to build. I didn't think it necessary to do a step by step on the fine detail.

http://i.imgur.com/B7bPMIk.jpg
ai.imgur.com_B7bPMIkl.webp


http://i.imgur.com/zLa56Vh.jpg
ai.imgur.com_zLa56Vhl.webp
 
Paint, yes it's been a long time coming but finally I have applied a bit of paint to the old girl. I'm about ready to glue the face armour on permanently so before I do I primed the area covered by the armour and the back side of the armour itself.

I'm pretty sure all the head detail is done. I finished up last night while I watched old ''Untouchable'' reruns.

http://i.imgur.com/texvPCL.jpg
ai.imgur.com_texvPCLl.webp


http://i.imgur.com/d0qOuA8.jpg
ai.imgur.com_d0qOuA8l.webp
 
So face armour glued on, fine detail finished; except for conduit and decals and of course the finish painting.

http://i.imgur.com/OoZb9W8.jpg
ai.imgur.com_OoZb9W8l.webp


I'm talking about the head only; still a lot of detailing on the body and legs to go................
 
You're going to have to look close to see the differences between the last posted image and the current one.

I added a lot of secondary armour to the side of the carapace and the front of the carapace and under the hood.

All the little pieces bordering the the carapace skirt and chest plate are installed.

The secondary tertiary and quaternary armour plates are installed on the side panels to the chest plate.


http://i.imgur.com/j7XXtD6.jpg
ai.imgur.com_j7XXtD6l.webp


A lot of work but not much change in overall appearance.
 
It's starting to look really good xD This is one of the few model-threads I keep somewhat track off so keep up the nice work!
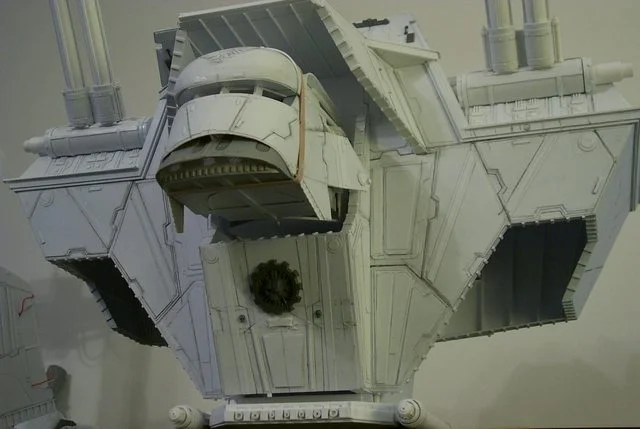
 
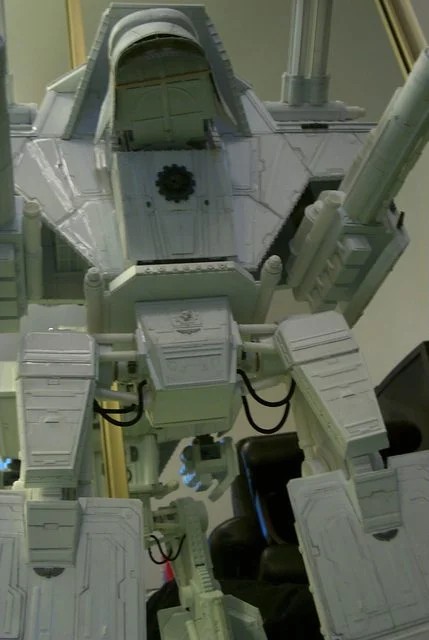
A busy weekend getting all the laminated armour on the chest and front of the carapace. Still a few bits to add but the overall effect of the slabs of plating gives a weighty look to an otherwise bland facade.

Note the diagonal strips on either side of the chest and head radiating out from center. These obviously were part of the original frontal escarpment installed when the Titan was first constructed.

Although further additions over the millennia supplemented these reinforcing stringers the buttress-like carapace bracing was left in place being an integral part of the original structure.

Initially armour was added with a nod to aesthetic appeal but more recent supplemental additions gave way to having a more haphazard and utilitarian appearance.

Wiring, conduit, and components were added where ever they would fit without consideration to the Majesty of the 'Builders' original concept for they, 'the Builders' were of a different time and almost, nay decidedly a race apart from the current custodians of the God Machine.

http://i.imgur.com/6cF2r7D.jpg
ai.imgur.com_6cF2r7Dl.webp


http://i.imgur.com/01ZIJk6.jpg
ai.imgur.com_01ZIJk6l.webp


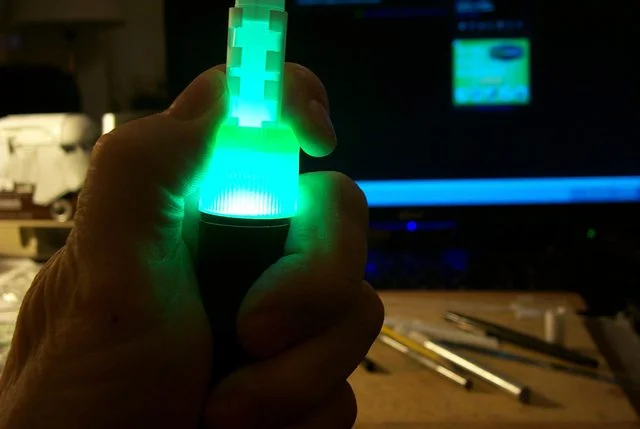
Note the test of colour to the interior of the void generator housing. A lovely Pistachio matte green for base coat. The Tesla coils will be emitting residual sparks in the mode of a Jacob's Ladder when finished.

http://i.imgur.com/bcYQHmO.jpg
ai.imgur.com_bcYQHmOl.webp


Such goes through your mind while this monster takes shape before you...................

Time to take a ride in 'the cookie wagon' Blackadder!
 
Mind the styrene dust. Took a break from scratching to surf the web while waiting for glue to dry. The flash image came out rather well although the desk is encumbered with it's nightly debris.

http://i.imgur.com/htlxw9f.jpg
ai.imgur.com_htlxw9fl.webp


I'm in uncharted territory with the carapace side panels but from what I can gleam there are vertical reinforcements that just didn't look right so I changed them to match the diagonal seams of the side armour. Much better............
 
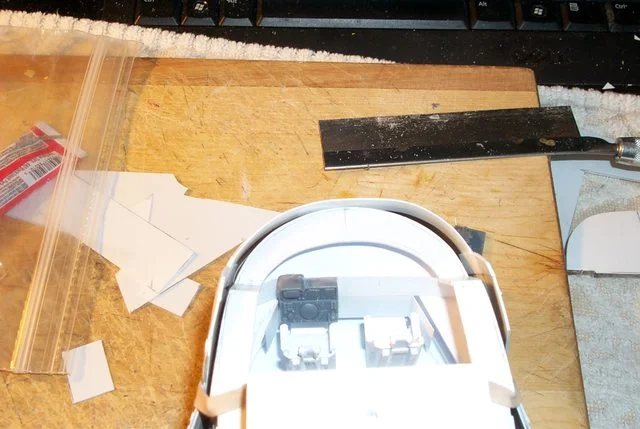
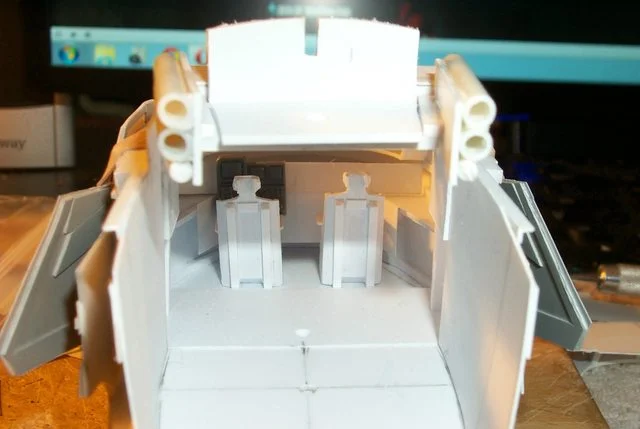
Started on the cockpit interior today for a change of pace. This is largely experimental as I have no idea of the direction I'll be taking but a good beginning will be the pilot and copilot /Sensori who seem in a position of guiding the warlord even though they aren't I'm given to understand.

I plan to make this a plug-in unit so it will be removable for painting and modification if needs be. I also want to install fiber optic instrument lighting in the future but just getting the general layout is the objective at the moment.

http://i.imgur.com/HI9iBB3.jpg
ai.imgur.com_HI9iBB3l.webp


http://i.imgur.com/qk6BlhW.jpg
ai.imgur.com_qk6BlhWl.webp


The seating looks rather crude as I just knocked them together for a general size.

I hope to refine them later.
 
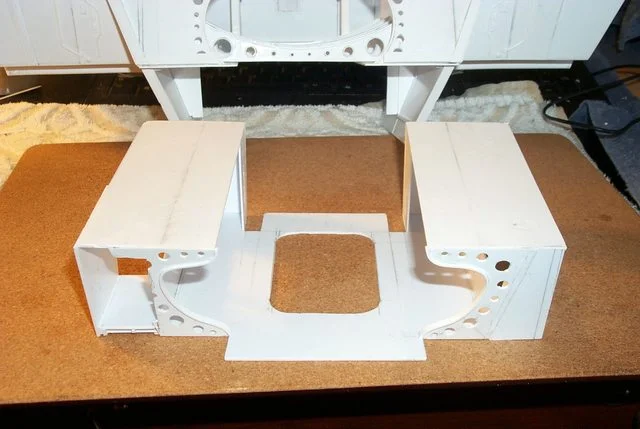
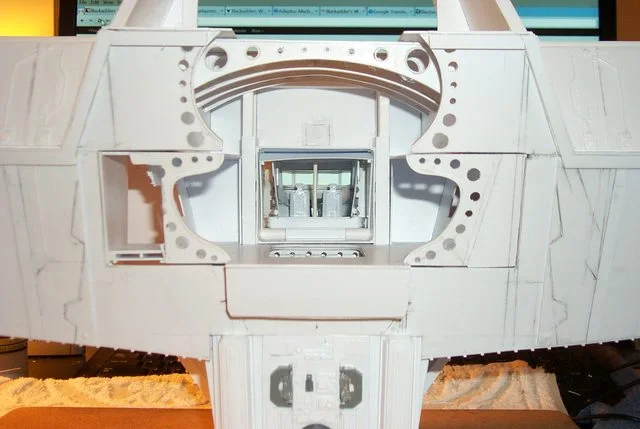
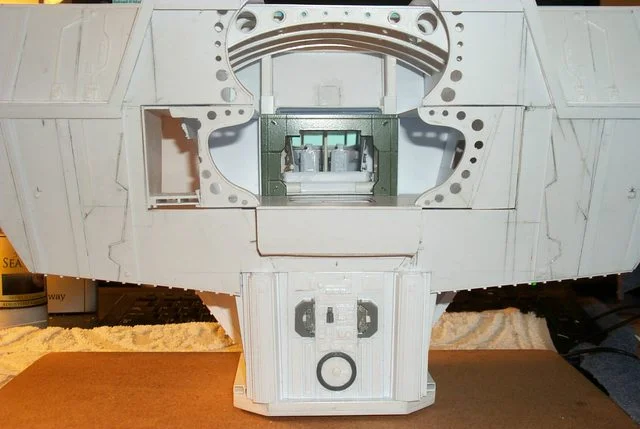
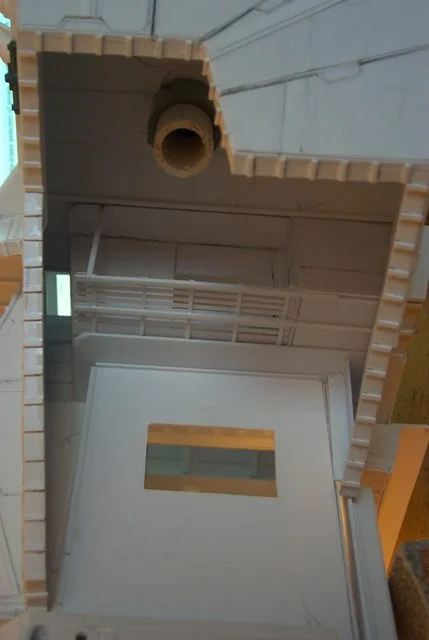
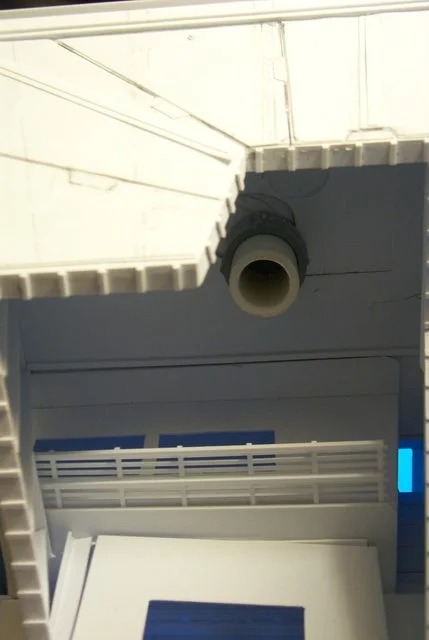
It's been quite some time since I demonstrated the removable Command deck so I'll begin by showing the recess with the Command deck removed.

Of course the model is upside down for clarity and to give a good view of the slot the Command deck fit into.

The asymmetry between the left and rig side is not apparent in the first photo but the last the show the cutout for the gantry door vestibule. A little modification I had to make so the rear door to nowhere lined up with the Command deck.

http://i.imgur.com/hcjjk0r.jpg
ai.imgur.com_hcjjk0rl.webp


Below is the Command deck itself right side up and the model in the background is still upside down with a good shot at the vestibule on the left side.

Is that clear?

http://i.imgur.com/U83G212.jpg
ai.imgur.com_U83G212l.webp


A shot of the Command deck half inserted inverted into the hull recess both components are now upside down for clarity..............is that clear?

http://i.imgur.com/ZjFfFWZ.jpg
ai.imgur.com_ZjFfFWZl.webp


And another shot from a lower angle of both components prior to assembling and installing the blast door that isolates the cockpit. Not shown as yet as the paint isn't dry.

http://i.imgur.com/QcfQASX.jpg
ai.imgur.com_QcfQASXl.webp
 
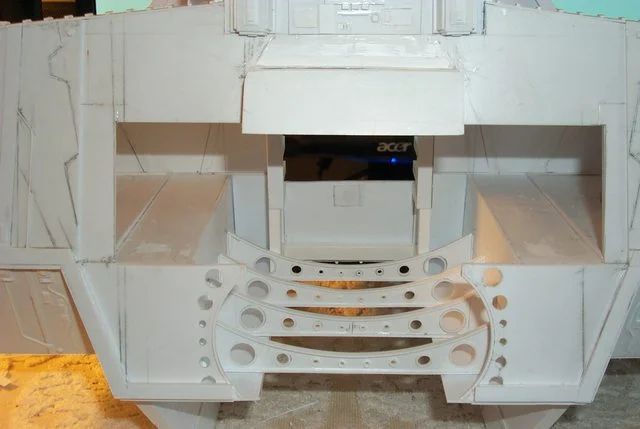
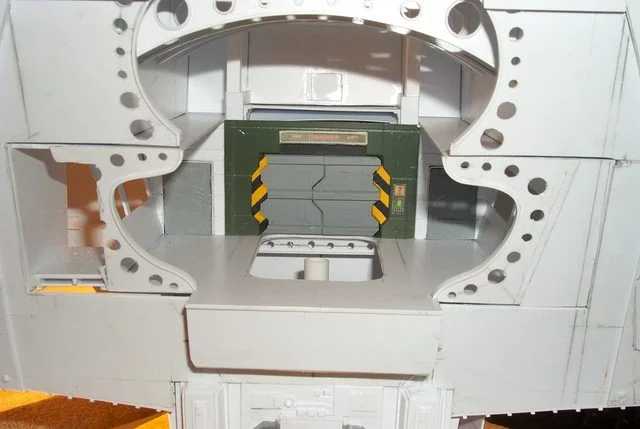
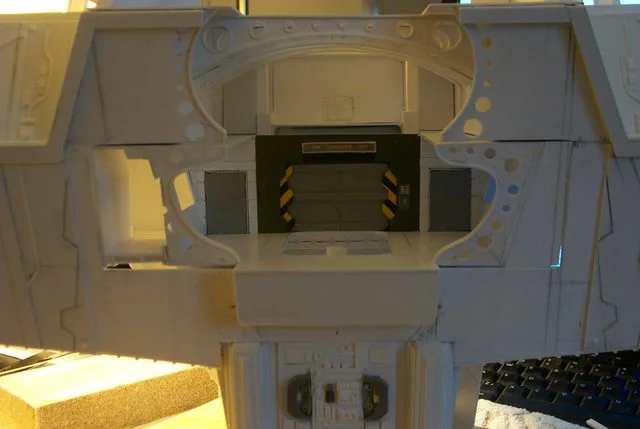
Forgot to take these images. Command deck fully inserted showing access to the connecting tunnel to the Flight deck and cockpit. The two naves on either side of the tunnel were going to be sanitary facilities but I was apprised do to bio-engineering of the crew there is no necessity for necessaries.

Some sort of bag I suppose.............

http://i.imgur.com/lezcj6x.jpg
ai.imgur.com_lezcj6xl.webp


And the frame of the blast door component fits just right. Whew!

http://i.imgur.com/vf6gmn4.jpg
ai.imgur.com_vf6gmn4l.webp
 
Referring back a dozen pages or so concern was expressed as to where the pocket doors would slide when they were opened. That problem appears to have been resolved although if I decide to re-install the WC's, they will be out of service when the pocket doors are opened.

Access denied!:
http://i.imgur.com/4ILPn3F.jpg
ai.imgur.com_4ILPn3Fl.webp


The pocket doors closed:
http://i.imgur.com/RCBSBCQ.jpg
ai.imgur.com_RCBSBCQl.webp
 
This thing never ceases to amaze & inspire. The doors are just one of many details that bring this whole project to the next lvl. Looking forward to the next update!
 
Done!

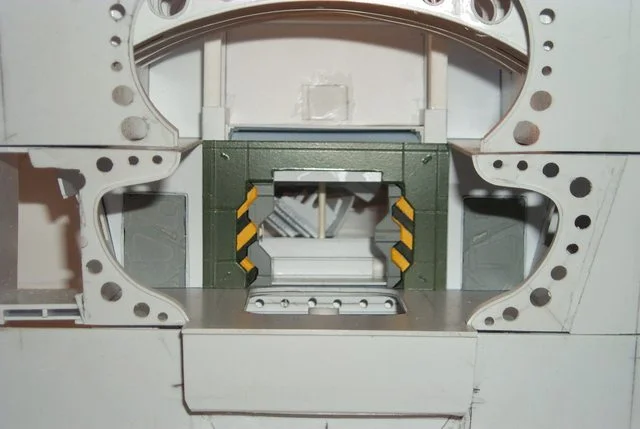
High-tech futuristic door and frame I need 3 of these for the Command deck alone. I should have picked an simpler door assembly.

http://i.imgur.com/HsUP3xb.jpg
ai.imgur.com_HsUP3xbl.webp


I've just about reached my limit of patience in rendering detail. I'm a bit out of practice working this fine.

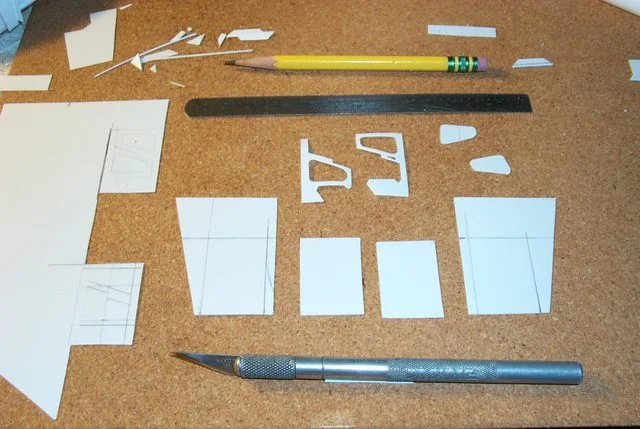
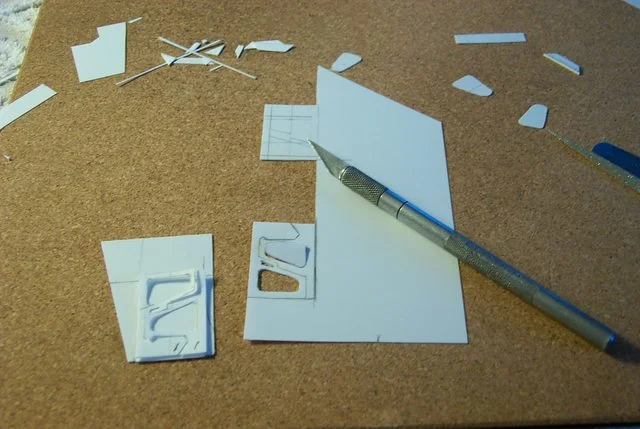
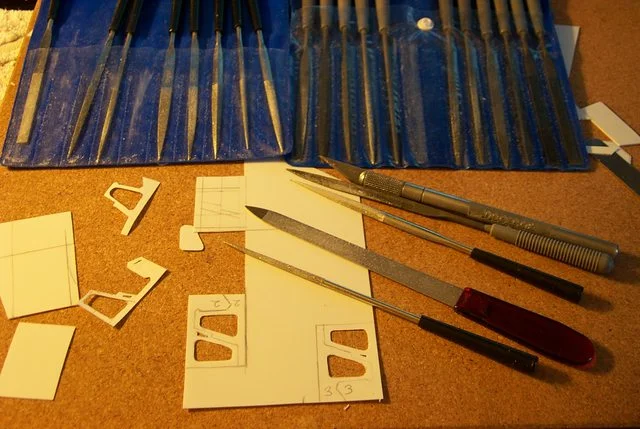
Here is a good point to show how I cut fine detail pieces not that I am as proficient as some who work with styrene but this works for me.

You will note that the door detail is still attached to the sheet (Which is upside down BTW the top of the door is at the bottom of the image). This gives you more of an area to hold onto while you are cutting the detail. After the lines are cut and the holes are final filed then I separate the piece from the sheet.

This is one of the few times I use a #11 Xacto tip for cutting, I usually use it to pick up tiny objects such as rivets to place them on the work.

I cut out any holes first which saves you from tearing the plastic trying to cut close to an edge. For some reason cutting the hole after you have done you straight slices causes the blade to wander.....

I'm trying something new cutting on cork board which seems to work rather well, I usually cut on an old wood butchers block board.

You can see at the top of the image the sketched in door detail for a slightly smaller door. That will be the door to the vestibule leading to the rear exterior door on the back of the Titan.

http://i.imgur.com/itDg7rn.jpg
ai.imgur.com_itDg7rnl.webp


After you have rough cut the holes with the knife, dress the edges and rounded corners with jeweler's files and or diamond needle files and yes that is an steel emery nail board; an indispensable trimming tool.

http://i.imgur.com/34WlNwE.jpg
ai.imgur.com_34WlNwEl.webp
 
Sorry to waste your time but I am trying to come up with a viable amniotic tank to immerse my Princep in and I have come up with this taken from Antenocitis Workshop.

These dedicated to 28 mm accessories look beautiful but are out of my price range to make this Titan viable plus they do not fulfill the requirements I deem necessary for my construct.

Never the less the ideas seem viable.

The amniotic Tank:

http://i.imgur.com/OsFD90q.jpg
ai.imgur.com_OsFD90ql.webp


http://i.imgur.com/Sgh1zBs.jpg
ai.imgur.com_Sgh1zBsl.webp


Thus far...................
 
I seem to have reached my limit attempting usable door frames for the side doors. I suppose I shall just go for the chiclet style wall panels so prevalent in SF venues. The door frames I coveted were much too fine in detail to render in a workable fashion.

The flash image reveals crudeness in the frame opening that I hope to remedy with the modified door trim.

http://i.imgur.com/OnRflIG.jpg
ai.imgur.com_OnRflIGl.webp
 
Well that's about it for this builder, I've devoted enough time to this door assembly not that I've put in a lot of time to this but enough already, unless I have a major epiphany the door is done as is............. Yeesh! :D

http://i.imgur.com/dM5BUtv.jpg
ai.imgur.com_dM5BUtvl.webp


http://i.imgur.com/uuorZWA.jpg
ai.imgur.com_uuorZWAl.webp


DANGER! DANGER Will Robbinson!!!!!!!!!! Ha!
 
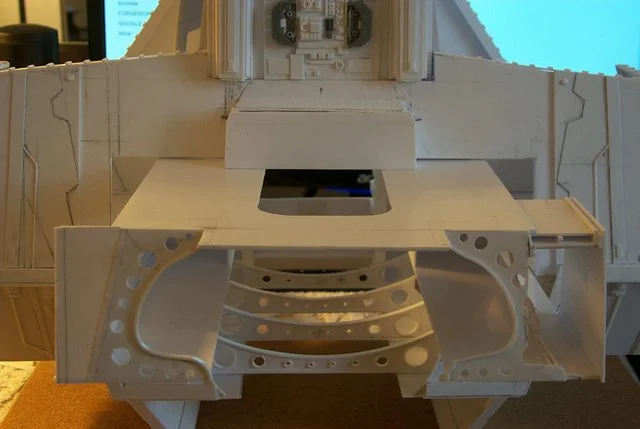
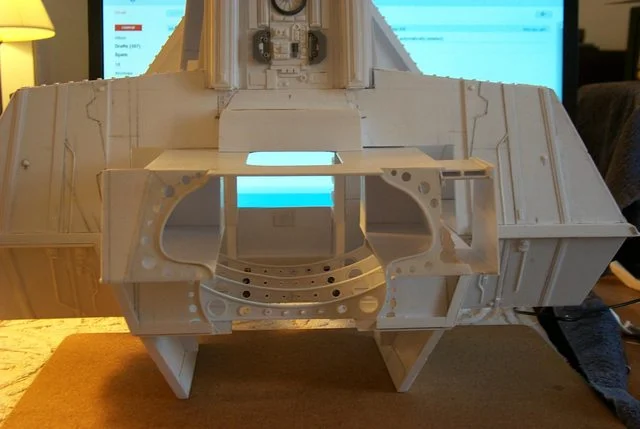
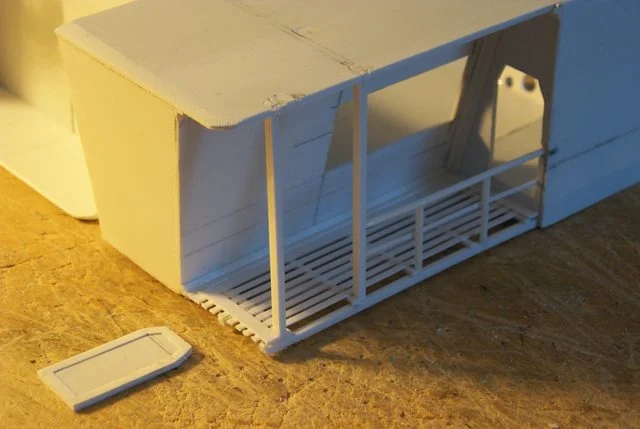
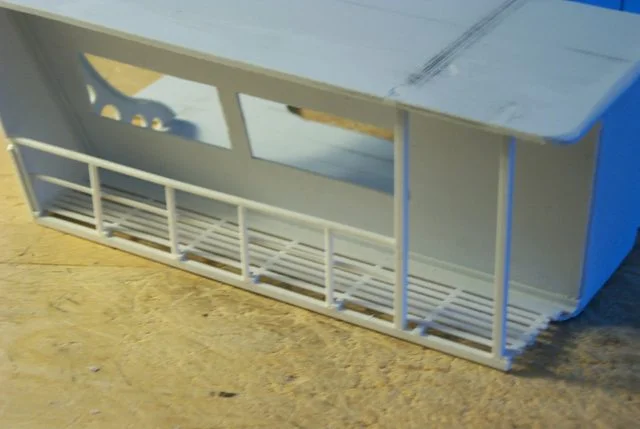
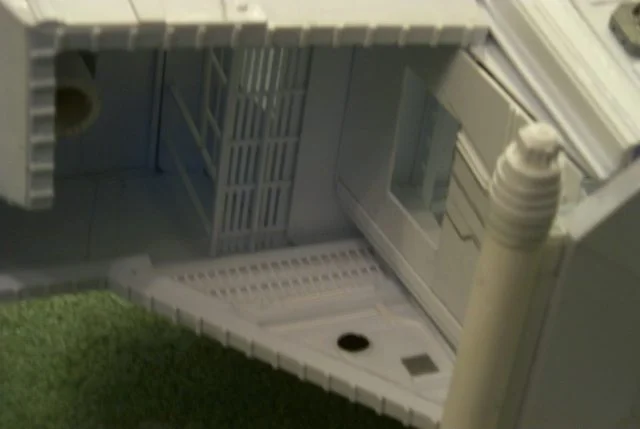
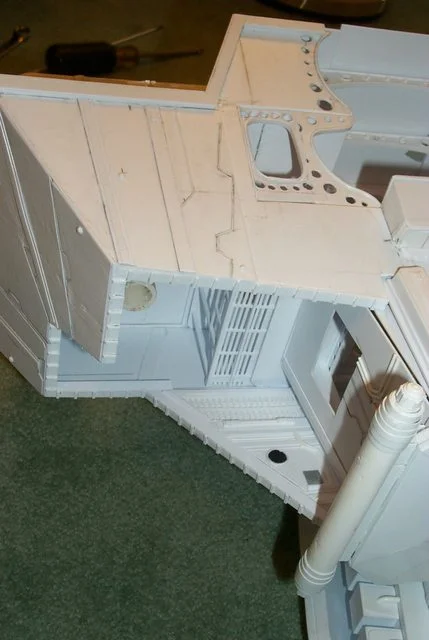
The catwalks installed under the carapace in a rough and tumble fashion awaiting a touch of refinement and hand rails. Note that the command deck is not slid all the way into the slot so the rough front ends of the catwalks are exposed.

These catwalks will adjoin the front walks out to the main guns for servicing with appropriate ladder assemblies to the gun stanchions down to the guns themselves.

The left side walk with access to the Command deck vestibule..........
http://i.imgur.com/CqKxAzF.jpg
ai.imgur.com_CqKxAzFl.webp


The right side walk...............
http://i.imgur.com/ji7Pr5F.jpg
ai.imgur.com_ji7Pr5Fl.webp
 
So far almost all the interior is "plug in" modular so painting and view interior detail shouldn't be a problem.

http://i.imgur.com/wq9eDG1.jpg
ai.imgur.com_wq9eDG1l.webp


http://i.imgur.com/UjIubeP.jpg
ai.imgur.com_UjIubePl.webp


The only thing that bothers me is this is beginning to look like the promenade deck on the Titanic and there's not enough space for the deck chairs..........

awww.mapsphotos.net_p_20photo_landscape_main_P1186.webp
 
God's Blud marry if'n it hasn't been many a fortnight since I hung this abomination together in one piece. What strikes me the most is the numerous areas not yet adorn with detail on the exterior.

I've been working on the interior for at least two weeks and yesterday I started on the engineering level............... Since there are many interlocking pieces to the lowest deck I had to be sure the whole of the construct could be assembled.

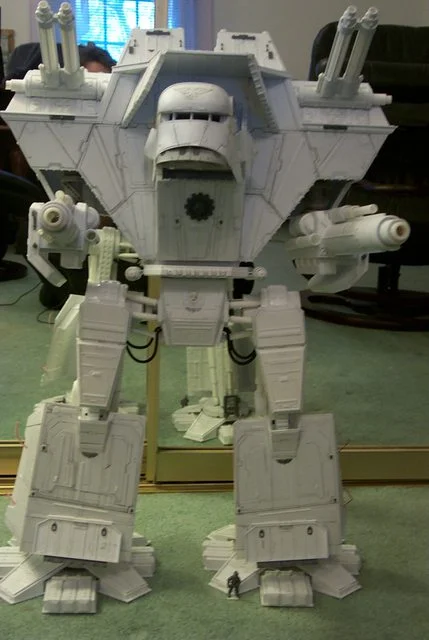
On the plus side it can but on the minus side the leg joints and waist joints barely support the weight. I was sure that would be the case and have allowed for the 2.5 kilos the upper body weight.

The 1/4 inch hip bolts still need to be 'Loctited' once the final hip assembly is made but for now I'm afraid 'Dirty Harry' must stand splayed legged.

The straight on overall front view; the first wholly assembled image since before I built the Turbolazers.........

http://i.imgur.com/GVZUDEl.jpg
ai.imgur.com_GVZUDEll.webp


A very precarious infantryman's eye view of the God Machine............

http://i.imgur.com/57dvZNi.jpg
ai.imgur.com_57dvZNil.webp


A shot of the side armour fully installed but still a lot of detail needs to be added to the side of the carapace..........

http://i.imgur.com/OeIMqrX.jpg
ai.imgur.com_OeIMqrXl.webp


The upper waist rotation plate and the bottom of the pelvis block are totally devoid of detail; Fa!

http://i.imgur.com/6Hx4Dmk.jpg
ai.imgur.com_6Hx4Dmkl.webp


In all I am quite pleased with the results after almost exactly a years work but I would hazard a minimum of six more months to completion.
 
Thanks,

It's anyones guess what these triangular components are from a safety crib side rail to a cooling grid for airconditioning. I ran out of images for this area on the DS Warlord so I am referencing the SM game Warlord Titan

Anyway here is the inner panel of the chest armour and the upper engineering viewing window panel in the closed position.
http://i.imgur.com/0PPQ9so.jpg
ai.imgur.com_0PPQ9sol.webp


And here we have it in the open position to permit viewing of the interior detail. This whole central hull of the Titan is very strong but it looks like a house of cards.

http://i.imgur.com/P9KImjf.jpg
ai.imgur.com_P9KImjfl.webp


here we have the left side view with the Command deck gallery slid into place.

http://i.imgur.com/JHeVVwx.jpg
ai.imgur.com_JHeVVwxl.webp


and lastly the overall quarter view showing the reworked rear door frame just to demonstrate the fallibility of the Blackadder and a flash image of the same area above.

http://i.imgur.com/X1UrX8n.jpg
ai.imgur.com_X1UrX8nl.webp
 
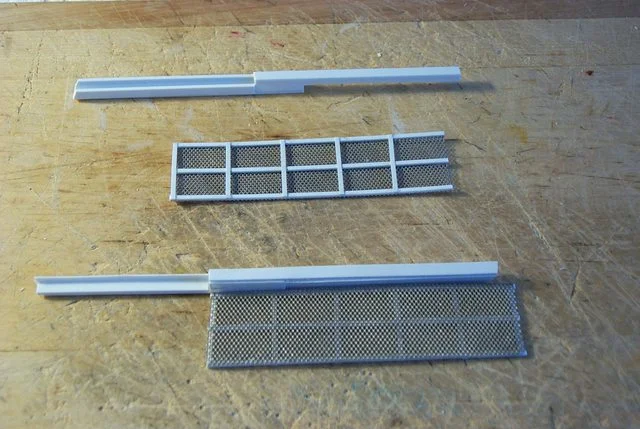
Just thought I'd let you in on the ground floor of building the catwalks. I received a lot of commentary regarding my choice of floor material for my catwalks so I have revised my nomenclature to redefine the existing 'catwalks' to 'galleries' and add gen-u-wine(sic) catwalks employing expanded metal mesh (Thanks to all for the suggestion.) of course I'm not actually going to buy said expanded metal mesh but raid the kitchen of the long suffering Ms. Blackadder and cut up her splatter shield to supplement my recycle stock. Never fear I shall replace her splatter shield with an apropos Mother's Day gift (''thereby killing two birds with one stone'' i.e. gift and building material)

The ever resourceful,

Blackadder

http://i.imgur.com/hnRUg9P.jpg
ai.imgur.com_hnRUg9Pl.webp


anyway here is the beginning of the plug in catwalk module(s)

Watch the agony columns for updates on my pending separation...............
 
You know, I post on a lot of different forums, and just a few days ago I started posting on a German forum and it got me to thinking what the country of origin is of various forum I post on. What country of origin is
Vampirecounts?

The two long strips will be attached to the catwalk proper and the U shaped channel top left will clip onto the carapace inner frame for ease of removal as this delicate construct will need constant repair.I will most probably remove it when the Titan is gaming.

http://i.imgur.com/9XM6JW6.jpg
ai.imgur.com_9XM6JW6l.webp
 

About us

  • Our community has been around for many years and pride ourselves on offering unbiased, critical discussion among people of all different backgrounds. We are working every day to make sure our community is one of the best.

Quick Navigation

User Menu