Scratchbuilt Thunderhawk

  • The masquerade of murder returns! A new game of Vampires Amongst Us has begun. Unmask the killers, trust no one, and try to survive the night. Find out more and sign up now!
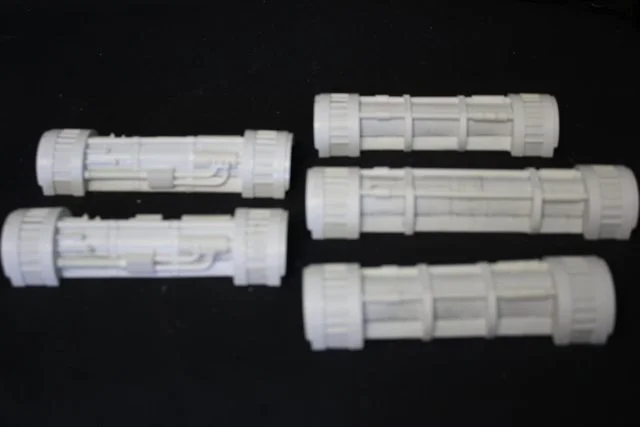
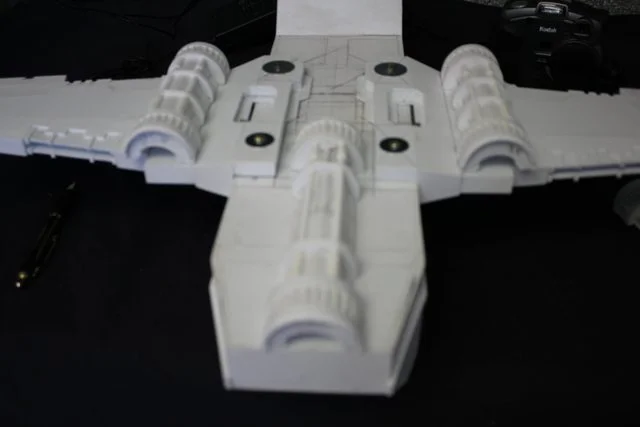
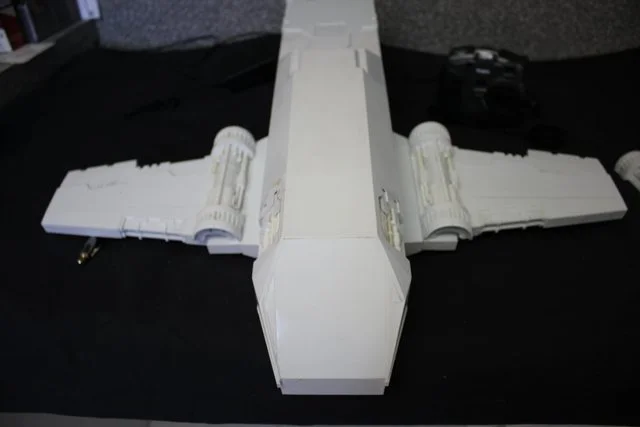
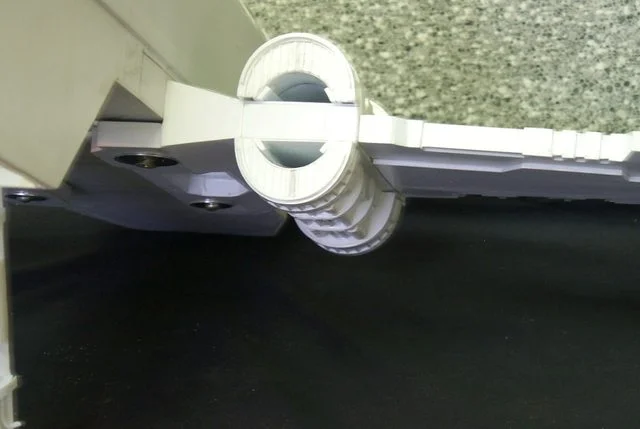
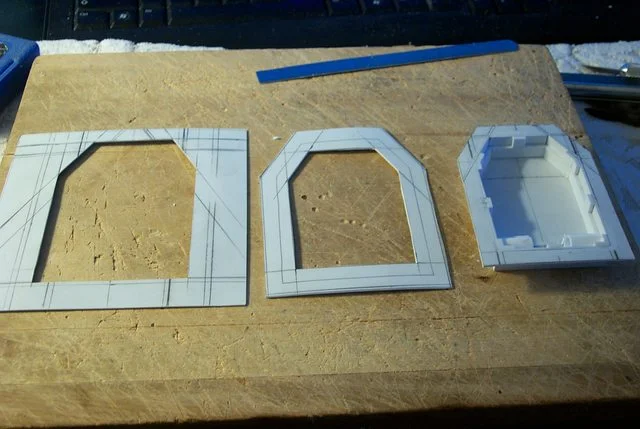
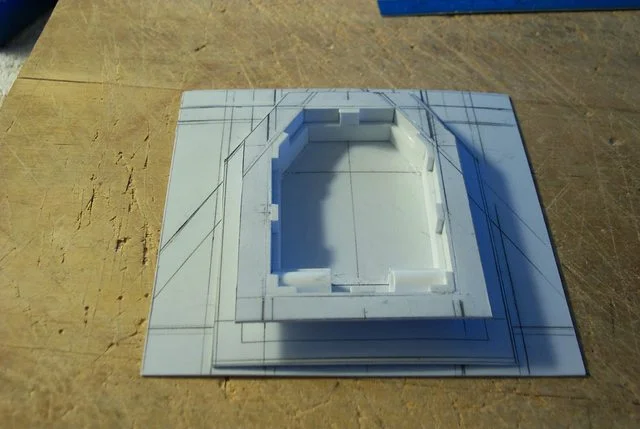
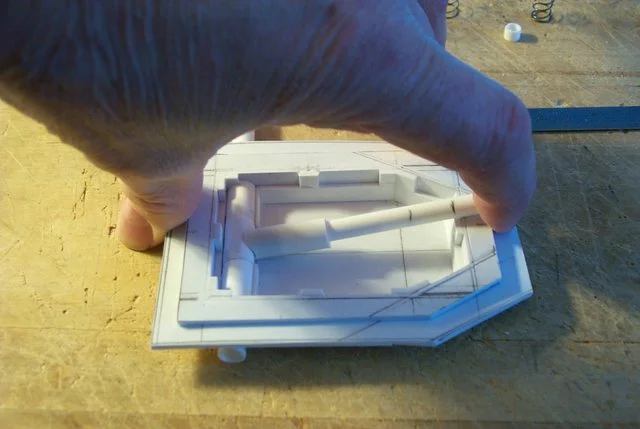
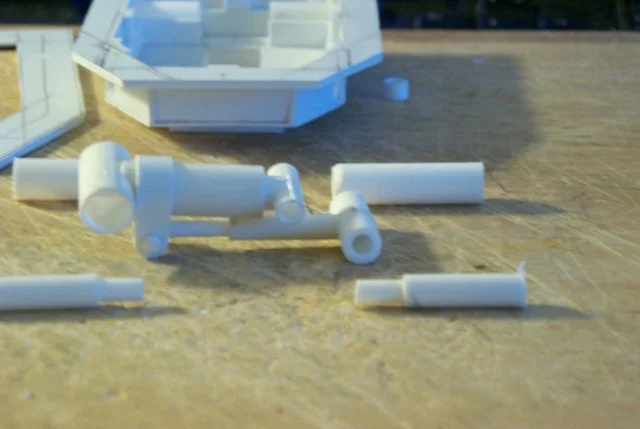
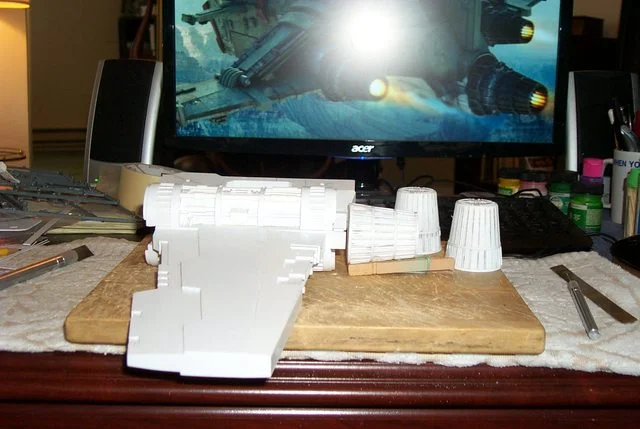
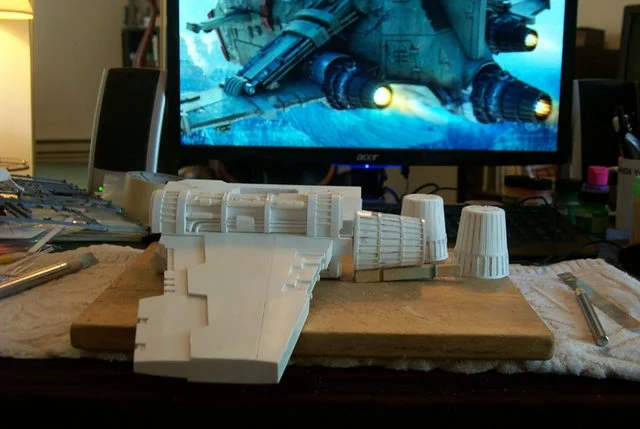
Another bunch of blurry images but I figured out what I am doing wrong. I need to set the camera to Macro I just gotta find how to do that. Of course I could just read the damned manual but wheres the fun in that?

Yeah Blackadder you'll have the damned thing for 20 years and never find half of what it's capable of.

Gee I'd didn't know it could do that.

Waddaya expect from someone whose VCR flashes 12:00 all the time.

The black tape keeps peeling off.

ai.imgur.com_OnLKyl.webp

http://i.imgur.com/OnLKy.jpg

ai.imgur.com_0jMp4l.webp

http://i.imgur.com/0jMp4.jpg

ai.imgur.com_W1Cj0l.webp

http://i.imgur.com/W1Cj0.jpg

VCR?
 
LOL... VCR. Some people still have VCRs that work (unfortunately. I know that my mother still has one, and she actually uses it!) :slapface:

I had a use a floppy disk drive a few weeks ago at work. I showed one of my co-workers the floppy drive, and disk... she had a puzzled look on her face. I had to explain to her WHY I had that.... I needed it to install some RAID drives on an older server I was setting up as a utility box. :innocent:

Old technology just will not go away... even if you want it to! o_o

Keep up the good work on the build! :thumbsup:
 
Bishop said:
LOL... VCR. Some people still have VCRs that work (unfortunately. I know that my mother still has one, and she actually uses it!) :slapface:

I had a use a floppy disk drive a few weeks ago at work. I showed one of my co-workers the floppy drive, and disk... she had a puzzled look on her face. I had to explain to her WHY I had that.... I needed it to install some RAID drives on an older server I was setting up as a utility box. :innocent:

Old technology just will not go away... even if you want it to! o_o

Keep up the good work on the build! :thumbsup:

Old technology won't go away but can anyone explain to me why why there is an 'A' and 'B' slot still dedicated to floppy disks in todays computers; its just so untidy.
 
Wow, ten days since I posted on this thread! Sorry I've been busy. For those of you that have been following my Warlord thread I have not forgotten this project but I did need to update the Warlord thread as well.

I ran into a snag on the engines which stymied me until I found a solution and strangely enough it was in my medicine cabinet namely the exhaust cones. While innovative the thread cones never satisfied me as a viable material. This morning while brushing my teeth infrequent as tha may be I noticed that my Shoprite mouthwash had the precise requirements for a plastic exhaust cone. So now I have a lifetime supply of cheap mouthwash (if I forgo opportunities for osculation) and three ready made exhaust cones as well

Of course you realize that the above tale is a complete prevarication; I've had this idea in my pocket for six months or more.

ai.imgur.com_JRU0bl.webp

http://i.imgur.com/JRU0b.jpg

ai.imgur.com_dG9L6l.webp

http://i.imgur.com/dG9L6.jpg

Confession is good for the soul.
 
I overcame my malaise this weekend and took up the T'hawk again.

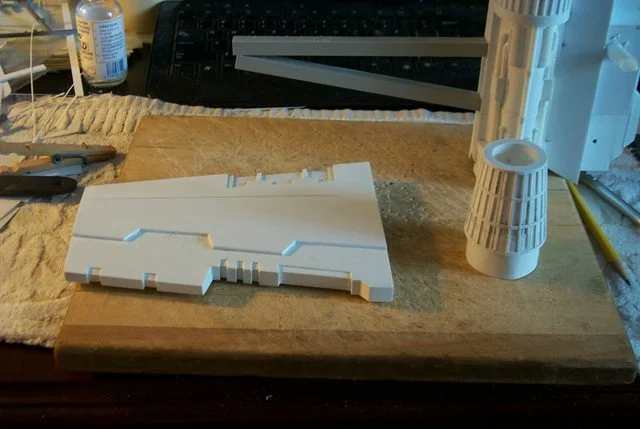
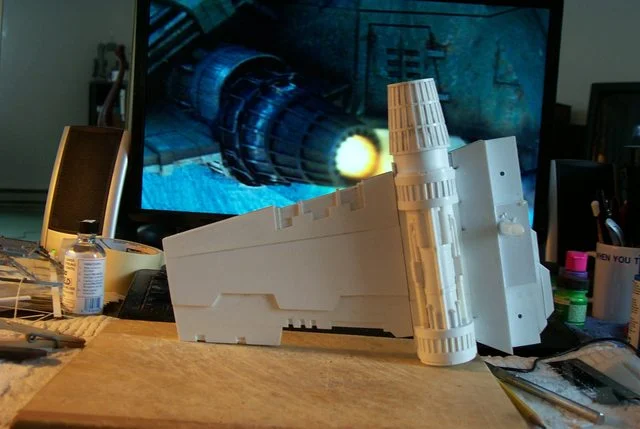
I extended the wing roots 13mm each to accommodate the larger diameter engines, cured the negative dihedral, cut out the notch to receive the lights and glued the wing engines in place.

In all not a bad amount of work.

http://i.imgur.com/30Wgy.jpg
ai.imgur.com_30Wgyl.webp


http://i.imgur.com/hkgm3.jpg
ai.imgur.com_hkgm3l.webp


http://i.imgur.com/O94R1.jpg
ai.imgur.com_O94R1l.webp
 
Man I am hot today, I popped this together with one hand and a Martini in the other. It's a good thing I don't have a third hand, I'm feelin' that good.

http://i.imgur.com/806Dc.jpg
ai.imgur.com_806Dcl.webp


http://i.imgur.com/d0W8a.jpg
ai.imgur.com_d0W8al.webp
 
First we'll start with where I am on the overall T'hawk. It's been a year since I worked on this so it will take me a bit of time to come up to speed.

http://i.imgur.com/KiICIfS.jpg
ai.imgur.com_KiICIfSl.webp


http://i.imgur.com/uDhEYKI.jpg
ai.imgur.com_uDhEYKIl.webp


As I recall I was working on the retractable landing gear so that will be a good place to start.................
 
After a concentrated search I found this image also from WD I believe which shows a very pristine looking model with extremely crisp lines ( no moulded in warping) a different volcano cannon than the FW production model, no Aquila on the cockpit which I believe was moulded in. Not that I am anxious for a plastic T'hawk which renders my project moot but there seem ample evidence for the suspicion that one is forthcoming.

http://i.imgur.com/XNkco1b.jpg
ai.imgur.com_XNkco1bl.webp


RETRACTABLE NOSE LANDING GEAR

Started on the nose gear retractable landing gear today. I want a fully movable gear that retracts and extends and there is a very limited space between the gear bay and the floor of the cargo bay. The big issue is the collapsible oleo strut which acts as a shock absorber when the aircraft lands. I lost a couple of hours sleep the past few nights coming up with a workable design.

We'll see how it works out.........................

http://i.imgur.com/DXEJoqL.jpg
ai.imgur.com_DXEJoqLl.webp


http://i.imgur.com/M6BLTGj.jpg
ai.imgur.com_M6BLTGjl.webp


http://i.imgur.com/GZNXRuZ.jpg
ai.imgur.com_GZNXRuZl.webp


http://i.imgur.com/DdRGWVj.jpg
ai.imgur.com_DdRGWVjl.webp


http://i.imgur.com/7BE7gdz.jpg
ai.imgur.com_7BE7gdzl.webp
 
There you see I've come back to this refreshed with new ideas and a firmer grasp on modeling techniques and not afraid to go 'where' a year ago I would have feared to tread..............

http://i.imgur.com/568HB4O.jpg
ai.imgur.com_568HB4Ol.webp


http://i.imgur.com/5t0yd9m.jpg
ai.imgur.com_5t0yd9ml.webp


This may actually work!
 
The Retractable Nose Gear Cylinder Shock Strut Mechanism

Below is the system I came up with to allow the nose gear to retract and still compress when the weight of the model is on the extended foot plate.

This will allow the foot plate to extend forward to act as the nose gear bay door as in the original model but still be the landing foot pad when the gear is deployed.

The mechanism works but I still need to get the length right and I may need weaker springs. I'll have to see when the gear is installed in the model.

The components manufactured................
http://i.imgur.com/UHAqKgB.jpg
ai.imgur.com_UHAqKgBl.webp


the components partially assembled................
http://i.imgur.com/zAshg9i.jpg
ai.imgur.com_zAshg9il.webp


The shock strut in full extention.............
http://i.imgur.com/xUUvXWB.jpg
ai.imgur.com_xUUvXWBl.webp


Compressing the shock strut allows 1.5 cm of travel...........
http://i.imgur.com/X5sPaE5.jpg
ai.imgur.com_X5sPaE5l.webp
 
I got this idea in the middle of the night and wanted to implement it before I forgot about it. I've not forgot about the Warlord............. I just need a change of locus.

Nose Gear Retract Cylinder

The way I look at it is a good way to improve engineering skills is to push your limits.

The nose gear piston attach point is in place, now for the cylinder and trunnions............

http://i.imgur.com/gRY64zh.jpg
ai.imgur.com_gRY64zhl.webp


Of course building toy fantasy aircraft may not be high on your priorities. :D
 
Nose Gear Installed Temporary

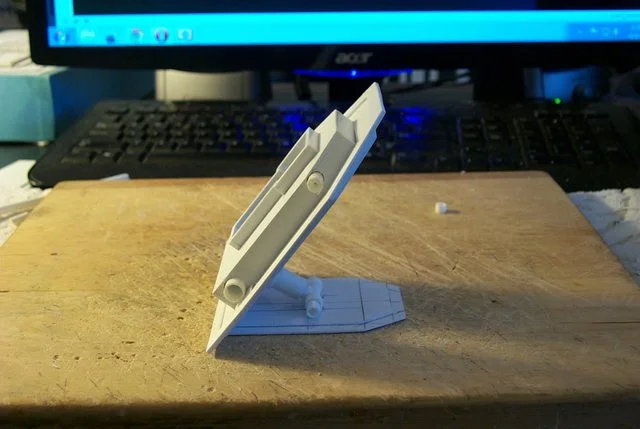
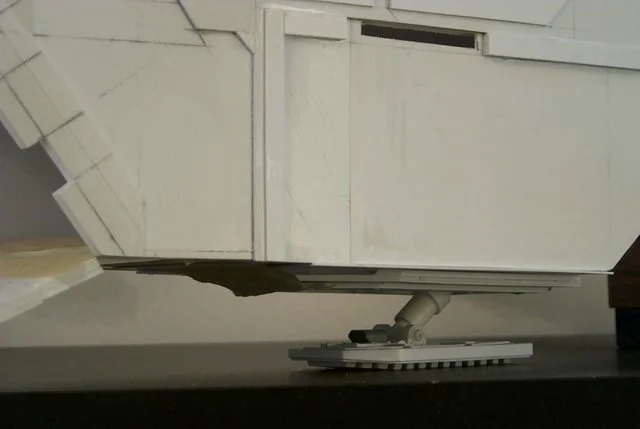
The nose gear mount plate is temporarily taped in place to see what the gear extension looks like. The foot plate is just attached with loose fitting plastic bushings.........

In the side view below the gear strut is canted forward but it can be set to vertical, I still ambivalent about that, I should have taken a vertical image position.

http://i.imgur.com/qQafiEF.jpg
ai.imgur.com_qQafiEFl.webp


Dang! the bushing slipped out when I was setting the pose. There is too much gear well showing in the cargo bay. I'll have toshim up the exterior reinforcement plate.

http://i.imgur.com/WLkfaDw.jpg
ai.imgur.com_WLkfaDwl.webp


A quarter view just because it looked good to me. Note the negative dihedral to the wings. The attach bolts are loose...............

http://i.imgur.com/Qe0lnjC.jpg
ai.imgur.com_Qe0lnjCl.webp


Now that the gear is satisfactory I disassemble it to show the components.........
 
Below is the nose landing gear removed from the gear well shown in the completely collapsed condition. The shock strut (oleo strut) is completely compressed so it will fit into the well. I am in the process of adding the gear well detail at the moment. Where does the time go.............


http://i.imgur.com/SmISksz.jpg
ai.imgur.com_SmISkszl.webp


Here we see all the nose gear components including the foot pad and gear well reinforcement panels on the left. The lock pin forward of the foot pad, the gear well itself at the right rear. Forward of that is the shock strut and retract cylinder with their associate trunnion pins.

http://i.imgur.com/NsCl05l.jpg
ai.imgur.com_NsCl05ll.webp


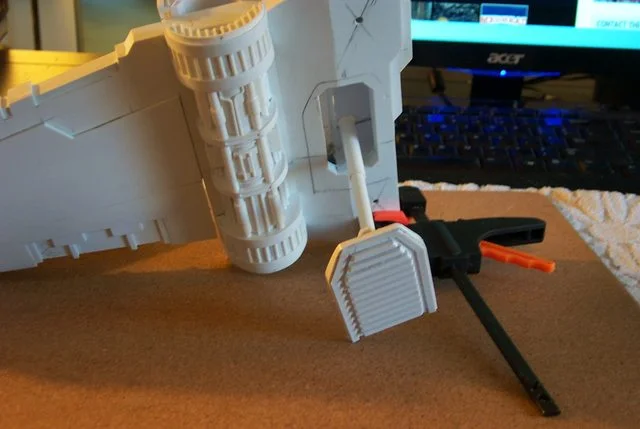
Here is the assembled nose gear showing the shock strut in collapsed position and the exterior of the well showing the axle sleeves for the trunnion pins that lock the gear trunions in place but allow them to swivel.

http://i.imgur.com/8QcmyX2.jpg
ai.imgur.com_8QcmyX2l.webp


Front view of the nose gear assembled with the shock strut in full extension and the retract cylinder in full extension and foot pad attached.

http://i.imgur.com/IfYIiRg.jpg
ai.imgur.com_IfYIiRgl.webp
 
Barely had room for the light module bitz on the foot pad although everything else fitted with room to spare. still have so detailing to do on th top surface of the landing pad and the tread on the underside. but I am winding down for today and considered it time for an update.
http://i.imgur.com/qatEePo.jpg
ai.imgur.com_qatEePol.webp


Still can't make up my mind whether to cant the gear forward or make it vertical.
http://i.imgur.com/k4tFtCO.jpg
ai.imgur.com_k4tFtCOl.webp


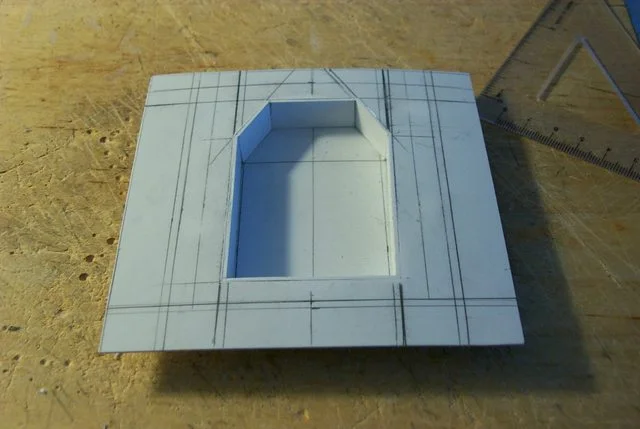
The detail inside the gear well is pretty much complete but I still need rivets etc on the reinforcing framework.
 
Taking the TDA's observation to heart I decided to incline the nose gear angle for a more streamline profile and less extreme angle for the nose cargo ramp. Now that I have established that area I can start on the retractable main gear.

http://i.imgur.com/5ziIiAJ.jpg
ai.imgur.com_5ziIiAJl.webp


http://i.imgur.com/dfd3sjh.jpg
ai.imgur.com_dfd3sjhl.webp
 
This is one of the sections that I attribute my shelving the project for a year. I was satisfied with neither FW landing gear nor the 3D rendering.

The FW model didn't appear to be functional in that the gear would never fit into the well given the actuating cylinder and trunnion placement; the whole design just wasn't workable. Likewise the 3D model showed a ridiculously minuscule gear. Too small!

I managed to achieve a good compromise (IMHO) increasing the size of the landing pad by twice the area and changing where the gear is actually stowed. Unfortunately at the expense of internal storage area but hey it's a military vehicle so a gear cylinder in the living area isn't offensive to yer average crewman.


http://i.imgur.com/FeDZYQH.jpg
ai.imgur.com_FeDZYQHl.webp


http://i.imgur.com/wQGCxN5.jpg
ai.imgur.com_wQGCxN5l.webp


http://i.imgur.com/fNhFPLA.jpg
ai.imgur.com_fNhFPLAl.webp
 
Revamp of the retract mechanism

I've tried all ways to get these to operate and there's only so much crap you can cram into a specific space. I've eliminated the trunnion axis and the shock strut and still no go. I guess that's why the aeronautical engineers get the big bucks. although the L1011 and DC-10 were total fiascoes for the airline industry............

pictures to follow...............

I took a few days off to lick my wounds. :(

Now I believe I have come up with a solution...

BTW I consider having an actual plan of what I am attempting to do cheating. XD

http://i.imgur.com/GEzOXJW.jpg
ai.imgur.com_GEzOXJWl.webp


http://i.imgur.com/Ri23OTH.jpg
ai.imgur.com_Ri23OTHl.webp


http://i.imgur.com/kpDofFf.jpg
ai.imgur.com_kpDofFfl.webp
 
Thunderhawk Exhaust Cones

Normally I don't use bottle caps and such on my models because thats what they look like but I couldn't pass these up at least for a tryout.

http://i.imgur.com/otMVwKe.jpg
ai.imgur.com_otMVwKel.webp


The ribbing is perfect using every third segment for a stringer and dividing the cone into thirds along it's length worked out perfectly

http://i.imgur.com/FUAbBUe.jpg
ai.imgur.com_FUAbBUel.webp


Now where did the Blackadder find such perfect items you may ask? Well it's Shoprite brand Fruny Green Mouthwash bottle caps from the half gallon economy size and as an added bonus I now have a lifetime supply of the stuff.

http://i.imgur.com/jJHuO7i.jpg
jJHuO7li.jpg
 
It's Starting to Grow on Me

When I first saw the Thunderhawk quite a few years ago I thought it was the most ridiculous looking transport vehicle ever conceived. but these new iterations have transformed the initial abomination into a hulking brute that actually seems almost airworthy.

Even the engines seem of a size adequate to propel said craft through the welkin.

http://i.imgur.com/nXaWZpd.jpg
ai.imgur.com_nXaWZpdl.webp


These exhaust cones have a lot to them besides being just a nozzle for it seems there is a setup for afterburners at least in the Inquisitor images.

http://i.imgur.com/MvyaKlg.jpg
ai.imgur.com_MvyaKlgl.webp


My big problem now is not being reminded how much they look like peach baskets.......

http://i.imgur.com/pKybQdQ.jpg
ai.imgur.com_pKybQdQl.webp
 
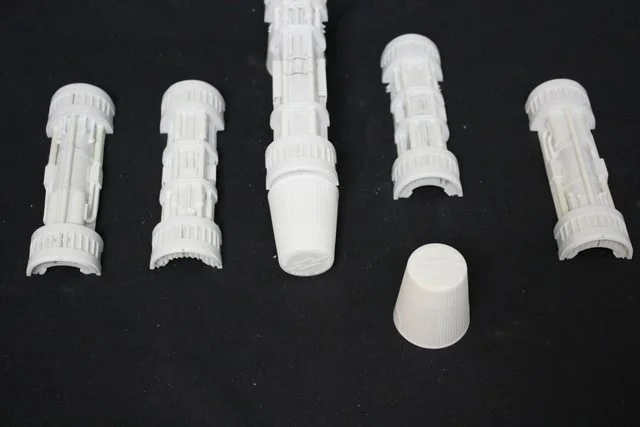
Afterburner Injector Housings

Below are the beginnings of the Afterburner Injector Housings.

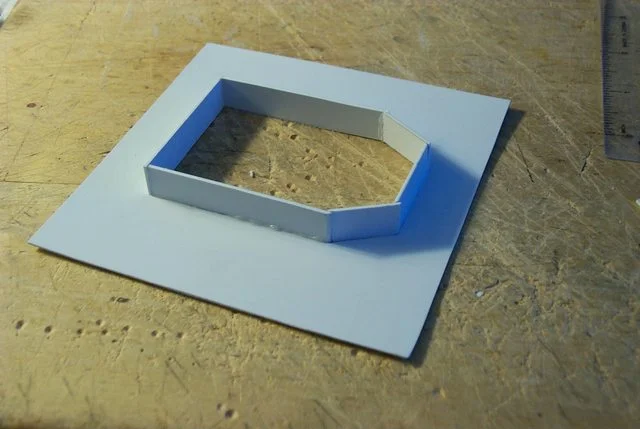
I started with strips of sheet styrene about 15 inches long and wrapped around a cylinder of require diameter (in this case a toothpick dispenser) and wrapped around three times to give the housing the requisite thickness for a solid foundation.

http://i.imgur.com/bJwIjF5.jpg
ai.imgur.com_bJwIjF5l.webp


After the glue on the cylinder is dried I beveled the incerted edge and scored the inner surface of the exhaust nozzle to get a good glue bond and glued the housing into the exhaust cone.

Once dried the housings will be ready for detailing.
 
Fitting the Right Wing Engine Exhaust Cone

Anyone following my threads knows I rarely follow any preconceived plan of execution so when something works out this well I am flabbergasted.

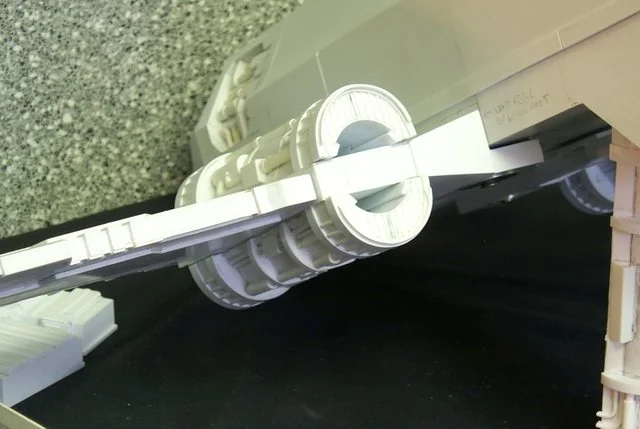
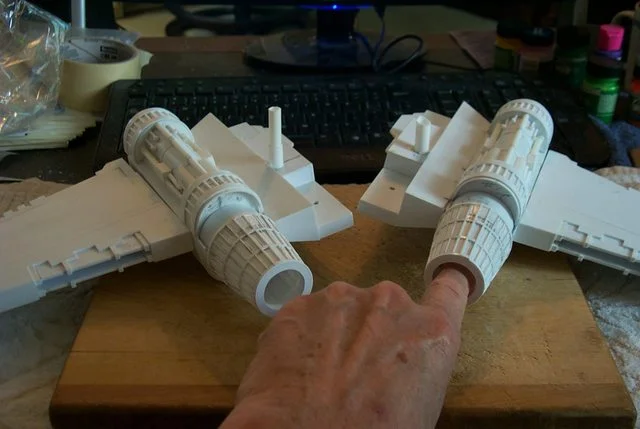
The Fruny Green Mouthwash bottle caps worked out perfectly both in diameter and length (I always felt the exhaust cone in the background image and in the 3D rendering were too long to be aesthetically pleasing) but a little cutting with the Dremel rasp carved out a clean bed for the ejector housing base.

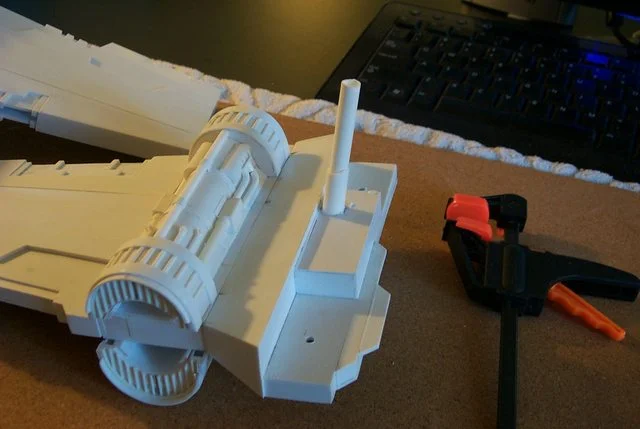
Here we see the wing separated into its 3 major components (Excepting the nose cowl) They are Wing Root and engine assembly, Wing and Exhaust cone:

http://i.imgur.com/mCbRHJZ.jpg
ai.imgur.com_mCbRHJZl.webp


And the assembled components dry fitted;

http://i.imgur.com/pgfxESu.jpg
ai.imgur.com_pgfxESul.webp


I never glue anything together until I'm 100% sure it works..........
 
So as a new member of Carpe Noctem I just found this thread today and have spent the last 2 hours pouring over every word of every post! I can tell you that I will be following this closely from now on. Your attention to detail is astounding and the fact that you spend so much time on "making it work" when its a science fiction model. I mean even authors and movie writers don't do this. Its so easy to just make up some new technical sounding word to say we made the impossible thing now possible. But you actually make it into something realistic. I mean WOW. I am in love with you.
 
Nice to have you aboard.............

Serendipity Rears its Ugly Head

Don't hate me because I'm lucky.

Back when I was building the engines in order to bulk up the adjacent wing surfaces I applied box beams to either side of the engines. I had forgotten about them so when I cut into the ends of the engine cowl I found these ready made receptacles for removable stringers attached to the exhaust cones.

http://i.imgur.com/6kchHzJ.jpg
ai.imgur.com_6kchHzJl.webp


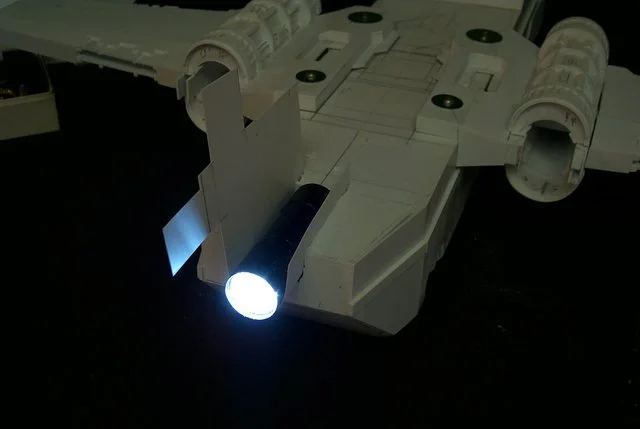
A little care in aligning the plug in stringers and there are plug in exhaust components so access to the battery operated LED lighting.

By pressing on the lens of the flashlight activates the pushbutton switch at the base of the light allowing it to be turned on and off without removal.

http://i.imgur.com/2siqcih.jpg
ai.imgur.com_2siqcihl.webp


Now it only remains to colour the cones to glow superheated when the light is activated to simulate afterburners.

http://i.imgur.com/1VFha00.jpg
ai.imgur.com_1VFha00l.webp
 
I don't hate you because your lucky, I hate you because you make my hobby skills look like a 2 year old did it. But seriously that looks awesome!
 

About us

  • Our community has been around for many years and pride ourselves on offering unbiased, critical discussion among people of all different backgrounds. We are working every day to make sure our community is one of the best.

Quick Navigation

User Menu